Firmware updates transform your camera’s performance, fix critical bugs, and unlock new features – yet many photographers overlook this essential camera maintenance tip. Whether you’re shooting with a mirrorless marvel or a trusted DSLR, keeping your camera’s firmware current ensures optimal performance, improved autofocus accuracy, and enhanced image quality. Think of firmware as your camera’s operating system – just as your smartphone needs regular updates, your camera requires periodic firmware refreshes to maintain peak performance and security. This guide will walk you through the critical steps of safely updating your camera’s firmware while avoiding common pitfalls that could potentially damage your valuable gear. Before proceeding with any firmware update, understand that the process requires careful attention to detail and specific preparations to ensure success.
Why Camera Firmware Updates Matter
Performance Improvements
Firmware updates can dramatically enhance your camera’s performance in several key areas. Many photographers notice faster autofocus speeds after updates, particularly in challenging lighting conditions or when tracking moving subjects. For instance, the autofocus might lock onto a bird in flight more quickly or maintain focus more reliably during sports photography.
Buffer performance often sees significant improvements, allowing you to capture more consecutive shots before the camera needs to pause. This can be crucial during fast-paced events or wildlife photography sessions where every fraction of a second counts.
Image quality enhancements are another common benefit, with updates sometimes adding new picture profiles or improving noise reduction algorithms. Some updates even add entirely new features, such as enhanced eye-detection autofocus or improved image stabilization performance.
Battery life can also be optimized through firmware updates, with manufacturers finding ways to make camera operations more efficient. Additionally, many updates address compatibility issues with newer lenses or accessories, ensuring your camera system works seamlessly together. These improvements often breathe new life into older camera bodies, extending their practical lifespan and keeping them competitive with newer models.
Bug Fixes and Security
Firmware updates often address critical bugs that can affect your camera’s performance and security. Common issues resolved through updates include autofocus inconsistencies, exposure metering errors, and memory card compatibility problems. For instance, many photographers have experienced their cameras freezing during continuous shooting or encountering buffer clearing delays – issues that are typically resolved through firmware updates.
Security vulnerabilities are another crucial aspect addressed by firmware updates. Modern cameras with Wi-Fi and Bluetooth connectivity can be susceptible to unauthorized access if not properly protected. Manufacturers regularly release patches to protect against potential security breaches that could compromise your camera’s wireless functions or stored images.
Some notable bug fixes in recent firmware updates across various camera brands have included improvements to face detection accuracy, elimination of random shutdowns in cold weather, and corrections to in-camera raw processing. It’s worth noting that while most updates focus on fixing existing issues, they occasionally introduce new features or performance enhancements as bonus improvements.
To ensure optimal results, always check your camera manufacturer’s support website for detailed information about specific bug fixes included in each firmware version.
Before You Update: Essential Preparations
Battery and Power Considerations
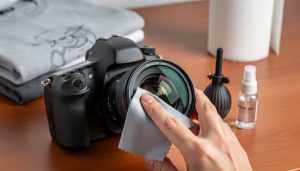
Proper power management is crucial when updating your camera’s firmware. Always start with a fully charged battery – ideally at 100% capacity – before initiating any firmware update. Using a partially charged battery risks interrupting the update process, which can potentially damage your camera and make it inoperable. This is one of the most important steps to keep your gear in top condition.
If your camera supports it, connect it to AC power using the manufacturer’s recommended power adapter during the update process. This provides an extra layer of security against power interruption. For cameras without AC power capability, ensure you’re using a reliable, genuine battery that holds a charge well.
Never attempt a firmware update when your battery indicator shows anything less than 75% capacity. If you’re in doubt about your battery’s condition or charge level, it’s better to wait and fully charge it first. The few extra minutes spent charging could save you from costly repairs or camera replacement.
Backup Your Settings
Before diving into the firmware update process, it’s crucial to back up your current camera settings. Think of this step as creating a safety net – if anything goes unexpected during the update, you’ll have a reference point to restore your preferred configuration. This is particularly important if you’ve spent considerable time fine-tuning your camera’s custom settings, which is a fundamental aspect of professional camera care.
Most modern cameras offer a settings backup feature through their menu system. Navigate to your camera’s setup menu and look for options like “Save Settings” or “Backup Camera Settings.” Some manufacturers also provide software that allows you to save these configurations to your computer. Make sure to document any custom button assignments, shooting presets, and personalized menu arrangements.
Store your backup file in a safe location on your computer, and consider creating an additional copy on a separate storage device. If your camera uses a memory card for settings backup, label that card clearly and set it aside until the firmware update is complete.
Checking Current Firmware Version
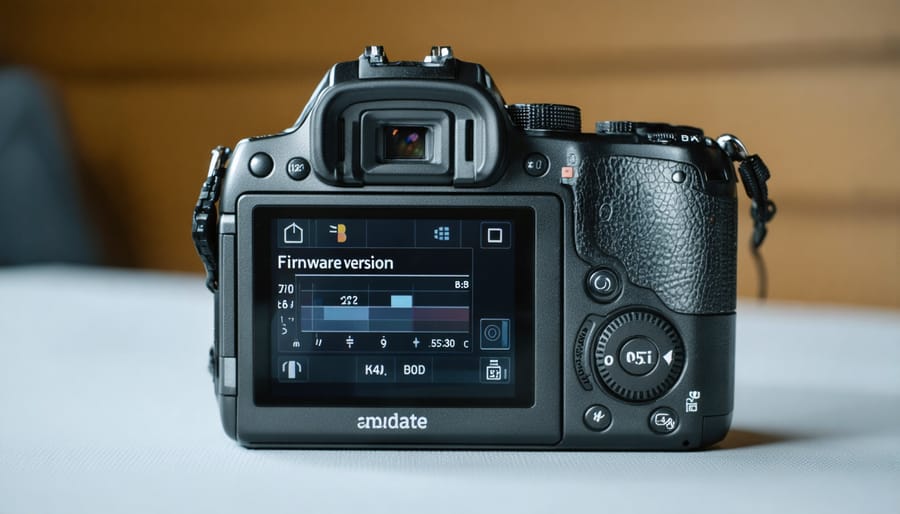
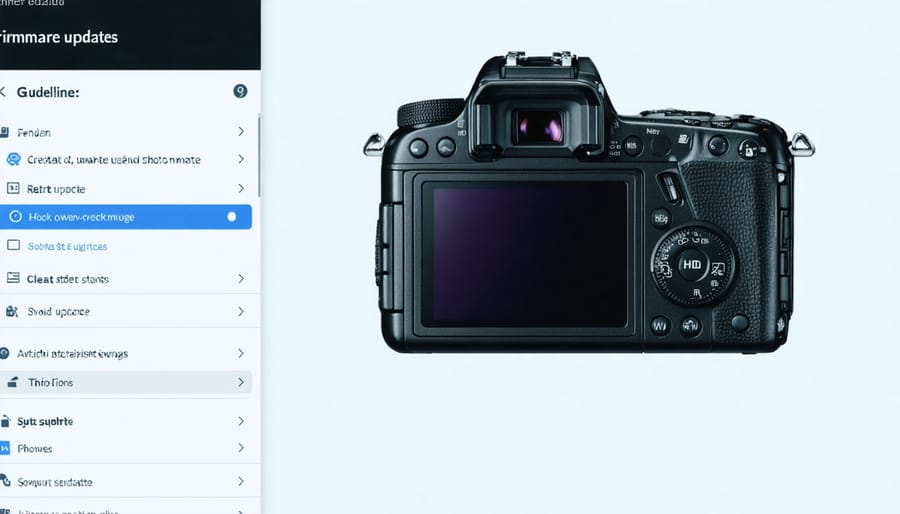
Before diving into any firmware update, it’s essential to check your camera’s current version. Start by accessing your camera’s menu system – typically found under “Setup,” “Tools,” or “Settings.” Look for an option labeled “Firmware Version” or “Software Version.” On most cameras, you’ll need to press the Menu button and navigate through the tabs until you find this information.
Once located, you’ll see a string of numbers (like 1.2.0 or 2.0.1) – this is your current firmware version. Compare this number with the latest version available on your camera manufacturer’s website. If the numbers don’t match, and the manufacturer’s version is higher, it’s time to update. Remember to check your specific camera model, as firmware versions can vary even within the same brand.
Keep in mind that not all firmware updates are necessary – some may add features you don’t need or fix issues you haven’t encountered.
Step-by-Step Update Process
Downloading the Correct Firmware
Locating and downloading the correct firmware for your camera is crucial for a successful update. Start by visiting your camera manufacturer’s official website and navigating to their support or download section. Most major brands like Canon, Nikon, Sony, and Fujifilm have dedicated firmware pages where you can search by your camera model.
To find your exact camera model, check the label on the bottom of your camera or look in the menu settings under “System Information” or a similar option. Enter this model number on the manufacturer’s website to access the appropriate firmware files.
Before downloading, verify your camera’s current firmware version through its menu system. This helps you determine if an update is actually needed and ensures you’re downloading a newer version. The firmware file will typically come in a compressed format (ZIP or RAR) and include installation instructions specific to your camera model.
Always download firmware directly from the official manufacturer’s website to avoid potentially harmful files from third-party sources. Once downloaded, keep the file in an easy-to-access location on your computer, as you’ll need it for the next steps.
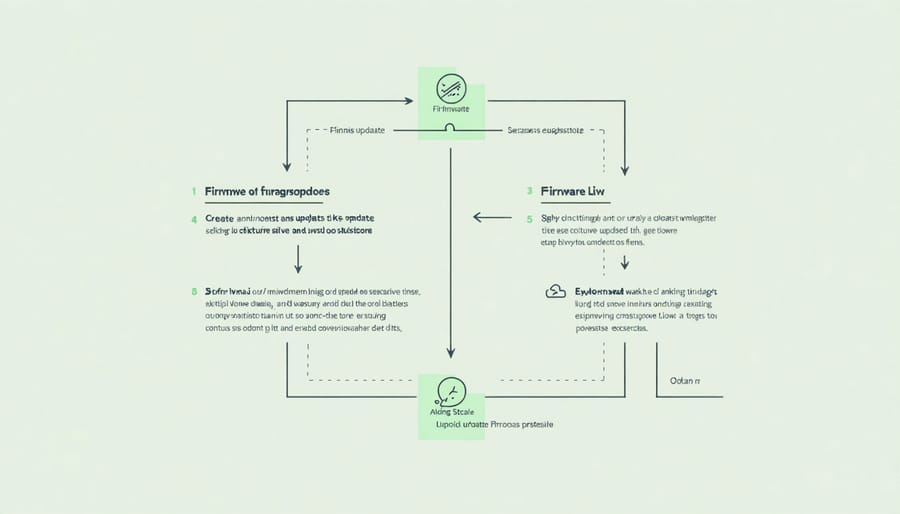
Update Installation Process
Before beginning the update process, ensure your camera’s battery is fully charged and have a clean, flat surface to work on. Follow these steps carefully to safely update your camera’s firmware:
1. Format your memory card in-camera to ensure it’s clean and ready for the update process.
2. Download the firmware file from your camera manufacturer’s official website and transfer it to your memory card following their specific instructions. Usually, this involves copying the file to the root directory.
3. Insert the memory card into your camera while it’s turned off.
4. Navigate to the firmware update option in your camera’s menu system. This is typically found in the setup or tools menu, though the exact location varies by manufacturer.
5. Select the update option and carefully read any on-screen warnings or instructions. Some cameras require you to press specific button combinations to initiate the update.
6. Confirm the update when prompted. The process usually takes 3-5 minutes. During this time:
– Don’t turn off the camera
– Don’t remove the battery
– Don’t press any buttons
– Don’t remove the memory card
7. Wait for the camera to complete the update and restart automatically. Some models might display a completion message.
8. Verify the update was successful by checking the firmware version in your camera’s menu.
Remember, interrupting the update process can seriously damage your camera, so patience is crucial during this procedure.
Verifying the Update
After completing the firmware update, it’s crucial to verify that the process was successful. First, turn your camera back on and navigate to the menu settings. Check the firmware version number displayed in your camera’s system or setup menu – it should match the version number of the update you just installed.
Take a few test shots to ensure all basic functions are working correctly. Pay special attention to any features that were specifically mentioned in the firmware update notes. For example, if the update included autofocus improvements, test your camera’s focusing capabilities in different lighting conditions.
Look for any error messages or unusual behavior. Your camera should operate smoothly without freezing or displaying warning indicators. If you notice any issues, double-check that you followed all update steps correctly and consider repeating the process if necessary.
Keep the firmware update file on your memory card for a few days until you’re completely satisfied with the camera’s performance. This way, you’ll have the file readily available if you need to reinstall it.
Troubleshooting Common Issues
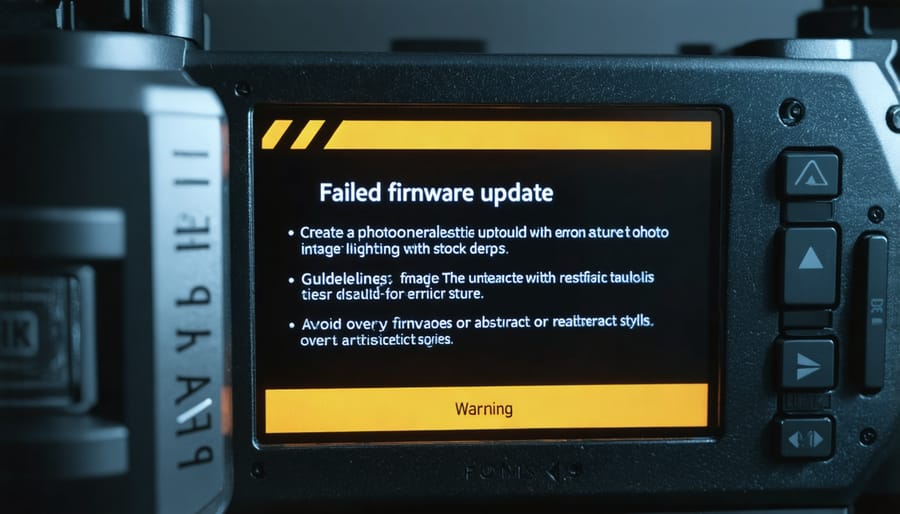
Failed Updates
If your firmware update fails, don’t panic – it’s a stressful situation, but there are several steps you can take to resolve the issue. First, ensure your camera battery is fully charged and try the update process again. Sometimes, a simple retry with a fresh start is all it takes.
If the update fails repeatedly, check your memory card for corruption. Format the card in your camera (after backing up any important images) and download a fresh copy of the firmware file. Corrupted downloads or compromised memory cards are common culprits in failed updates.
When these basic solutions don’t work, try using a different memory card or USB cable if you’re updating directly through your computer. Some photographers have success by using a lower-capacity memory card, as older cameras sometimes struggle with newer, high-capacity cards during updates.
If your camera becomes unresponsive after a failed update, remove the battery for at least 30 minutes, then reinsert it and try powering on the camera. This forced reset often helps restore normal operation.
Should all these steps fail, contact your camera manufacturer’s support immediately. Avoid using the camera until you receive professional guidance, as operating a camera with a partially updated firmware could potentially cause further issues. Most manufacturers have dedicated technical support for firmware-related problems and can provide specific recovery procedures for your model.
Post-Update Problems
Even after a successful firmware update, you might encounter some issues that can be concerning but are usually easy to resolve. One common problem is the camera not turning on immediately after the update. In this case, simply remove and reinsert the battery, then hold the power button for at least 10 seconds to force a restart.
Sometimes, your custom settings may revert to factory defaults. This is normal for many cameras, so it’s crucial to document your preferred settings before updating. Take photos of your menu settings or note them down to quickly reconfigure your camera.
If your camera seems sluggish or unresponsive after the update, performing a full reset often resolves these issues. While this means you’ll need to reconfigure your settings, it’s a reliable fix for post-update performance problems. Just like with regular camera maintenance secrets, knowing these troubleshooting steps can save you time and frustration.
Another issue photographers sometimes face is memory card errors. If this occurs, try formatting the card in-camera rather than through your computer. If problems persist, test the camera with a different memory card to isolate whether the issue is card-related or camera-related.
Remember, if you encounter any serious issues that these steps don’t resolve, contact your camera manufacturer’s support team for professional assistance.
Keeping your camera’s firmware up to date is a crucial aspect of modern digital photography that shouldn’t be overlooked. Throughout this guide, we’ve explored why firmware updates matter, from improving camera performance and fixing bugs to adding new features that can enhance your photography experience.
Remember that while firmware updates are essential, they require careful attention to detail during the installation process. Always follow the manufacturer’s specific instructions, ensure your camera battery is fully charged, and back up any important settings before proceeding with an update. Taking shortcuts or rushing through the process could potentially damage your camera, turning a simple update into a costly repair.
It’s worth making firmware updates part of your regular camera maintenance routine. Check your manufacturer’s website every few months for new releases, and take the time to read through the release notes to understand what improvements or fixes are included. This proactive approach helps you get the most out of your camera investment while ensuring optimal performance and reliability.
Think of firmware updates as giving your camera a refresh – much like how software updates keep your smartphone running smoothly. By following proper update procedures and maintaining awareness of new firmware releases, you’re ensuring your camera continues to perform at its best, allowing you to focus on what truly matters: capturing those perfect moments through your lens.