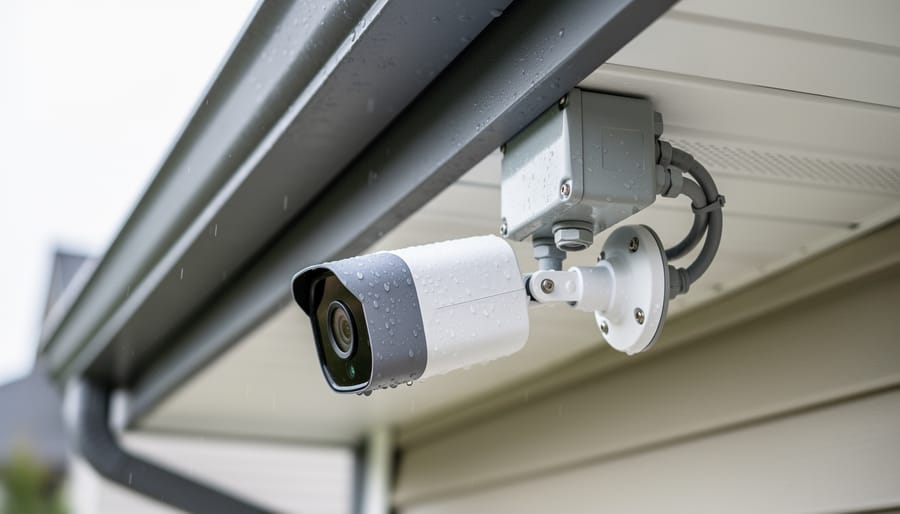
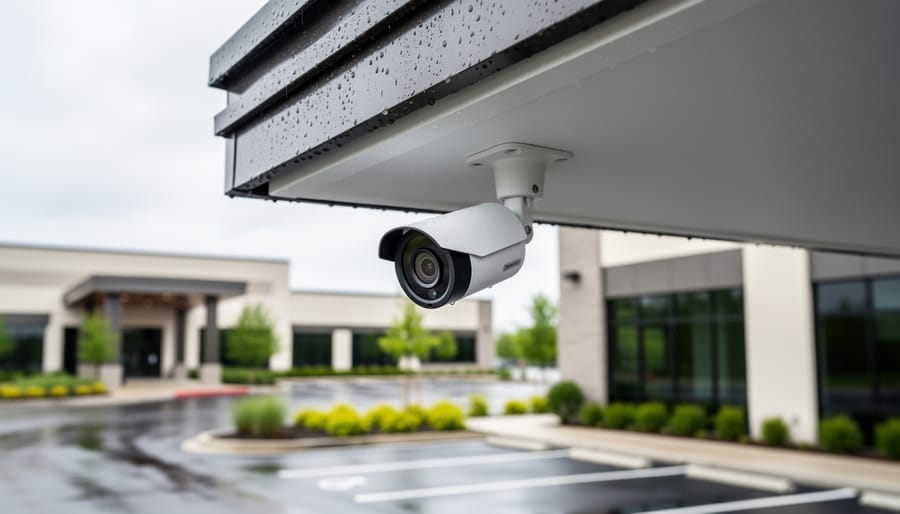
Position your home security cameras under protective eaves or soffits to shield sensors and lenses from direct rain and harsh sunlight, which degrades image quality and accelerates component failure within months. Mount cameras at least 8-10 feet high on solid surfaces using weatherproof junction boxes and sealed cable entries—this single step prevents 80% of moisture-related malfunctions that plague ground-level installations.
Run power and network cables through conduit rather than exposing them to UV rays and temperature extremes, as cable degradation is the leading cause of intermittent connection issues after the first year. Choose locations with stable Wi-Fi signals (test before drilling) and avoid areas near heat sources like dryer vents or direct afternoon sun exposure, which can push internal temperatures beyond operating thresholds and trigger premature sensor burnout.
Apply a thin layer of dielectric grease to all outdoor connections and verify your mounting hardware is stainless steel or properly coated to resist corrosion—a fifteen-minute investment during setup eliminates most weathering problems. These foundational decisions determine whether your cameras require constant troubleshooting or deliver years of reliable service with minimal ongoing camera maintenance. Smart installation today means fewer service calls, clearer footage, and significantly extended equipment lifespan tomorrow.
Why Your Setup Choices Determine Your Camera’s Lifespan
The decisions you make during initial camera setup have a surprisingly direct impact on how long your equipment will serve you reliably. Think of it like planting a tree—if you choose the wrong spot or don’t prepare the ground properly, that tree will struggle its entire life, no matter how well you care for it afterward.
Environmental factors deserve your careful attention before drilling a single mounting hole. Cameras positioned in direct sunlight experience accelerated sensor degradation and housing material breakdown, particularly with plastic components that can become brittle over time. I learned this lesson the hard way when a camera I mounted on a south-facing wall lasted barely two years before developing intermittent connection issues caused by heat-warped circuit boards. Ideally, position cameras under eaves or in shaded areas where temperature fluctuations remain minimal throughout the day.
Power considerations go beyond simply having an outlet nearby. Cameras connected to circuits shared with high-draw appliances experience voltage fluctuations that stress internal components. These tiny surges might not trip your breaker, but they gradually wear down capacitors and power regulators. Using a dedicated circuit or quality surge protector adds years to your camera’s functional life—a small upfront investment that prevents premature replacement costs.
Mounting position affects more than just your viewing angle. Cameras installed where they constantly battle vibrations from nearby doors, HVAC vents, or foot traffic develop loose connections and misaligned sensors faster than those mounted on stable surfaces. Similarly, positioning cameras where they’re exposed to constant moisture from sprinklers or poor drainage invites corrosion, even in supposedly weatherproof models.
The key takeaway? Every setup choice either extends or shortens your camera’s lifespan. Spending an extra hour evaluating environmental conditions, power quality, and structural stability during installation saves countless hours of troubleshooting and potentially expensive replacements down the road.
Location Planning: Protecting Your Camera From Day One
Weather and Environmental Exposure
Before mounting your camera outdoors, walk the proposed location at different times of day to understand what your equipment will face. Direct afternoon sun can raise surface temperatures to extremes that degrade electronics and warp plastic housings—I’ve seen cameras mounted on south-facing walls literally cook themselves over a single summer. Look for spots with natural shade from eaves or vegetation, or plan to install protective housing.
Rain exposure matters more than you might think. Water intrusion typically happens through cable entry points rather than the lens itself, so even cameras rated as weatherproof need proper installation. Ensure cables route downward from connection points to prevent water from traveling along the wire into the housing.
Temperature swings create condensation inside camera bodies, which is particularly problematic in humid climates. If you’re setting up in areas with significant humidity or temperature variation, research humidity protection techniques before installation. For long-term reliability, consider investing in environmental monitoring solutions that alert you to conditions that could damage your equipment. Regular inspection of seals and gaskets catches problems before water damage occurs.
Physical Security and Accessibility
When positioning your home camera, think beyond just capturing the perfect angle—consider how you’ll actually maintain it six months from now. I learned this lesson the hard way after mounting a camera under my eaves where it captured stunning entryway footage but required a 12-foot ladder and precarious leaning to clean the lens quarterly.
Choose locations that balance security with accessibility. Mount cameras high enough to discourage tampering but within reach of a stable stepladder for routine cleaning. A camera at 9 feet serves both purposes better than one at 15 feet that becomes a maintenance nightmare. Outdoor cameras inevitably accumulate dust, pollen, and spider webs—plan for this reality from day one.
Consider physical obstacles too. That corner with perfect sightlines might also collect falling leaves or become a bird’s favorite perch. I’ve seen cameras positioned beneath decorative trim that channeled rainwater directly onto the lens, creating constant streaking issues.
For tamper-resistance, use security screws and ensure mounting brackets are firmly anchored into studs or masonry, not just siding. Position power cables inside protective conduit where possible, but leave yourself a service loop—extra cable length that allows you to temporarily unmount the camera for deep cleaning or lens replacement without rewiring everything. This small planning step saves enormous frustration during future maintenance.
Vibration and Movement Considerations
Your camera’s mounting location dramatically affects its longevity. Even minimal vibration from nearby appliances, HVAC vents, or high-traffic doorways can gradually loosen mounting hardware and stress internal components over time. When scouting installation spots, physically touch potential surfaces while household systems run—you’d be surprised how much vibration transfers through walls from washing machines, garage door openers, or even ceiling fans.
Choose solid mounting surfaces like wall studs or concrete rather than drywall alone. I’ve seen cameras mounted on flimsy surfaces develop intermittent connectivity issues simply because micro-movements disrupted cable connections. For outdoor cameras, avoid mounting near gutter downspouts or areas where strong winds create repetitive movement. A camera that shifts even slightly with each gust will wear out its mounting bracket and potentially damage weatherproofing seals.
Test your chosen location by firmly pressing the surface and observing any flex or bounce-back. If you feel movement, your camera will experience it constantly, leading to premature wear and misaligned viewing angles that require frequent readjustment.
Power Setup That Prevents Component Failure
Surge Protection and Stable Power Delivery
Your home camera’s electronics are surprisingly sensitive to voltage fluctuations, and inadequate power protection is one of the most common yet preventable causes of premature failure. Every time your air conditioner kicks on or a storm rolls through, voltage spikes can travel through your electrical lines, potentially damaging delicate circuit boards and image sensors.
Here’s what happens: Modern cameras contain sensitive components designed to operate within specific voltage ranges. A sudden surge—even a minor one—can degrade these components incrementally. You might not notice immediate failure, but over months, these micro-damages accumulate, leading to erratic behavior, dead pixels, or complete system crashes.
The solution is straightforward: always plug your cameras and network equipment into quality surge protectors with appropriate joule ratings. For critical installations, consider uninterruptible power supplies (UPS units), which not only protect against surges but also maintain power during brief outages, preventing corrupted recordings and configuration resets.
I’ve seen countless cases where photographers invested in high-quality cameras but skimped on power protection, only to face expensive repairs within a year. A modest investment in regulated power delivery extends your equipment’s lifespan significantly and ensures your surveillance footage remains uninterrupted. Think of surge protection as insurance—it’s far cheaper than replacing damaged equipment.
Cable Management for Longevity
Cables are often the weakest link in any camera setup, yet they’re frequently overlooked until something stops working. The key to longevity starts with stress relief—never let cables hang unsupported or pull directly on connection ports. Use cable clips or conduit to secure lines every 12-18 inches along their path, creating gentle curves rather than sharp angles that can cause internal wire breakage over time.
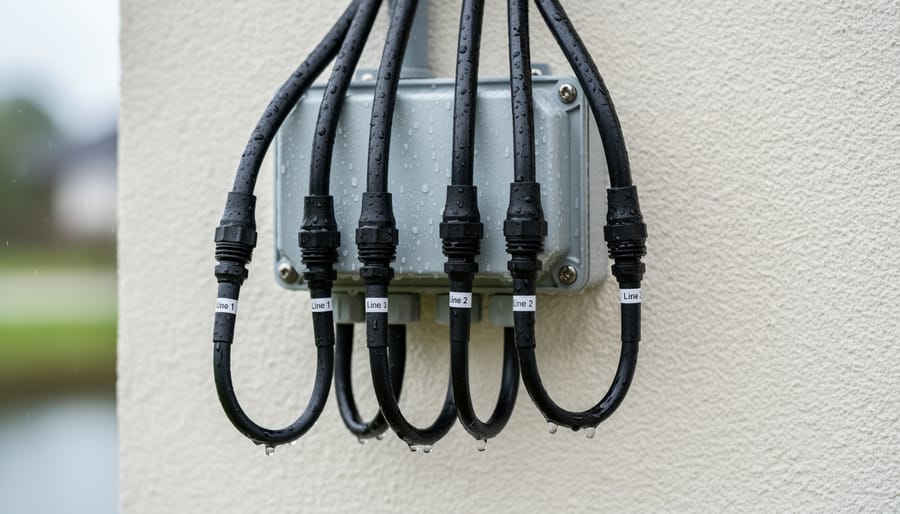
For outdoor installations, weatherproofing your connections is non-negotiable. Even “weather-resistant” cameras can fail when moisture creeps into cable junctions. Wrap all outdoor connections with self-fusing silicone tape, then cover with electrical tape for UV protection. I’ve seen cameras fail within months because owners skipped this simple step, assuming the manufacturer’s plug design was enough protection against the elements.
Pay special attention to the drip loop—that U-shaped bend in the cable before it enters your camera or junction box. This simple configuration prevents water from running along the cable straight into your connections. Think of it as a speed bump that redirects moisture downward before it reaches critical components.
Finally, label both ends of every cable during installation. When you eventually need to troubleshoot or upgrade, you’ll thank yourself for taking those extra thirty seconds per connection.
Mounting Hardware That Stands the Test of Time
Material Selection for Your Environment
The mounting hardware you choose directly impacts how well your camera withstands its environment over time. For indoor installations in climate-controlled spaces, plastic mounts offer a lightweight, budget-friendly option that resists corrosion and works perfectly fine when protected from the elements. They’re ideal for hallways, living rooms, and home offices where temperature swings and moisture aren’t concerns.
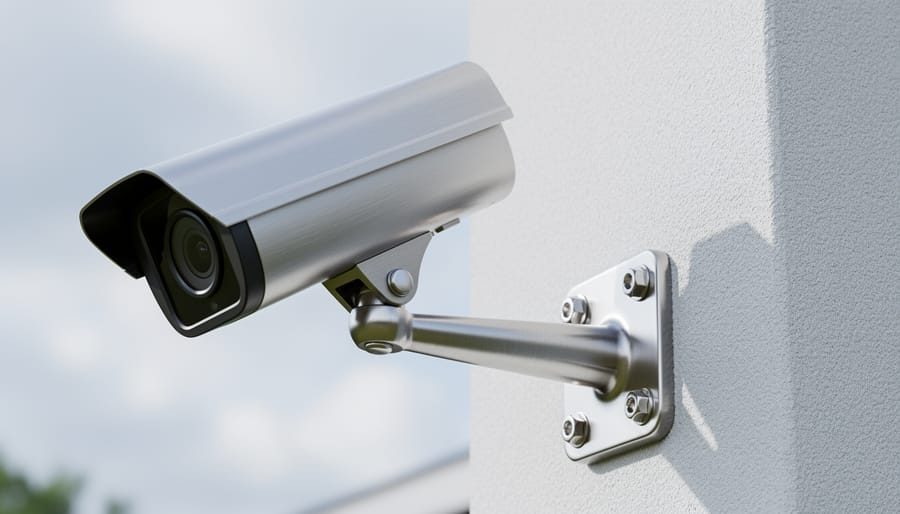
Outdoor cameras demand more robust solutions. Stainless steel mounts provide superior durability in coastal areas where salt air accelerates corrosion, though they come at a higher price point. I’ve seen plastic mounts become brittle and crack after just one winter in harsh climates, leading to camera drops and expensive replacements. Aluminum strikes a middle ground, offering excellent weather resistance at a reasonable cost. It’s particularly effective in areas with high humidity or frequent rain, as it naturally resists rust while remaining lighter than steel.
For extreme temperature zones, consider how materials expand and contract. Aluminum handles these fluctuations better than plastic, maintaining a secure grip on your camera through seasonal changes. This small upfront investment in appropriate mounting materials prevents the frustration of readjusting loose cameras or dealing with premature hardware failure down the line.
Proper Installation Techniques
A solid mounting job is the foundation of hassle-free camera operation. Before you drill a single hole, hold your camera against the wall or ceiling and check the viewing angle through its app—this simple step prevents the all-too-common mistake of discovering your perfectly mounted camera points at the neighbor’s fence instead of your front door.
For indoor cameras on shelves or desks, use anti-slip pads underneath to prevent gradual shifting from vibrations or accidental bumps. Outdoor installations demand more robust solutions. Wall anchors rated for at least three times your camera’s weight account for wind load and prevent that frustrating downward droop that develops over months. When running cables, leave a small service loop near the camera—this slack lets you unmount and remount the unit for cleaning or angle adjustments without wrestling with taut wires.
Temperature extremes cause mounting materials to expand and contract, so check screw tightness seasonally, especially for outdoor units. A camera that shifts even a few degrees can miss critical activity zones you’ve configured, turning your carefully planned setup into an expensive blind spot.
Network Configuration for Reliable Performance
Wi-Fi vs. Wired: Making the Right Choice
Wireless cameras offer incredible installation flexibility, but that convenience often comes with hidden maintenance costs. Battery-powered wireless cameras need regular recharging or battery swaps—a minor annoyance when you have one camera, but a genuine burden across multiple units. I’ve seen photographers abandon their outdoor wireless setups simply because climbing ladders every six weeks became unsustainable.
Wi-Fi connections also introduce troubleshooting variables. Signal drops, router updates, and interference from neighboring networks create intermittent failures that are frustratingly difficult to diagnose. Your camera might work perfectly for months, then inexplicably disconnect during critical moments.
Hardwired connections eliminate these headaches entirely. Ethernet provides stable connectivity without signal degradation, while wired power means never worrying about dead batteries. Yes, running cables requires more upfront effort, but consider this: that one-time installation saves countless hours of future maintenance. For cameras monitoring valuable equipment or critical angles in your studio, reliability trumps convenience.
The sweet spot? Use wired connections for permanent installations where you absolutely cannot afford downtime, and reserve wireless for temporary setups or locations where running cables genuinely isn’t feasible. Think long-term effort, not just installation ease.
Signal Strength and Interference
Your home camera’s lifespan depends heavily on signal quality. Weak Wi-Fi connections force your camera to work harder, constantly attempting reconnection and buffering video data. This continuous strain generates excess heat and accelerates component wear, particularly in wireless transmitters and processing chips.
Before finalizing your camera placement, test signal strength using your camera’s companion app. Most display a signal indicator—aim for at least three bars. If the signal drops to one or two bars, your camera will experience frequent disconnections that stress internal components. Consider repositioning your router or adding a Wi-Fi extender between your router and camera location.
Common interference sources include microwave ovens, cordless phones, and thick walls containing metal studs. A real-world example: one photographer discovered their kitchen camera repeatedly failed after six months. The culprit? Proximity to a microwave that degraded the signal every time it ran, causing constant reconnection cycles. Moving the camera three feet away eliminated dropouts entirely.
For multi-camera setups, distribute devices across your router’s 2.4GHz and 5GHz bands to prevent network congestion that creates similar stress patterns.
Initial Settings That Reduce Wear and Tear
Recording Schedules and Motion Detection
Smart recording schedules dramatically reduce wear on your camera’s storage and processing components while maintaining security coverage. Instead of continuous recording, which constantly writes data to your memory card or internal storage, configure motion-triggered recording to capture only meaningful events. This approach can extend your storage media’s lifespan by months or even years since SD cards and solid-state drives have finite write cycles.
Most home cameras offer customizable motion sensitivity settings—start conservative and adjust gradually. Setting sensitivity too high triggers false alerts from shadows, pets, or passing cars, creating unnecessary processing strain and filling storage with irrelevant footage. Define activity zones that exclude trees swaying in wind or street traffic beyond your property line.
Consider scheduling continuous recording only during high-priority hours, like overnight or when you’re away, then switching to motion-only mode during low-risk periods. This balanced approach gives you comprehensive coverage when it matters most while minimizing hardware stress during routine hours. Many cameras also support lower resolution recording during off-peak times, further reducing storage demands without sacrificing complete coverage.
Resolution and Frame Rate Optimization
Many people mistakenly believe that maxing out their camera’s resolution and frame rate settings delivers superior surveillance footage, but this approach actually shortens your camera’s lifespan considerably. Recording at 4K/60fps when you only need 1080p/15fps for monitoring a quiet hallway forces your camera’s processor to work overtime, generating excessive heat that degrades internal components much faster than necessary.
Think of it like running your car’s engine at redline constantly—technically possible, but absolutely terrible for longevity. The processor, image sensor, and voltage regulators all operate under thermal stress when handling unnecessarily high-resolution streams. This heat accumulation accelerates solder joint fatigue and capacitor aging, common failure points in home security cameras.
For most residential applications, 1080p at 15-20 frames per second provides perfectly adequate detail for identifying faces and monitoring activity while keeping your camera running cool and efficient. Reserve higher settings for specific high-priority zones like front doors or driveways. Adjusting these parameters during initial setup takes just minutes but can extend your camera’s operational life by years, reducing replacement costs and the hassle of reinstallation.
Post-Setup Maintenance Planning
Once your home cameras are installed, developing a maintenance schedule keeps them performing reliably for years. The good news? A little preventative care goes a long way toward avoiding emergency repairs and image quality degradation.
Start by creating a quarterly calendar reminder to inspect each camera location. During these check-ins, look for obvious issues like loose mounting hardware, cable wear, or obstructions that have grown into the frame. Outdoor cameras deserve extra attention—weather seals can degrade, and debris accumulates faster than you’d expect. I learned this the hard way when autumn leaves blocked my driveway camera’s motion sensor for three weeks before I noticed.
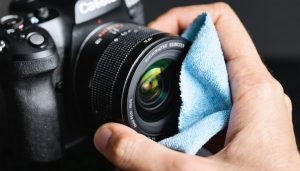
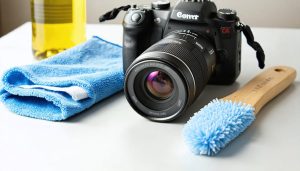
Your cleaning routine should match your environment. Cameras near coastal areas or dusty conditions need monthly lens cleaning, while indoor units in controlled environments might only require attention every few months. Use a microfiber cloth and proper lens cleaning solution—never household cleaners that can damage coatings. Gently wipe the lens in circular motions, and don’t forget to clean the sensor window if your camera has motion detection capabilities.
Network-connected cameras benefit from quarterly firmware updates, which often include security patches and performance improvements. Set aside time to verify remote access still works and review your storage setup to ensure you’re not approaching capacity limits.
By incorporating these essential maintenance practices into your routine, you’ll catch small issues before they become expensive problems, ensuring your investment continues delivering the security and peace of mind you installed it for.
Taking the time to thoughtfully set up your home camera system isn’t just about getting everything running—it’s an investment in the longevity and reliability of your equipment. The decisions you make during installation, from choosing a location that minimizes environmental stress to ensuring stable power and network connections, directly impact how much maintenance your cameras will need down the road. A camera mounted in a sheltered spot with proper ventilation will outlast one exposed to constant rain and temperature swings by years. Similarly, secure mounting prevents vibration damage, while quality cables reduce connection failures that lead to troubleshooting headaches. By addressing potential problems during setup—considering weather exposure, electrical stability, network reliability, and physical security—you’re eliminating the root causes of most common camera issues before they start. This proactive approach saves you both time and money, reducing the need for repairs, replacements, and frustrating diagnostic sessions. Think of setup as the foundation: get it right initially, and your cameras will reward you with consistent performance and minimal upkeep for years to come.