By
By 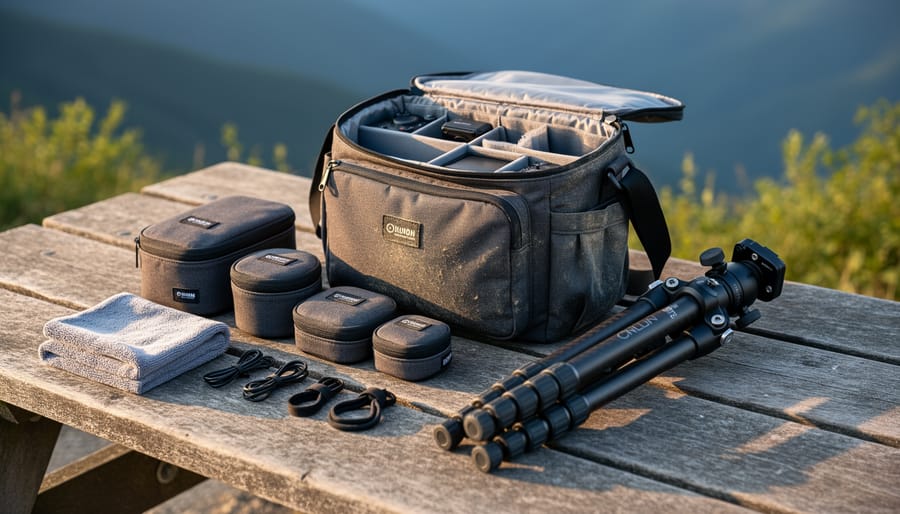
Successful travel photography depends less on your camera body and more on the supporting gear that keeps you mobile, protected, and ready to shoot in changing conditions. The right accessories transform a standard camera kit into a reliable travel companion: a weather-resistant camera bag protects your equipment during unexpected downpours, a versatile tripod enables sharp long-exposures at twilight landmarks, and organizational tools like lens pouches and cable wraps prevent the chaotic tangle that plagues rushed airport security checks.
Most photographers spend thousands on camera bodies and lenses, then compromise their entire trip with a poorly chosen bag or skip the tripod to save weight, only to miss golden-hour shots that demand stability. The gap between adequate and exceptional travel photography often comes down to these supporting tools. A microfiber cloth costs three dollars but saves a lens element worth hundreds when you’re shooting near ocean spray or desert sand.
This guide walks through the essential accessories that matter in real travel scenarios, from multi-day hikes through national parks to fast-paced street photography in urban centers. You’ll learn which items earn their weight in your luggage, how to match accessories to specific destination challenges, and practical strategies for packing efficiently without leaving critical tools behind. The goal is simple: arrive prepared, shoot confidently, and return with images that justify the journey.
Why the Right Accessories Transform Your Travel Photography
A tripod transforms the blurred, hand-held shot of a waterfall into a silky, professional image. A polarizing filter cuts through the glare on a lake surface, revealing the rocks and colors beneath. The right camera bag keeps your gear dry during an unexpected downpour in the mountains. These aren’t luxury upgrades, they’re the tools that determine whether you return home with memorable images or missed opportunities.
Travel photography places unique demands on your gear. You’re shooting in constantly changing light, from the harsh midday sun on canyon walls to the soft twilight glow over coastal towns. You’re moving between environments, one moment photographing inside a dimly lit historic building, the next capturing a sunlit plaza. Without the right accessories, your camera and lens can only do so much.
Quality accessories expand your creative range. A neutral density filter lets you shoot long exposures in bright daylight, smoothing water and clouds for dramatic effect. A remote trigger eliminates camera shake during those long exposures, preserving the sharpness your lens is capable of delivering. Portable lighting fills in shadows on a subject’s face when the available light isn’t working in your favor.
Protection matters just as much as creative capability. Dust storms, humidity, rain, and temperature swings can damage unprotected gear. A weather-resistant bag, lens cloths, and protective filters act as insurance against the unpredictable conditions you’ll encounter at accessible photography locations. The photographer who invests in proper accessories spends less time worrying about their equipment and more time focused on composition, light, and the decisive moment.
Essential Travel Photography Accessories
1. Travel Tripods and Support Systems
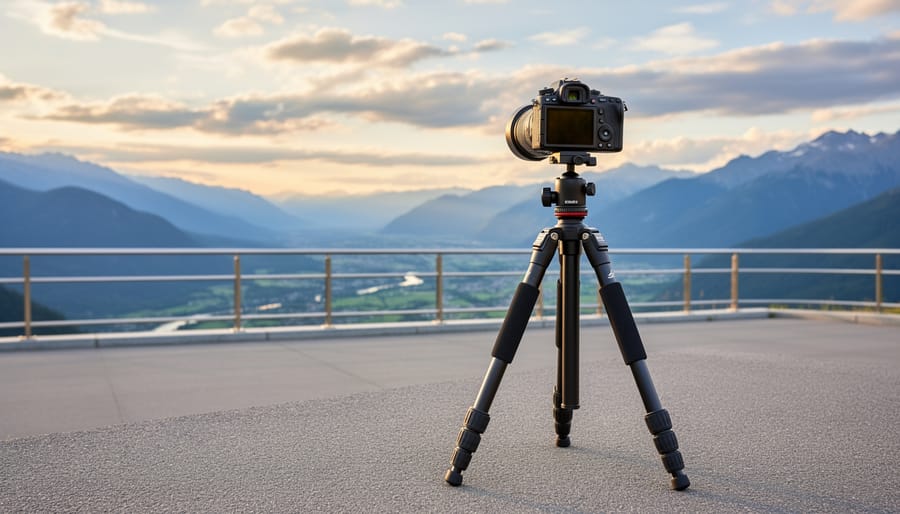
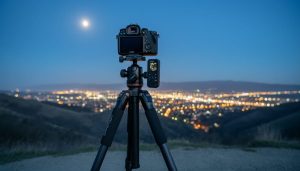
A quality travel tripod strikes the balance between stability and portability that defines successful location photography. When you’re shooting sunrise at a coastal overlook or capturing long exposures in a city square, the right support system transforms what you can achieve with your camera.
Material Choice: Carbon Fiber vs. Aluminum
Carbon fiber tripods weigh 30-40% less than aluminum equivalents while offering comparable strength. A typical carbon fiber travel tripod weighs 2.5-3.5 pounds and supports 15-25 pounds of gear, enough for a full-frame camera with a 70-200mm lens. Aluminum tripods cost less, typically $100-200 versus $300-500 for carbon fiber, making them solid choices if weight isn’t your primary concern or you’re building your first travel kit.
Load Capacity and Packed Size
Match load capacity to your heaviest lens setup, then add a 25% safety margin. A travel tripod should pack down to 15-18 inches to fit inside or strap to a carry-on bag. Center columns that extend in sections give you height without bulk, though you’ll sacrifice some stability at full extension in windy conditions.
Essential Features
Quick-release plates let you mount and dismount your camera in seconds, critical when moving between compositions at golden hour. Twist-lock legs deploy faster than flip-locks but require occasional maintenance. Removable center columns convert your tripod into a low-angle support for macro work or ground-level perspectives.
2. Camera Bags and Protection Solutions
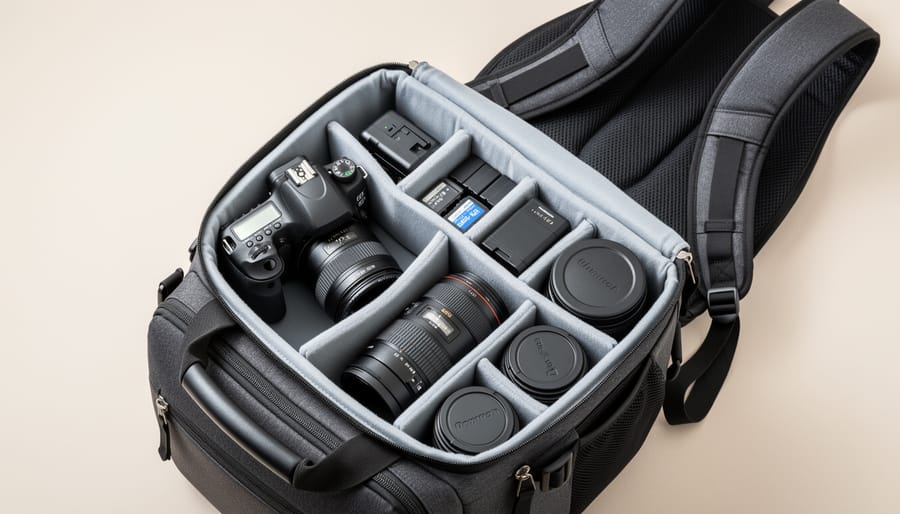
A camera bag isn’t just storage, it’s your mobile studio and your gear’s primary defense against the chaos of travel. The right bag keeps equipment organized, protected, and accessible while you navigate airports, hike to viewpoints, or walk city streets for hours.
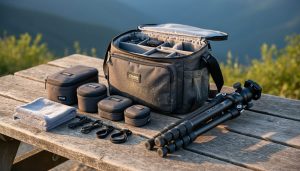
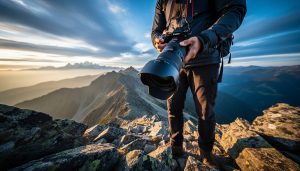
Backpacks offer the best weight distribution for extended shooting days and can accommodate a full kit including a camera body, multiple lenses, a travel tripod, and accessories. Look for padded dividers you can customize, a dedicated laptop compartment, and side access that lets you grab your camera without removing the pack. Weather-resistant materials and rain covers protect against unexpected downpours at coastal or mountain locations.
Sling bags provide faster access and work well for lighter kits or urban photography where you’re constantly shooting. They rotate to your front in seconds, ideal when you need to capture fleeting moments in crowded markets or bustling plazas.
For air travel, verify your bag meets carry-on dimensions and features lockable zippers for TSA compliance. Padded hip belts and breathable back panels matter more than you’d think during long days exploring accessible photography destinations, shoulder fatigue kills creativity faster than dead batteries.
Consider hybrid bags with removable camera inserts that convert to regular backpacks when you’re not actively shooting, maximizing versatility throughout your trip.
3. Filters and Filter Systems
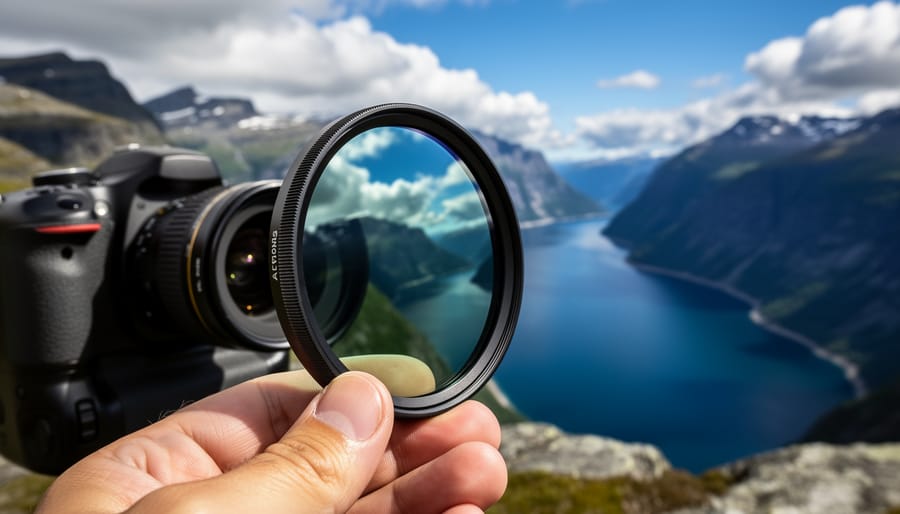
Filters rank among the most transformative accessories in a travel photographer’s kit, turning ordinary scenes into standout images. Neutral density (ND) filters reduce light entering the lens, enabling long exposures that blur moving water or clouds even in bright daylight. Polarizers reduce glare and reflections on water or glass while deepening blue skies and boosting color saturation. Graduated ND filters balance exposure between bright skies and darker foregrounds, crucial for dramatic landscape compositions.
You’ll choose between screw-on filters that attach directly to your lens (compact, simple, but limited to one lens diameter) or square filter systems using a holder and adapter rings (more versatile across multiple lenses, though bulkier). Quality matters: cheap filters introduce color casts, reduce sharpness, or create flare. Look for multi-coated glass with brass frames to avoid vignetting and corrosion.
For travel, a circular polarizer and a 3-stop or 6-stop ND filter cover most situations without excessive weight. These tools unlock the landscape photography secrets that separate snapshot documentation from compelling imagery, letting you control light and time in ways your camera alone cannot achieve.
4. Remote Triggers and Intervalometers
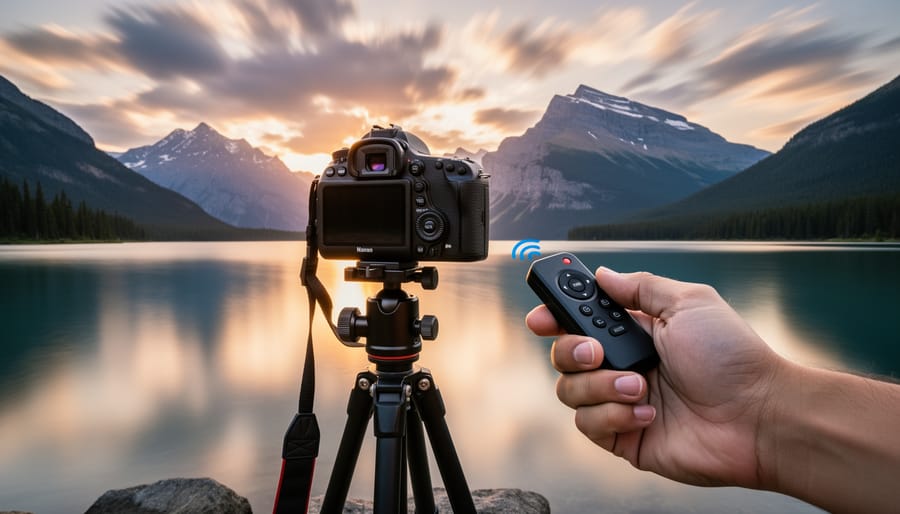
Remote triggers and intervalometers eliminate camera shake during long exposures and open creative possibilities for travel photographers. A wireless remote lets you fire the shutter without touching the camera, essential for sharp multi-second exposures of waterfalls, star trails, or city lights at dusk. Intervalometers automate sequences for time-lapses, capturing sunrise progressions or cloud movement over iconic landscapes while you concentrate on composition.
Beyond technical shots, remotes enable self-portraits at scenic viewpoints. Set your camera on a tripod, frame the composition, then step into the scene and trigger the shutter wirelessly, no need for a timer sprint or asking strangers for help.
For 2026 camera models, check compatibility before buying. Many mirrorless bodies accept Bluetooth or Wi-Fi app control through your smartphone, eliminating dedicated hardware. Others require brand-specific wired releases or third-party models matched to your camera’s port. Some advanced techniques, like the action photography pro tips used for high-speed sequences, benefit from programmable intervalometers with customizable timing. Wired options remain reliable in cold or remote areas where wireless signals falter or batteries drain quickly.
5. Portable Lighting Solutions
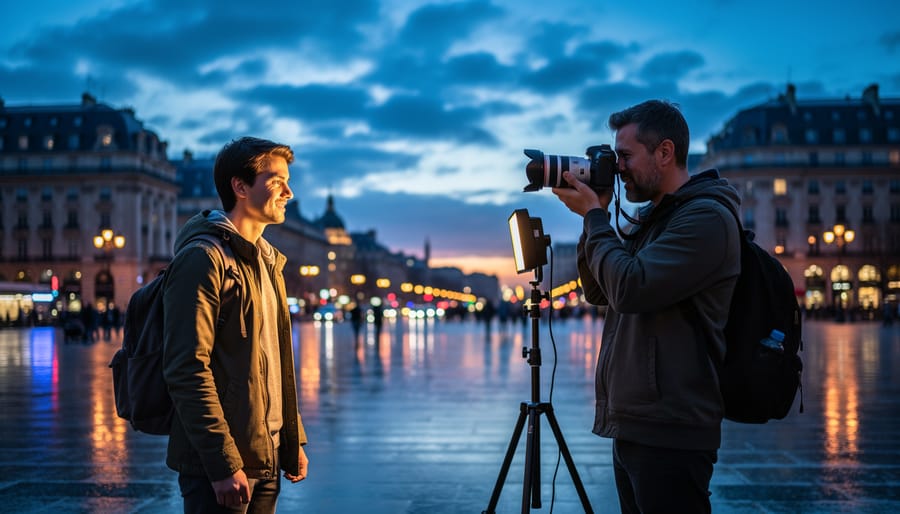
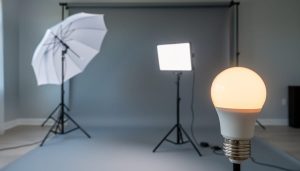
Portable lighting transforms challenging travel scenarios into creative opportunities. A compact LED panel (around 200 lumens) weighs under 300g and runs 90+ minutes on rechargeable batteries, ideal for illuminating interiors or adding fill light during blue hour. Speedlights offer more power, guide numbers 30-40m suit most travel needs, and sync with your camera for balanced exposures when combining flash with ambient light. Collapsible reflectors fold to palm-size yet bounce natural light beautifully for portraits at golden hour.
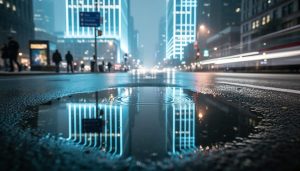
Battery life dictates field usability: LED panels typically provide dimming controls to extend runtime, while carrying two spare speedlight battery sets covers a full day’s shooting. Additional lighting matters most when ambient conditions fall short, underlit markets, shadowy architecture, or applying night photography tips at accessible urban landmarks. Dialing in proper evening camera settings alongside portable lights yields professional results without heavy studio gear, letting you shape light rather than accept what’s available.
6. Memory Cards and Storage Systems
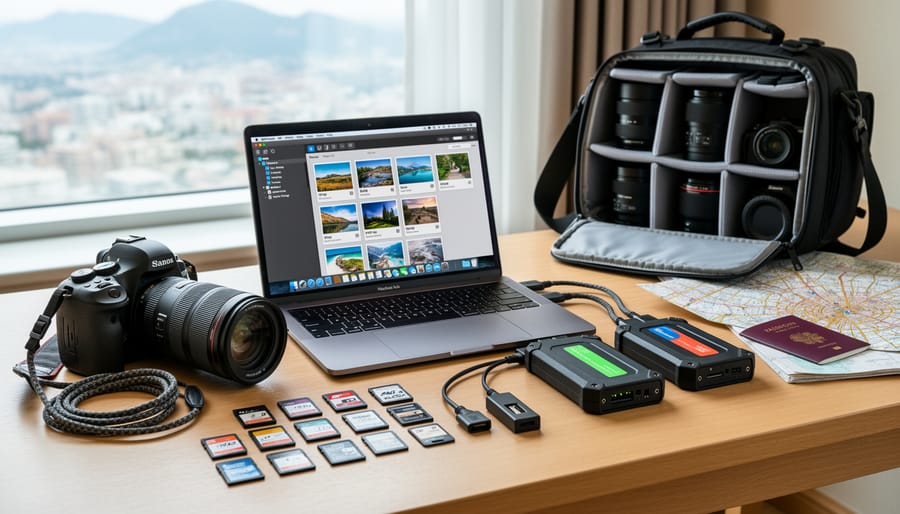
Memory cards are the foundation of your digital workflow when traveling, yet they’re often an afterthought until something goes wrong. For travel photography in 2026, prioritize high-capacity cards (128GB minimum, ideally 256GB or larger) with fast write speeds, look for UHS-II or CFexpress cards if your camera supports them. This ensures you won’t run out of space mid-shoot and can handle burst sequences or 4K video without buffer delays.
Redundancy matters more than raw capacity. Rather than relying on a single massive card, carry multiple smaller cards and rotate them throughout the day. If one fails or gets lost, you’ve only compromised part of your trip, not everything. Invest in a portable SSD (1TB or larger) for nightly backups, brands like SanDisk and Samsung offer rugged, pocket-sized models that survive travel conditions. A dedicated card reader speeds up transfers significantly compared to tethering your camera directly.
The critical habit: never format a card until you’ve verified your backup exists in at least two places. Hotel Wi-Fi often enables cloud uploads as a third layer of protection, though bandwidth can be unreliable. Treat your memory cards as temporary storage, not archives, and you’ll travel with confidence knowing your images are secure.
7. Power Solutions and Battery Management
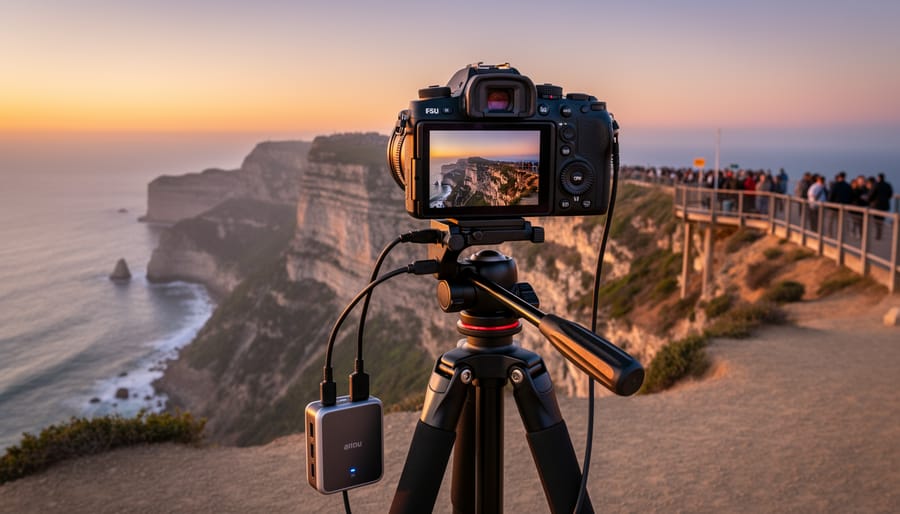
Keeping your camera gear charged during multi-day trips requires a systematic approach to power management. Beyond your camera’s factory battery, you need at least two spares, one in the charger while another sits in your bag as a hot-swap option. High-capacity mirrorless camera batteries typically deliver 300-500 shots per charge, but cold weather, continuous autofocus, and electronic viewfinder use drain them faster than CIPA ratings suggest.
A 20,000mAh USB power bank keeps your phone, tablet, and USB-C equipped cameras topped up between hotel stops. Look for models supporting Power Delivery (PD) fast charging at 18W or higher, which can charge most camera batteries in under two hours through compatible dual-battery chargers. Anker and Nitecore make reliable options that survive the jostling of travel bags.
For international trips, a compact universal travel adapter with built-in USB ports consolidates your charging setup. The adapters from Epicka and Ceptics work across plug types A through G, eliminating the need to research voltage compatibility for each destination. Most modern camera chargers accept 100-240V input automatically.
Solar charging panels remain niche for photography travel, their bulk and weather dependence make them impractical unless you’re backpacking off-grid for a week or more. Your power bank handles daily shooting needs more reliably.
8. Cleaning and Maintenance Kits
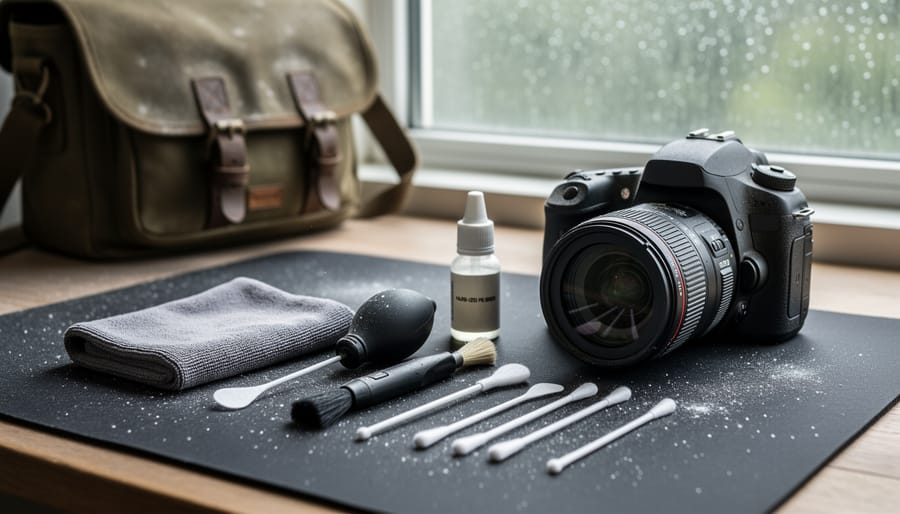
A basic cleaning kit protects your investment and saves shoots when dust or smudges appear. Start with a rocket blower for removing loose particles without touching glass, essential after beach or desert sessions. Pack at least two microfiber cloths, one for lenses, one for bodies and screens. A lens pen combines a retractable brush with a carbon cleaning tip, perfect for stubborn fingerprints in the field.
For longer trips, include lens cleaning solution in small travel bottles and pre-moistened wipes as backup. Sensor swabs and cleaning fluid matter if you change lenses frequently in dusty conditions, though many photographers wait until returning home for sensor maintenance. Store everything in a dedicated pouch so it’s accessible when conditions turn sandy, salty, or unexpectedly wet.
Practical Information for Building Your Travel Kit
Building a travel photography kit requires balancing capability against the practical realities of weight, budget, and how you’ll actually use the gear. A thoughtful approach prevents both overspending on accessories you’ll rarely need and arriving at a location without something essential.
Start with your travel style and shooting priorities. A photographer flying budget airlines with strict weight limits faces different constraints than someone road-tripping with trunk space. Similarly, someone focused on urban architecture needs different accessories than a landscape photographer hiking to remote viewpoints. Your destination matters too, specialized gear like underwater photography gear only makes sense if you’re shooting coastal or underwater subjects, while a lightweight travel tripod proves valuable nearly everywhere.
Budget your investments strategically. Quality doesn’t always mean expensive, but certain accessories, particularly tripods and camera bags, reward paying for durability and thoughtful design. A $200 carbon fiber tripod that lasts a decade and travels comfortably outperforms a $50 aluminum model that adds frustrating weight or fails mid-trip. Conversely, items like lens cloths and basic memory card cases work fine at budget price points.
| Scenario | Essential | Recommended | Optional |
|---|---|---|---|
| Urban Exploration | Camera bag, spare battery, memory cards | Compact tripod, lens cloth, polarizer | Remote trigger, portable lighting |
| Landscape Photography | Sturdy tripod, ND filters, memory cards | Polarizer, remote trigger, cleaning kit | Graduated ND filters, portable charger |
| Adventure Travel | Protective bag, spare batteries, cleaning kit | Lightweight tripod, memory backup, power bank | Filters, remote trigger |
| General Travel | Camera bag, memory cards, spare battery | Compact tripod, lens cloth, polarizer | Filters, portable lighting, remote trigger |
For air travel, pack batteries in carry-on luggage, regulations prohibit lithium batteries in checked bags. Keep your most valuable gear (camera body, primary lens, hard drives) with you rather than risking checked baggage loss or damage. International travel may require voltage adapters for chargers, and some countries scrutinize professional-looking camera gear at customs, though genuine personal use rarely causes issues.
Insurance matters more than many photographers realize. Check whether your homeowner’s or renter’s policy covers camera equipment away from home, and consider dedicated photography insurance if you’re traveling with expensive gear. Document your equipment with serial numbers and photos before departure.
Protect gear during transit with padded dividers in your bag, and pack accessories in logical groups, filters together, cables together, batteries in a dedicated pouch. This organization saves time in the field and prevents leaving small items behind when packing up quickly.
Local Tips and Field-Tested Advice
Pack your most-used accessories where you can reach them without taking off your bag. Keep lens cloths, spare batteries, and a basic filter set in exterior pockets or a hip-belt pouch. When you spot a shot, fumbling through a main compartment for five minutes kills the moment, especially at crowded viewpoints or during fleeting light.
Build your packing system around concentric layers: daily essentials in the top compartment, protective gear and cleaning supplies in the middle, and backup items you rarely need at the bottom. Use zippered pouches or packing cubes to group similar accessories by function, one for power management, another for filters, a third for cleaning tools. This speeds up repacking at airports and prevents the “everything floating loose” chaos that leads to damaged gear.
Silica gel packets are non-negotiable in humid or coastal environments. Drop a few in your camera bag and replace them every few weeks if you’re shooting in tropical conditions. After beach or waterfall sessions, wipe down all metal surfaces with a dry cloth before packing, salt spray corrodes tripod locks and filter threads faster than you’d expect. In dusty environments, keep a rocket blower handy and use it liberally before changing lenses; one grain of sand on your sensor ruins an entire shoot.
Quick-Access Field Tips:
- Attach your lens cloth to a carabiner on your bag strap, you’ll clean optics ten times more often when it’s immediately accessible
- Pre-mount your most versatile filter (usually a polarizer) before leaving your accommodation to save time at the first location
- Tape battery percentage indicators on spare power banks so you know which ones are charged without hunting for cables
- Carry one spare tripod plate already attached to a quick-release strap loop, switching between cameras or lenses with built-in mounts becomes effortless
- Mark cable lengths with colored tape; you’ll grab the right remote trigger or charging cord in seconds rather than untangling three identical black cables
Cold weather demands extra attention: batteries drain faster below freezing, so keep spares inside your jacket against body heat. Condensation forms when moving gear from cold exteriors to warm interiors, leave equipment sealed in your bag for thirty minutes to equalize temperature before opening compartments. If a tripod leg freezes or a filter ring seizes, don’t force it; warm the mechanism gradually with your hands rather than risking stripped threads.
When memory cards fail mid-shoot (and they will eventually), stay calm and swap to your backup card immediately. Mark the problem card clearly and attempt recovery only after returning home with proper software, field troubleshooting often makes data loss permanent.
Why Visit
Travel photography accessories unlock creative potential at destinations ranging from urban landscapes to remote wilderness. According to professional travel photographers, the right support gear, tripods for golden-hour cityscapes, filters for coastal scenes, remote triggers for self-portraits at iconic landmarks, transforms ordinary snapshots into portfolio-worthy images. These tools matter most when shooting conditions demand technical precision: long exposures at waterfalls, star trails in dark-sky reserves, or balanced exposures in high-contrast lighting.
This gear suits photographers at every level who want reliable results without carrying studio equipment. Beginners benefit from accessories that compensate for technique gaps (tripods eliminate shake, polarizers manage reflections), while experienced shooters rely on them to execute advanced creative visions. Whether you’re documenting accessible national parks, capturing street scenes in walkable cities, or applying techniques from our nature settings guide in the field, proper accessories ensure your camera performs at its best when travel opportunities present themselves.


 By
By