By
By 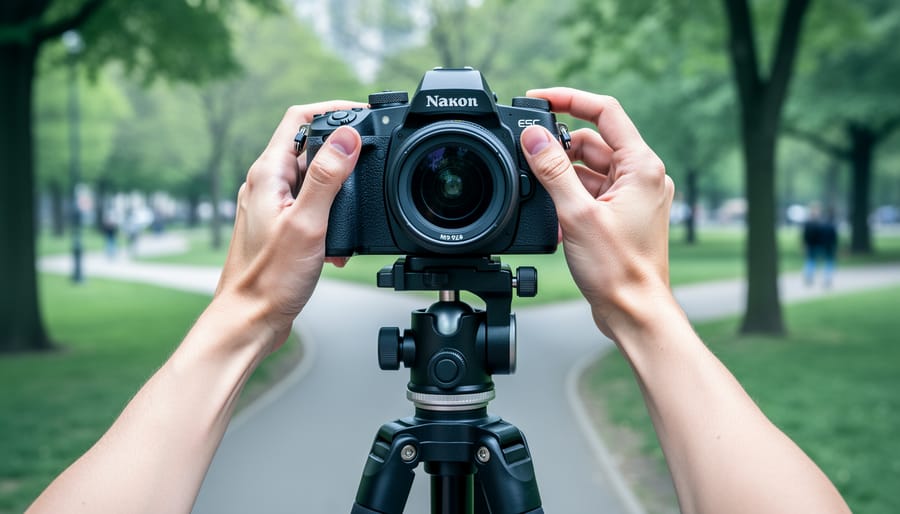
Normal camera settings are a trio of foundational controls that work together in predictable harmony: ISO 100 to 400 for clean images in good light, aperture between f/5.6 and f/8 for balanced sharpness, and shutter speed at 1/125th or faster to freeze everyday motion. These baselines give you sharp, well-exposed photos in typical daylight conditions without requiring moment-to-moment adjustments or complex technical knowledge.
Think of these settings as your photographic center point. Just as a recipe starts with standard measurements before you adjust for taste, camera settings have reliable defaults that produce consistent results while you learn how each control affects your final image. A portrait outdoors at f/5.6, ISO 200, and 1/250th will almost always give you a keeper. A landscape at f/8, ISO 100, and 1/200th delivers front-to-back sharpness in afternoon sun.
The real value here isn’t memorizing numbers. It’s understanding that these settings form a flexible starting point that adapts logically as conditions change. When you grasp why f/8 works for general photography or what happens when you push ISO to 800 indoors, you stop second-guessing every dial turn and start shooting with confidence. You’ll recognize when to stick with the baseline and when to deliberately break from it, whether you’re capturing your child’s soccer game or testing a new lens in your backyard.
What We Mean by ‘Normal’ Camera Settings
When photographers talk about “normal” camera settings, they’re not describing a universal formula that works everywhere. Instead, they’re referring to the tested middle ground that handles average daylight conditions reliably. Think of these as your baseline configurations, the settings you’d dial in for a well-lit outdoor scene on a clear afternoon. They’re the starting point most professionals reach for before adjusting for specific creative or technical demands.
Here’s the crucial distinction: your camera’s default settings and photographer-tested normal settings aren’t the same thing. Most cameras ship with Auto ISO enabled, Auto White Balance turned on, and evaluative metering configured to make decisions for you. While these defaults keep things simple, they often produce inconsistent results because they’re reacting to every scene differently. Normal settings, by contrast, give you predictable, repeatable results because you’re controlling the variables.
The concept works because mastering light and exposure starts with consistency. When you shoot with baseline settings in typical conditions, you build muscle memory and visual judgment. You learn what f/8 at 1/125 second looks like in afternoon sun. You recognize when a scene needs more or less light before you even raise the camera. That foundation makes you faster and more confident when conditions change or when you want to break the rules for creative effect.
Normal settings are tools for efficiency, not creativity killers. They free your attention for composition, timing, and connection with your subject because the technical side runs on autopilot until you need it to do something different.
The Exposure Triangle at Normal Settings
Aperture: The f/8 Sweet Spot
There’s a reason old photography wisdom says “f/8 and be there.” At f/8, most lenses hit their sharpest performance while delivering enough depth of field to keep foreground and background elements reasonably in focus. It’s not the widest aperture your lens can manage, nor the smallest, it’s the Goldilocks zone where optical quality and practical depth of field meet.
Here’s why f/8 works so reliably: lens manufacturers design optics to perform best when stopped down a few stops from wide open. Shoot at f/1.8 or f/2.8 and you’ll see edge softness, vignetting, and chromatic aberration. By f/8, these optical quirks largely disappear. You get corner-to-corner sharpness that makes the difference between a decent image and a keeper.
The depth of field at f/8 proves forgiving for subjects that aren’t perfectly flat. Photographing a family group outdoors? F/8 keeps everyone sharp even if they’re staggered slightly front to back. Shooting architecture or street scenes? You’ll capture detail from near to far without obsessing over precise focus placement. This makes f/8 ideal when you need technical reliability over creative blur.
When should you leave f/8 behind? Portrait work often calls for f/2.8 or wider to isolate subjects with that smooth background blur. Low light might force you to open up for more light. Conversely, sweeping landscapes sometimes benefit from f/11 or f/16 for maximum depth, though watch for diffraction softening at very small apertures.
Lens quality matters here too. A premium lens at f/8 will outperform a kit lens at the same aperture, but even mediocre glass improves dramatically when stopped down from wide open. That’s what makes f/8 genuinely normal, it brings most lenses into their capable range, giving you consistent results across different gear and situations.
Shutter Speed: The 1/125 Default
The 1/125 second shutter speed has earned its reputation as photography’s reliable workhorse for good reason. It’s fast enough to freeze everyday movement and avoid camera shake when shooting handheld with standard lenses, yet slow enough to gather sufficient light without pushing ISO into noisy territory. For decades, this setting has been the go-to starting point for photographers working with 50mm lenses in average conditions.
The logic behind this baseline comes from the reciprocal rule, which states that your minimum shutter speed should match or exceed your focal length. With a 50mm lens, that means 1/50 second at the slowest. With a 100mm lens, you’d want 1/100 second or faster. The 1/125 default provides a comfortable safety margin above these minimums, accounting for the reality that not everyone maintains a perfectly steady grip all the time.
Modern image stabilization can buy you two to five stops of advantage, effectively turning 1/125 into something as forgiving as 1/15, but the reciprocal rule still guides when to rely on that technology versus bumping your shutter speed.
This baseline shifts with your lens choice. Shooting with a 24mm wide-angle? You could drop to 1/30 or 1/60 and still get sharp results. Working with a 200mm telephoto? You’ll want 1/250 or faster, since camera shake magnifies dramatically at longer focal lengths. The principle remains constant even as the specific number changes.
Subject movement matters just as much as camera shake. That 1/125 baseline handles walking pedestrians and gentle gestures but won’t freeze a running child or flying bird. For genuine action, you’re looking at 1/500 or faster regardless of your focal length. Conversely, if your subject is completely static and you’re using a tripod, the whole conversation about handheld minimums becomes irrelevant. Context always trumps default settings.
ISO: Starting at Base for Maximum Quality
Your camera’s base ISO, typically 100 or 200, depending on the model, delivers the cleanest image quality your sensor can produce. This is where you get maximum dynamic range, minimal noise, and the finest detail rendition. It’s the normal starting point for any shoot where light isn’t an issue.
Base ISO represents your sensor operating at its native sensitivity, without electronic amplification adding grain to the image. Think of it like turning up the volume on weak audio, you can do it, but you’ll amplify the background hiss along with the signal. Starting at base ISO means you’re working with the purest signal before any amplification.
When to raise ISO becomes obvious: when you can’t open the aperture wider (because you need depth of field) and can’t slow the shutter speed further (because your subject or your hands are moving). A sharp photo at ISO 1600 beats a blurry masterpiece at ISO 100 every time. The normal workflow is adjusting aperture and shutter speed first, then raising ISO as the final lever.
Modern sensors have fundamentally changed what counts as acceptable. Today’s cameras produce usable images at ISO 3200 or 6400, levels that would have been unusable a decade ago. Full-frame sensors typically handle higher ISOs better than crop sensors, but even budget cameras now deliver clean results at ISO 800.
In practice, outdoor daytime shooting stays at base ISO. Indoor events might start at ISO 800-1600. Low-light work pushes to ISO 3200 or higher. The key is knowing your camera’s limits through testing, so you can confidently raise ISO when the situation demands it rather than clinging to base ISO and missing the shot.
Focus Modes and AF Settings That Work Most of the Time
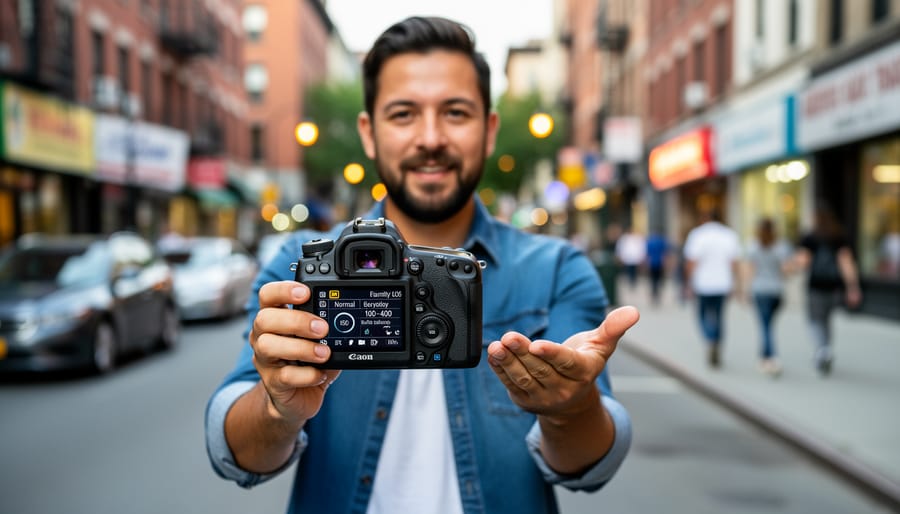
Most cameras offer three primary autofocus modes, and knowing which to use becomes second nature once you understand their purposes. Single-shot AF (AF-S on Nikon, One-Shot on Canon) locks focus when you half-press the shutter, making it perfect for anything that isn’t moving. This is your default for portraits, still life, and architecture, situations where your subject stays put between focusing and shooting.
Continuous AF (AF-C or AI Servo) tracks moving subjects, constantly adjusting focus as long as you hold the shutter button halfway. You’ll want this for kids running around, sports, wildlife, or street photography where you’re following action. The camera predicts where your subject will be when the shutter fires, which sounds fancy but mostly just works in practice.
For quick reference, here’s when to reach for each mode:
- Single-shot AF: Portraits, landscapes, product photography, any static subject
- Continuous AF: Sports, wildlife, children, street photography with moving subjects
- Manual focus: Macro work, astrophotography, video, low-light scenes where AF hunts
Many professionals swear by back-button focus, which separates focusing from the shutter release. Instead of half-pressing the shutter to focus, you assign focusing to a button on the camera’s back (typically AF-ON). This lets you focus once and recompose without the camera refocusing every time you press the shutter. It takes a week to feel natural, but once it clicks, most photographers never go back. You can keep your camera in continuous AF mode all the time and simply stop pressing the back button when you want to lock focus, best of both worlds.
For single-point AF, place your focus point directly on your subject’s eye in portraits or on the most important detail in your frame. Letting the camera choose focus points works in good light with clear subjects, but single-point gives you control when it matters.
White Balance: Auto vs. Custom Baselines
Auto White Balance has become impressively reliable on modern cameras, handling most daylight and outdoor scenarios without intervention. It excels in consistent lighting, think sunny days, open shade, or even overcast conditions where the color temperature stays relatively stable. Most photographers leave AWB engaged as their normal setting because it simply works the majority of the time.
Where AWB stumbles is mixed lighting. Indoor scenes with window light plus tungsten lamps confuse the camera’s sensor, often producing that sickly green-yellow cast you’ve probably seen. Similarly, AWB can struggle under heavy foliage where dappled sunlight creates color shifts, or in urban environments with sodium streetlights mixing with shop window light.
This is where presets earn their keep. Daylight (around 5500K) locks in neutral rendering for outdoor work when you don’t want the camera second-guessing itself across a series of shots. Cloudy (6000-6500K) adds warmth that counteracts the cool blue cast of overcast skies, particularly useful for portraits where skin tones matter. Shade preset (7000K+) goes further, compensating for the pronounced blue tone in shadowed areas under clear skies.
Shooting RAW changes the equation entirely. Your white balance setting becomes a starting suggestion rather than a permanent decision. You can adjust it freely in post-processing without quality loss, which is why many photographers stick with AWB and correct later if needed. This workflow prioritizes speed over perfection in-camera.
The practical approach: use AWB for general shooting, switch to Daylight for outdoor consistency across multiple frames, and lean on Cloudy for portraits. Monitor your results and adjust when you notice color casts creeping in.
Metering Modes for Consistent Exposure
Most modern cameras ship with evaluative (Canon) or matrix (Nikon) metering as the default, and there’s good reason this setting has become the photographer’s workhorse. This mode divides your frame into zones, analyzes the light across all of them, and calculates an exposure that keeps everything reasonably well-exposed. It’s remarkably smart about handling scenes with mixed lighting, from bright skies to shadowed foregrounds.
For everyday shooting, evaluative metering handles about 80% of situations without intervention. It’s the setting you want when you’re moving quickly through different lighting conditions or capturing moments as they happen.
Center-weighted metering becomes your normal when shooting portraits or any subject that needs priority over the background. It reads the entire frame but gives more importance to the center area, perfect when your subject’s exposure matters more than the surrounding context.
Spot metering, reading just 1-3% of the frame, isn’t an everyday choice for most photographers. Save it for high-contrast scenes where you need precise control over one specific tone, like a backlit subject or a performer in a spotlight.
Here’s the critical part: exposure compensation is your everyday tool, not an emergency measure. Even with evaluative metering doing solid work, you’ll regularly dial in +0.3 to +1.0 stops for lighter scenes or -0.3 to -1.0 for darker ones. This adjustment refines what the meter suggests rather than overriding your entire metering strategy. Check your histogram, adjust compensation, and keep shooting.
How Normal Settings Adapt Across Photography Styles
Portrait Photography Adjustments
For portraits, the baseline shifts toward shallower depth of field to separate your subject from the background while keeping skin sharp and flattering. Most portrait photographers land on f/2.8 to f/5.6 as their normal aperture range, wide enough for that soft bokeh but not so extreme that critical features fall out of focus.
At f/2.8, you get beautiful background separation with one person, though you need precise focus on the eyes. Stop down to f/4 or f/5.6 for couples or small groups to ensure everyone’s sharp. These apertures also hit the sweet spot of most portrait lenses, delivering excellent sharpness without the clinical look of f/8.
Shutter speed remains similar to general photography, 1/125 or faster to freeze subtle movements and avoid motion blur. Outdoors in bright light, you might need 1/250 or 1/500 to maintain those wider apertures without overexposing. In studio work with strobes, your shutter speed syncs with your flash (typically 1/160 to 1/250), while aperture and flash power control exposure.
ISO stays at base whenever possible. Outdoors, that’s usually achievable. In dimly lit indoor situations or late afternoon natural light, raising ISO to 400 or 800 maintains those flattering apertures and safe shutter speeds without compromising image quality significantly.
Many portrait photographers set these parameters in manual mode and adjust only when lighting shifts, creating a reliable workflow that prioritizes the subject over constant technical adjustments.
Landscape Photography Baselines
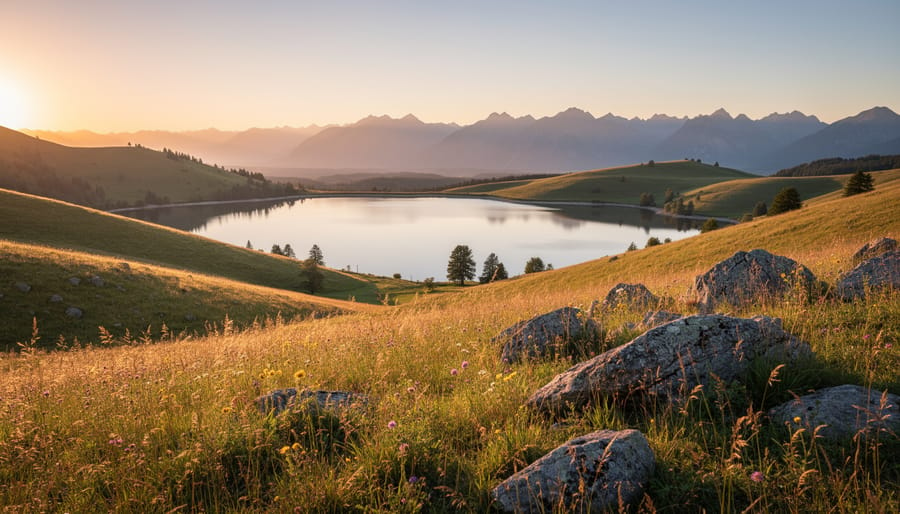
Landscape photography demands a different set of normal settings because the priorities shift entirely. Instead of freezing action or isolating subjects, you’re after maximum sharpness from foreground to distant hills. That’s why f/8 to f/16 becomes the standard aperture range, these smaller openings create extensive depth of field, keeping everything from rocks at your feet to mountains on the horizon acceptably sharp.
The catch? Smaller apertures let in less light, which pushes you toward slower shutter speeds. That’s where a tripod becomes essential equipment rather than optional. With your camera locked down on solid support, you can comfortably shoot at 1/30, 1/15, or even several seconds without motion blur. This stability lets you maintain ISO 100 for the cleanest possible files with maximum detail and dynamic range.
During golden hour, when soft light paints the landscape, you might shoot at f/11, 1/15 second, ISO 100, the tripod absorbing any camera shake while the aperture handles depth. Midday shooting presents different challenges. Harsh light means you’ve got plenty of brightness, so f/16 at 1/125 second still keeps you at base ISO. Some photographers even add neutral density filters to slow things down further, smoothing out water or cloud movement.
The landscape baseline is simple: smallest practical aperture for sharpness, slowest shutter speed your tripod allows, base ISO always. Everything else adjusts around that foundation.
Street and Documentary Settings
Street and documentary photography demands settings that prioritize readiness over perfection. The unpredictable nature of candid moments means your normal baseline shifts toward speed and flexibility.
Most street photographers settle on 1/250 second as their minimum shutter speed, fast enough to freeze pedestrians mid-stride and eliminate motion blur from your own movement as you walk. In bright daylight, you can often push to 1/500 or higher, giving you insurance against unexpected gestures or passing vehicles. When light fades, don’t cling to fast shutter speeds at all costs; accepting 1/125 with steadier hands beats underexposed shots.
Aperture becomes a calculated compromise. F/5.6 to f/8 gives you enough depth of field that minor focus errors won’t ruin the shot, critical when you’re reacting rather than composing. This range keeps backgrounds recognizable without making them distracting, maintaining context while emphasizing your subject.
ISO flexibility separates successful street work from missed opportunities. Auto ISO with a ceiling of 3200 or 6400 (depending on your camera’s capabilities) lets you maintain shutter speed and aperture priorities as lighting changes. Modern sensors handle ISO 1600 remarkably well, making it a reasonable midday starting point in shadowed urban environments.
Zone focusing, pre-setting focus to a specific distance, and hyperfocal distance techniques become normal practice rather than advanced tricks. Set f/8, focus to 10 feet, and everything from about 7 feet to 20 feet stays acceptably sharp. You’re shooting moments, not test charts.
Building Your Personal Normal Settings

Your personal normal settings won’t match mine exactly, and that’s the whole point. These baselines should reflect your gear, your common subjects, and your shooting style. The fastest way to develop them is through deliberate practice rather than guessing.
Start by shooting the same scene multiple times with different configurations. Take your favorite subject, whether that’s your kids, your neighborhood, or your morning coffee, and photograph it across several sessions, varying one setting at a time while keeping the others constant. Review the results critically. Which aperture gives you the sharpness and depth you prefer most often? What shutter speed feels right for your natural steadiness? You’ll quickly notice patterns in what works.
- Shoot a familiar scene at apertures from f/2.8 to f/11, noting which range you prefer for sharpness and depth.
- Test handheld shutter speeds from 1/60 to 1/250, finding your personal stability threshold.
- Review a month of your best images and note the settings that appear most frequently.
- Set your camera’s custom mode (C1, C2, or similar) to those recurring settings.
- Use this baseline for two weeks, adjusting only when a situation clearly demands it.
Most serious cameras let you save these configurations to custom modes or user presets. I keep C1 set for my everyday walking-around baseline and C2 configured for low-light situations. When I pick up my camera, I’m not starting from scratch, I’m starting from experience.
Wedding photographer Maria Chen keeps three custom modes: one for ceremony light, one for receptions, and one for outdoor portraits. She rarely touches individual settings during events because she’s already done the testing. Street photographer James Park has a similar approach but simpler: one custom mode optimized for 1/500, f/5.6, auto ISO capped at 6400. He knows these settings cold.
Your normal settings will evolve as you do. That’s fine. Revisit them every few months, especially after you’ve tackled new subject matter or upgraded gear. The goal isn’t permanence, it’s having a trusted starting point that lets you work fast and focus on the moment instead of the menu.
Understanding normal camera settings isn’t about limiting your creativity, it’s about building a foundation that makes you faster and more adaptable. When you know your baseline settings inside out, you spend less time fumbling with dials and more time seeing the photograph before you. That confidence transforms how you work.
Think of these settings as your photography vocabulary. You wouldn’t try writing poetry without first knowing basic grammar and common words. The same applies here. Once f/8 at 1/125 becomes second nature, you’ll instantly recognize when a situation demands f/2.8 or 1/500. You’re not following rules anymore, you’re making informed choices.
The photographers who break the rules most effectively are the ones who mastered them first. They understand exactly what they’re sacrificing and gaining with each adjustment. Your normal settings become the reference point that makes everything else make sense.
Start with these baselines. Practice them until they’re instinctive. Then experiment freely, knowing you can always return to solid ground. That’s when your photography truly comes alive.



 By
By