By
By 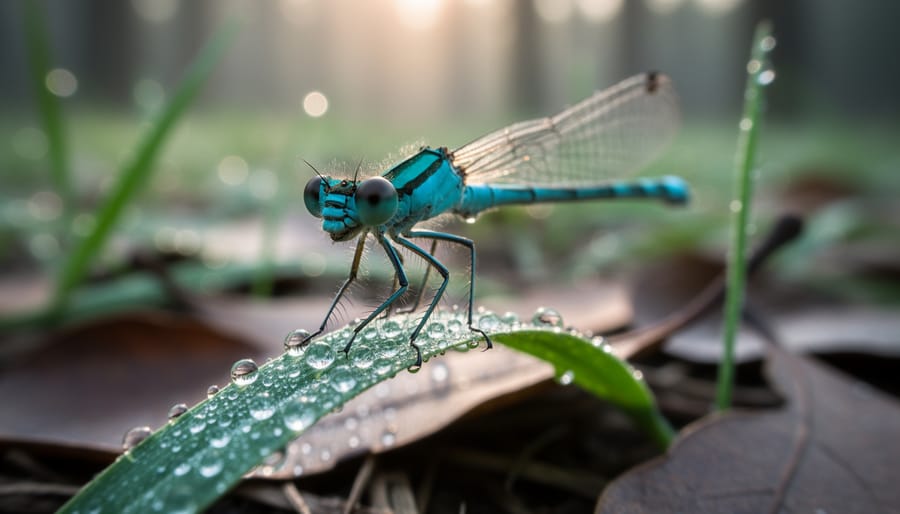
Macro wildlife photography lets you capture tiny creatures and intricate wildlife details at magnifications of 1:1 or greater, revealing textures, behaviors, and colors invisible to the naked eye. Unlike traditional macro photography basics focused on flowers or static objects, this discipline demands you work with living subjects that move unpredictably, flee from disturbance, and operate on their own schedules.
The challenge is real: a damselfly that holds perfectly still for three seconds before darting away, a jumping spider that pivots to track your lens, morning dew that evaporates as soon as the sun hits your scene. You need specialized equipment (macro lenses in the 90mm to 180mm range, extension tubes, or dedicated close-up gear), a solid grasp of shallow depth-of-field management at extreme magnifications, and the field skills to approach skittish subjects without spooking them.
Success hinges on understanding animal behavior as much as camera settings. The best macro wildlife photographers learn to read their subjects, anticipate movement, and work within the narrow window when light, subject position, and sharpness align. You’ll spend more time on your knees in wet grass than behind a computer, and patience becomes as critical as any piece of glass in your bag.
This guide walks you through the complete workflow, from selecting the right focal length and managing paper-thin focus planes to ethical field practices that protect fragile species while you capture frame-worthy shots.
Essential Gear and Materials for Macro Wildlife Photography
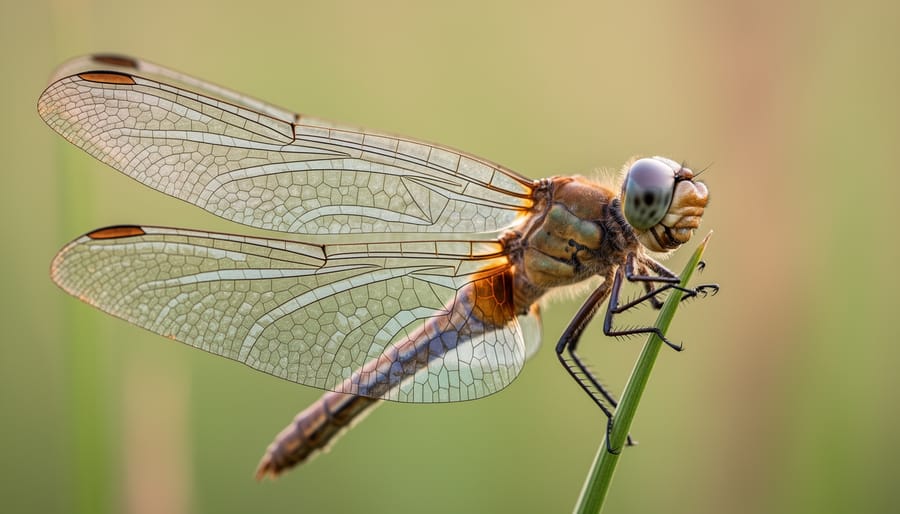
Choosing the Right Macro Lens for Wildlife
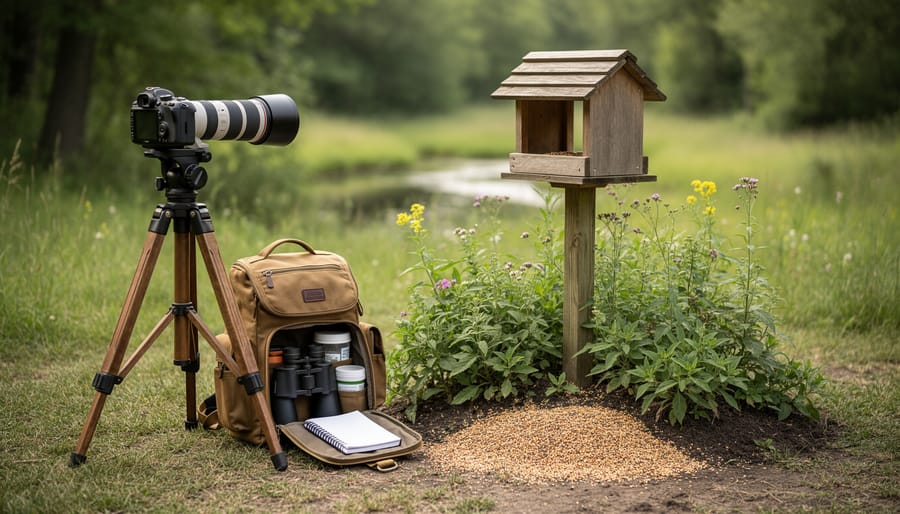
Working distance, the physical space between your lens and the subject at minimum focus, makes all the difference when photographing creatures that fly, jump, or scurry away at the slightest disturbance. A longer focal length keeps you farther back, reducing the chance you’ll cast a shadow or trigger an escape response.
A 90mm or 100mm macro lens typically requires you to be about 6-8 inches from your subject at 1:1 magnification. This proximity works well for cooperative subjects like caterpillars on foliage or beetles that tolerate close approach. These lenses are also lighter and easier to handhold for extended periods, making them practical all-purpose choices if you’re just starting out.
The 105mm focal length extends working distance to roughly 10-12 inches, giving you breathing room with moderately skittish insects like bees on flowers or damselflies resting on reeds. The extra space means your movements are less likely to spook the subject, and you can position a diffuser or reflector without crowding the frame.
For truly wary subjects, butterflies with their large compound eyes that detect motion from surprising distances, dragonflies that bolt at shadows, or jumping spiders that react to vibrations, a 180mm or 200mm macro lens becomes invaluable. These give you 16-18 inches of working distance, sometimes more. You can photograph a swallowtail feeding without your lens appearing in its field of view, or capture a dragonfly’s wing detail before it registers your presence.
The trade-off is weight and cost. A 180mm macro is heavier and demands steadier hands or tripod support, and it typically costs more than shorter options. If your primary targets are nervous fliers, the investment pays off in shots you simply couldn’t get with a 90mm.
Support Systems That Won’t Scare Your Subject
Stability matters in macro work, at 1:1 magnification, even your heartbeat can cause blur, but traditional tripods present a problem. Setting up a bulky three-legged rig near a butterfly or beetle gives the subject ample warning to flee. The solution lies in choosing support systems that balance shake reduction with quick deployment and minimal disturbance.
Monopods offer a practical middle ground. They stabilize vertical movement while letting you pivot smoothly to track a moving dragonfly or reposition for a skittish spider. A monopod with a tilt head lets you lock your angle, take the shot, and collapse the setup in seconds. For insects that tolerate human presence but not sudden movements, this speed matters.
Ground-level subjects, beetles on bark, ants on trails, fungi-dwelling creatures, demand low shooting positions where tripods become awkward. Beanbags work beautifully here. Rest your lens on one, nestle into the dirt, and you’ve got stable support without legs jutting into the frame or startling your subject. Dedicated ground pods (low-profile tripods barely six inches tall) serve the same purpose with adjustable feet for uneven terrain.
Handheld shooting becomes necessary when wildlife won’t wait. A bee visiting flowers moves constantly; you need to move with it. Stabilize yourself by tucking elbows tight, bracing against a tree, or kneeling with one knee as a lens rest. Modern in-body image stabilization helps, but technique matters more. Shoot at 1/250s minimum to freeze both your movement and the subject’s fidgeting.
The real skill isn’t choosing one system, it’s reading the situation and switching tactics. Calm subjects get the tripod treatment; active ones demand mobility.
Safety and Ethical Considerations
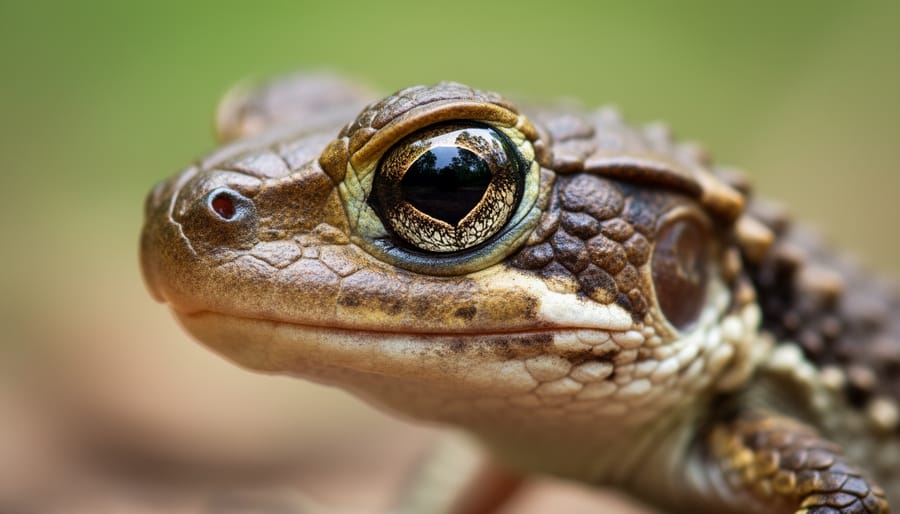
Before you head into the field with your macro lens, understand that capturing beautiful images comes second to the wellbeing of your subjects and your own safety. Ethical respect for subjects applies just as much to insects and small wildlife as it does to people, these creatures are going about their essential business of feeding, reproducing, and surviving.
Never move, manipulate, or chill insects in a refrigerator to make them “more cooperative.” If an insect flies away when you approach, that’s its way of telling you it’s uncomfortable. Respect that boundary. Similarly, keep distance from nests burrows, and obvious feeding sites, your presence can cause parents to abandon eggs or young, and repeated disturbance may lead entire colonies to relocate. If you notice defensive behavior like a spider raising its front legs or a bee buzzing aggressively, back away immediately.
Personal safety matters too. Check yourself thoroughly for ticks after every session in tall grass or wooded areas, especially during spring and summer months. Mosquitoes are more than annoying; they can carry disease, so use repellent on exposed skin and clothing. Learn to identify venomous spiders, snakes, and stinging insects common to your region, photograph them from a respectful distance with a longer macro lens, never with your hand hovering inches away.
Sun exposure sneaks up when you’re absorbed in composition. Wear a hat, apply sunscreen, and stay hydrated during long sessions. Watch your footing on uneven terrain, wet rocks, and leaf litter, a twisted ankle ends your shoot and possibly your season. Some areas require permits for wildlife photography, particularly in protected habitats or parks, so check local regulations before you set up.
Step-by-Step Process: From Finding Subjects to Nailing Focus
Step 1: Scout Locations and Time Your Visits
Finding your subjects starts before you pick up the camera. Scout potential locations during midday walks when you’re not shooting, look for areas with high biodiversity like community gardens, wetland edges, wildflower meadows, and the transitional zones between forest and field. These ecotones support diverse insect populations because they offer varied food sources and microhabitats.
Time of day matters enormously. Butterflies and many beetles become active mid-morning once temperatures climb above 60°F, while dragonflies peak around noon. For dew-covered subjects with stilled wings, arrive at dawn when moisture weighs insects down and cooler air slows their metabolism. Spiders are easiest to photograph early morning when their webs catch light and they’re less reactive.
Weather shapes your opportunities more than most beginners realize. Overcast days provide soft, even light and keep subjects active longer without seeking shade. Light rain brings snails and amphibians out, though you’ll need weather-sealed gear. Hot afternoons above 85°F send most insects into hiding, but that’s prime time for dragonflies near water. Avoid windy conditions, even a 10 mph breeze turns macro photography into an exercise in frustration.
Seasonally, spring through early fall offers peak diversity in temperate regions. In 2026, plan your outings around local emergence patterns rather than fixed dates, warmer springs shift cycles earlier. Keep a location journal noting what you find where and when; patterns emerge quickly, turning random searches into targeted expeditions.
Step 2: Approach and Position Yourself
Slow, deliberate movement is your best friend when approaching wildlife subjects. Think of it as a low-stakes dance, sudden motions trigger flight responses, so take small steps, pause frequently, and let the creature adjust to your presence. Watch for warning signs: a butterfly folding its wings, a spider retreating into its web, or a dragonfly tensing for takeoff all signal you’re too close or moving too fast.
Getting down to eye level transforms your shots from documentation into storytelling. Kneel, crouch, or lie flat on the ground to align your lens with your subject’s perspective. This position also reduces your perceived size, making you less threatening. You’ll capture catchlights in compound eyes and render backgrounds into smooth, creamy blur rather than distracting clutter.
Mind your shadow. On sunny days, position yourself so you’re not casting darkness over your subject, many insects will move or close up when suddenly shaded. If you’re blocking the light, circle around slowly rather than looming over the creature.
Above all, develop patience. Sometimes the best approach is no approach at all: set up near a flower or perch, stay still, and let wildlife come to you.
Step 3: Configure Your Camera Settings
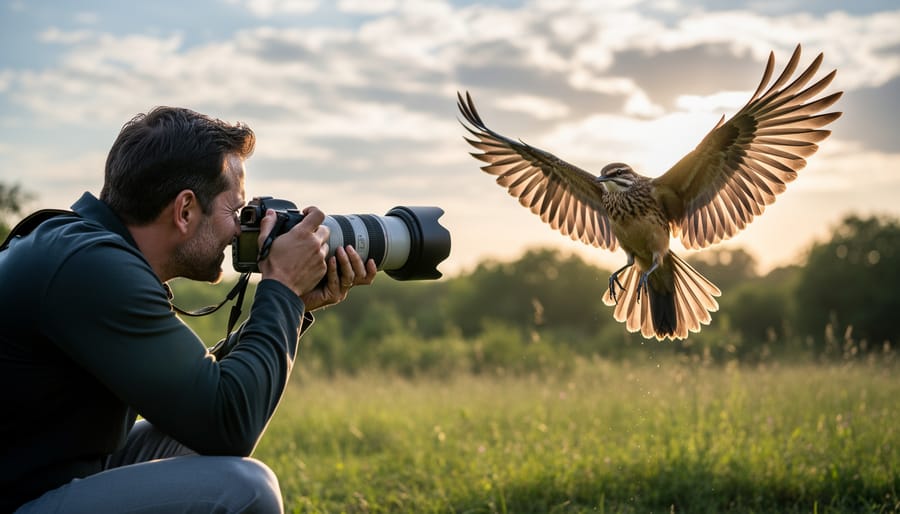
With your subject positioned and your approach perfected, it’s time to dial in the technical settings that will make or break your shot. Getting these camera configurations right is critical when working at macro magnification, where even tiny mistakes become glaring errors.
Start with aperture, your primary tool for controlling depth of field. While you might be tempted to shoot wide open for background blur, resist that urge. At macro distances, f/2.8 or f/4 gives you a depth of field measured in millimeters, meaning most of your insect will be soft and out of focus. Instead, aim for f/8 to f/11 as your sweet spot. This range provides enough depth to keep critical features sharp while still separating your subject from the background. Push to f/16 only when you absolutely need maximum sharpness throughout the subject, but be aware that diffraction will start softening your image at smaller apertures.
Shutter speed is your freeze-frame control. Insects rarely sit perfectly still, and even a gentle breeze creates movement. Set a minimum of 1/250s for relatively stationary subjects like beetles or resting butterflies. Bump it to 1/500s or faster for active creatures like bees or flies that constantly adjust their position. If your subject takes flight mid-frame, you’ll need 1/1000s or higher to stop wing motion.
ISO becomes your balancing act. Start at your camera’s base ISO (typically 100 or 200) in good light, then increase as needed to maintain your shutter speed and aperture targets. Modern cameras handle ISO 800-1600 remarkably well, so don’t sacrifice motion blur just to keep ISO low.
For focus mode, single-point autofocus gives you precise control over your focus plane. Switch to continuous autofocus only if your subject is actively moving toward or away from you. Evaluative metering works well in even lighting, but switch to spot metering when photographing backlit subjects to prevent your insect from becoming a silhouette.
Step 4: Master Focus Techniques for Moving Subjects
Focus is where most macro wildlife shots live or die. At magnifications of 1:1 or greater, your depth of field shrinks to millimeters, turning precise focus from helpful to absolutely critical.
For moving subjects like butterflies or bees, continuous autofocus (AF-C or AI Servo) gives you the best chance of tracking motion as the creature shifts position. Set your camera to single-point AF mode and place that point directly on the subject’s eye. Modern mirrorless cameras with eye-detection AF can lock onto insect eyes surprisingly well, but the feature works best when the subject fills a reasonable portion of the frame. If your camera hunts or the subject moves erratically, switch to manual focus and use a technique called trap focusing: pre-focus on a spot where you expect the subject to land or pause, then wait with your finger on the shutter. The instant the creature enters that razor-thin plane of focus, fire a burst.
Focus peaking, colored highlights that show sharp areas in your viewfinder, makes manual focusing faster and more confident. Magnified live view helps verify critical sharpness, but it slows you down, so save it for cooperative subjects like a resting dragonfly.
Always focus on the eyes. Sharp eyes forgive a slightly soft wing or abdomen; the reverse never works. If the entire insect can’t fit in your depth of field, the eyes must be the anchor point.
Step 5: Control and Shape Your Light
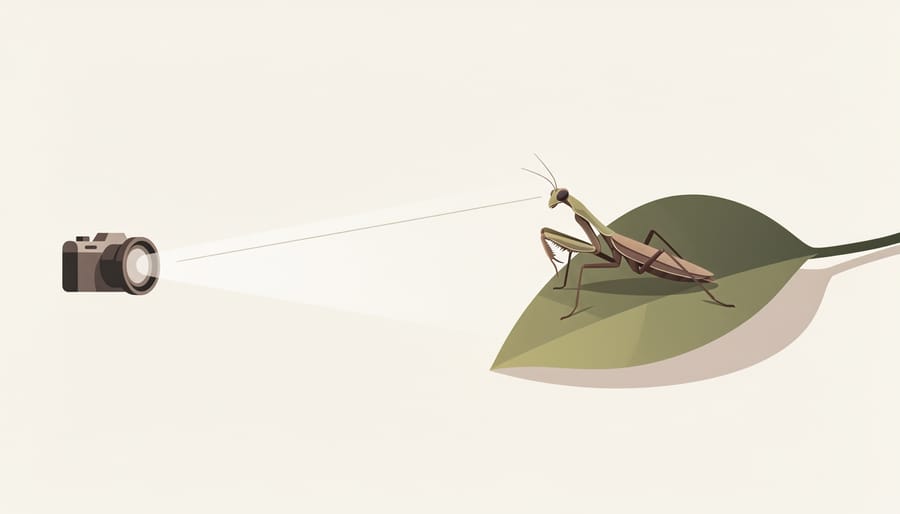
Light transforms a macro wildlife shot from a simple record into something magical. Natural light at dawn or dusk wraps insects in warm, directional glow that brings out texture and dimension, perfect for beetles, dragonflies, and butterflies at rest. Overcast skies act like a giant softbox, eliminating harsh shadows and preventing blown highlights on reflective wings or wet surfaces.
When the sun climbs high, carry a white diffuser or translucent panel. Hold it between the sun and your subject to soften the light, or use a small reflector to bounce fill into shadowed areas. These portable modifiers let you fill light techniques work outdoors just as they would in a studio.
For deeper shade or backlit subjects, add gentle fill flash at -1 to -2 stops. Balance it with ambient exposure so the flash lifts detail without overpowering the scene or creating unnatural hotspots. Slightly off-camera flash, even handheld at arm’s length, can shape dramatic light that separates your subject from the background. Watch shiny exoskeletons and dew-covered surfaces closely, dial down flash power or adjust your angle to avoid harsh reflections that destroy delicate detail.
Step 6: Compose and Capture Multiple Frames
With your subject sharp and well-lit, composition transforms a technically competent shot into a compelling image. Position the insect or creature off-center using the rule of thirds, place the eyes at an intersection point to create balance and draw the viewer in. Leave negative space in the direction the subject is facing or moving; this breathing room tells a story and feels more natural than centering everything.
Shoot from multiple angles. Get low and shoot at eye level with your subject for intimacy, then try a top-down perspective to showcase wing patterns or body structure. Each angle reveals different details and behaviors. Because depth of field is razor-thin at macro magnifications, bracket your focus points, take several frames with focus slightly forward and back from your intended plane. This insurance policy ensures at least one frame hits critical sharpness exactly where you want it.
Bracket exposures too if lighting is tricky, especially with backlit wings or shiny exoskeletons. Fire off a burst of frames rather than single shots; your subject won’t stay still for long, and one slight movement can throw focus off completely. Professionals routinely shoot dozens or hundreds of frames of the same subject to guarantee a keeper. You’re working with millimeters of depth and subjects that twitch unpredictably, volume matters.
Reviewing Your Results and Planning Next Steps
Don’t wait until you’re home to check your work. Review images on your camera’s LCD as soon as you’ve taken a few shots, zooming to 100% magnification to verify critical sharpness on the subject’s eyes. If the eyes aren’t tack-sharp, nothing else matters in macro wildlife photography. Check the histogram to confirm you haven’t blown highlights on reflective surfaces like wet wings or compound eyes, and scan the edges of the frame for distracting elements that pull attention away from your subject.
At home, examine your files on a larger screen and be ruthlessly honest. Look for front-focus or back-focus issues where sharpness landed just ahead of or behind the eyes. Motion blur often appears as soft detail throughout the frame rather than the selective blur of shallow depth of field. If backgrounds are cluttered with bright spots, twigs, or busy patterns, you’ll need to change your shooting angle or find subjects against simpler backdrops next time. Flat lighting robs subjects of dimension and detail, so note when you captured during harsh midday sun versus the modeling light of early morning.
You’ve succeeded when the eyes are critically sharp, the subject is well-exposed with detail in both shadows and highlights, the background either create clean backgrounds or tells a story, and the composition follows principles that compose for impact. If you’re getting consistently sharp images of cooperative subjects, push yourself toward harder challenges. Try focus stacking a stationary butterfly with wings spread to get front-to-back sharpness. Photograph faster-moving subjects like bees in flight. Venture out in light rain with weather-sealed gear to capture insects covered in water droplets. Expand your species list to include more skittish creatures that test your approach and patience.
When you’re consistently missing focus or dealing with uncooperative subjects, that’s your signal to return to the same location with adjusted technique. Macro wildlife photography rewards persistence and repeated attempts far more than beginner’s luck.
Advanced Techniques for Taking Your Macro Wildlife Further
Once you’ve mastered the fundamentals, macro wildlife photography offers several advanced techniques that can elevate your work from competent to extraordinary.
Focus stacking transforms static subjects into impossibly sharp images. When photographing a resting butterfly or sleeping dragonfly, shoot a series of 10-20 frames, manually adjusting focus slightly between each shot to cover the entire subject from front to back. In post-processing, software like Helicon Focus or Photoshop merges these frames into a single image with complete depth of field. The trick is ensuring your subject stays perfectly still, early morning when insects are cold and lethargic provides ideal conditions. Use a sturdy tripod and remote release to eliminate any camera movement between frames.
Twin flash systems give you precise control over lighting ratios and eliminate the flat look of single-flash setups. Mount flashes on either side of your lens at adjustable angles, then vary their power to create dimension and highlight texture. A 2:1 ratio (one flash at full power, one at half) produces natural-looking shadow detail on subjects like beetles and spiders. Ring flashes work well for even illumination but can create unnatural catchlights in eyes.
Rain and overcast weather shouldn’t stop you. Water droplets add drama to spider webs and leaf-dwelling insects. Protect your gear with rain sleeves or a shower cap over the camera body, and bump ISO to compensate for reduced light. Your images will gain moody atmosphere that sunny-day shooters miss.
Capturing flight demands anticipation. Pre-focus on a flower or perch where you’ve observed repeated visits, set shutter speed to 1/2000s minimum, and use continuous autofocus with back-button focus. Fire in bursts when your subject approaches. Expect a low keeper rate, flight photography is challenging even for professionals.
Nocturnal subjects like moths and certain beetles require artificial light, but avoid blasting them with flash. Use red LED headlamps for setup (many insects can’t see red spectrum), then employ diffused flash at reduced power for capture.
How to Check Your Work
Zoom to 100% magnification on your camera’s LCD or computer screen and inspect the sharpest point of focus. Your subject’s eyes should be tack-sharp, any softness here means the shot missed. Check that the depth of field covers the critical anatomy: for a butterfly, both antennae and wings should show acceptable sharpness at your chosen aperture.
Examine the background for distracting hotspots, twigs cutting through the frame, or competing elements that pull attention away from your subject. A clean, out-of-focus backdrop confirms you nailed separation. Review your histogram to ensure you haven’t clipped highlights on reflective wings or blown out bright sky areas.
If the subject shows motion blur despite acceptable shutter speed, you’ve likely encountered vibration or the creature moved mid-capture. Blurred legs or antennae while the body stays sharp indicates action, not camera shake.
When every attempt at a challenging species yields soft results, or you’re struggling with consistent back-focus despite calibration, consider hiring a wildlife photography workshop instructor for hands-on guidance. They’ll diagnose technique issues faster than trial and error, saving you frustration and missed opportunities in the field.
Common Questions About Macro Wildlife Photography
Starting macro wildlife photography raises plenty of practical questions, especially when you’re standing in a field with a camera wondering if you’re doing it right. Let’s tackle the concerns that come up most often.
What’s the minimum focal length I need for macro wildlife photography?
A 90-100mm macro lens works well for most subjects, but if you’re photographing skittish creatures like butterflies or dragonflies, a 150-180mm lens gives you the working distance to avoid spooking them. The extra reach means you can stay farther back while still filling the frame.
Should I shoot handheld or use a tripod?
Handheld gives you the flexibility to follow moving subjects and quickly adjust angles, which is crucial for active insects and small animals. Use a tripod when your subject is stationary (a spider in its web, a roosting butterfly) or when you’re focus stacking, but be ready to abandon it when the moment demands mobility.
What are the best subjects for beginners?
Start with cooperative subjects like bees on flowers, stationary damselflies, or garden snails. These creatures either move slowly or pause frequently, giving you time to nail focus and exposure without the pressure of a fleeting opportunity.
How do I deal with windy conditions?
Wind is one of the biggest frustrations in macro wildlife work. Shoot early morning when air is calmer, use a faster shutter speed to freeze movement (1/500s or higher), increase your ISO to compensate, and look for subjects on sheltered stems or behind natural windbreaks like rocks and vegetation.
Another question that surfaces frequently is whether you need specialized software for editing macro wildlife shots. While any photo editor works, tools that handle noise reduction well become important since you’ll often shoot at higher ISOs in challenging light. Programs with advanced sharpening also help bring out the intricate details that make macro wildlife compelling.
Many photographers also wonder about the ethics of refrigerating insects to slow them down for easier shooting. Don’t do it. Beyond the obvious welfare concerns, chilled insects look unnatural, their wings often positioned awkwardly, and the whole point of wildlife photography is capturing authentic behavior and beauty. The challenge of photographing active subjects is what makes a successful shot so satisfying.
If you’re struggling to get sharp results consistently, the problem usually isn’t your gear but your technique. Review your shutter speed first (you need faster than you think for small, twitchy subjects), then check where your focus point actually landed. Even a millimeter off in macro work means the difference between a keeper and a miss.
Macro wildlife photography opens a window into a world most people never truly see, the intricate patterns on a butterfly’s wing, the alien intelligence in a dragonfly’s compound eyes, the delicate balance of a spider suspended in morning dew. It’s challenging work that demands the right equipment, respect for your subjects, and a willingness to slow down and observe.
Success comes from balancing technical precision with ethical awareness. Your macro lens and camera settings matter, but so does your approach to living creatures and their habitats. The best shots happen when you combine sharp focus and beautiful light with genuine care for the wildlife you’re documenting.
Don’t expect perfection on your first outing. Macro wildlife photography is a skill that develops through repeated practice and patient observation. You’ll miss focus, spook subjects, and come home with memory cards full of near-misses. That’s normal. Each session teaches you something, how damselflies react to movement, where moths rest during midday, when to wait and when to reposition.
The intricate details of the natural world are always there, waiting just beyond what the naked eye can fully appreciate. Your camera and lens are tools for exploration, revealing textures, colors, and behaviors that reward careful attention. Get out there, move slowly, and stay curious. The closer you look, the more there is to discover.
 By
By