By
By 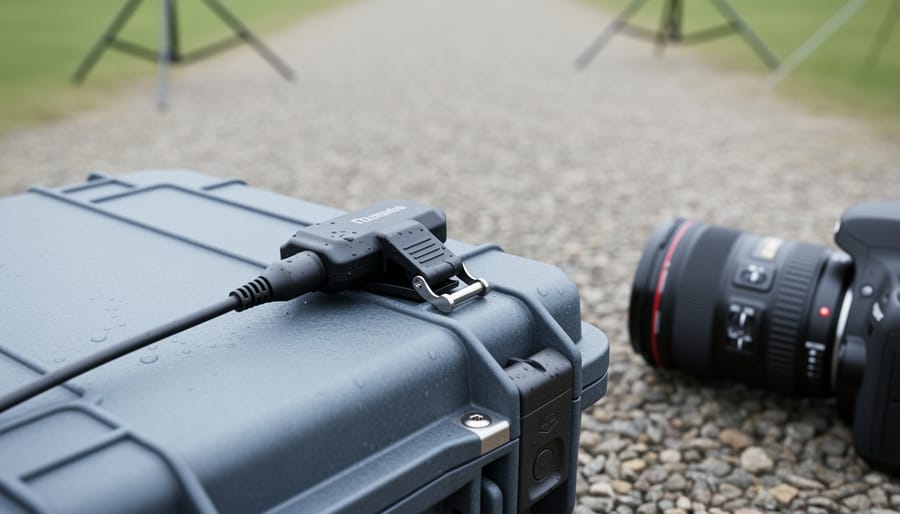
Protecting thousands of dollars’ worth of camera gear from moisture damage requires a simple yet critical tool: an outdoor moisture sensor that alerts you to dangerous humidity levels before condensation ruins your lenses, corrodes your camera bodies, or fosters mold growth in your equipment cases. These compact devices, which range from basic analog hygrometers to sophisticated wireless systems with smartphone alerts, give you real-time data on environmental conditions so you can act before damage occurs.
The math is straightforward and sobering. A single moisture-damaged lens can cost $800 to repair, while a camera body with corroded electronics might be a complete write-off at $2,500 or more. Compare that to a quality outdoor moisture sensor running between $25 and $150, and the investment becomes a no-brainer for anyone storing gear in sheds, vehicles, or outdoor photography studios.
Most photographers encounter humidity problems in predictable scenarios: leaving equipment in a car trunk during summer shoots, storing backup bodies in an unheated garage through winter, or working multi-day outdoor assignments where gear sits in tents or cases overnight. Relative humidity above 60 percent creates conditions where fungus can colonize lens coatings, while readings above 70 percent accelerate corrosion on metal components and electronic contacts.
Installing and using an outdoor moisture sensor takes about 15 minutes and requires no special expertise. The key is choosing the right sensor type for your specific storage situation, positioning it correctly to capture accurate readings, and establishing a monitoring routine that catches problems early. This guide walks you through each decision point and shows you exactly how to set up a reliable moisture monitoring system that keeps your gear safe.
What You’ll Need: Equipment and Materials
Before you can set up effective humidity protection for your photography gear, you’ll need to gather the right equipment. The good news is that most moisture monitoring setups require just a handful of components, and you can scale your system based on your specific needs and budget.
- Outdoor moisture sensor with humidity and temperature readings (wireless models like SensorPush HT.w or Govee H5075 work well for photography storage)
- Smartphone or tablet for monitoring and alerts
- Compatible monitoring app (most sensors include free apps with real-time data and historical tracking)
- Power source, either batteries (AA or coin cell depending on model) or USB power adapter for continuous monitoring
- Mounting hardware such as adhesive strips, small screws, or cable ties for securing sensors in storage areas
- Protective housing or weatherproof case if placing sensors in fully exposed outdoor locations
- Calibration salt kit or reference hygrometer for verifying accuracy (optional but recommended for critical applications)
For photographers storing equipment in home studios or climate-controlled spaces, a basic Bluetooth-enabled sensor like the ThermoPro TP357 provides reliable readings within 300 feet. If you’re monitoring a detached garage, vehicle, or outdoor camera station, step up to a Wi-Fi model such as the Temp Stick, which sends data over your internet connection from anywhere.
Battery-powered sensors offer flexibility for placement and work during power outages, but plan to replace batteries every 6-12 months depending on transmission frequency. USB-powered options eliminate battery concerns but require a nearby outlet or power bank.
Don’t overlook calibration tools. A simple salt test kit costs under ten dollars and confirms your sensor reads accurately before you trust it with thousands of dollars of camera gear. Some photographers keep a standalone hygrometer as a backup reference, especially when monitoring multiple locations or preparing for extended shoots in humid climates.
Before You Begin: Safety and Placement Warnings
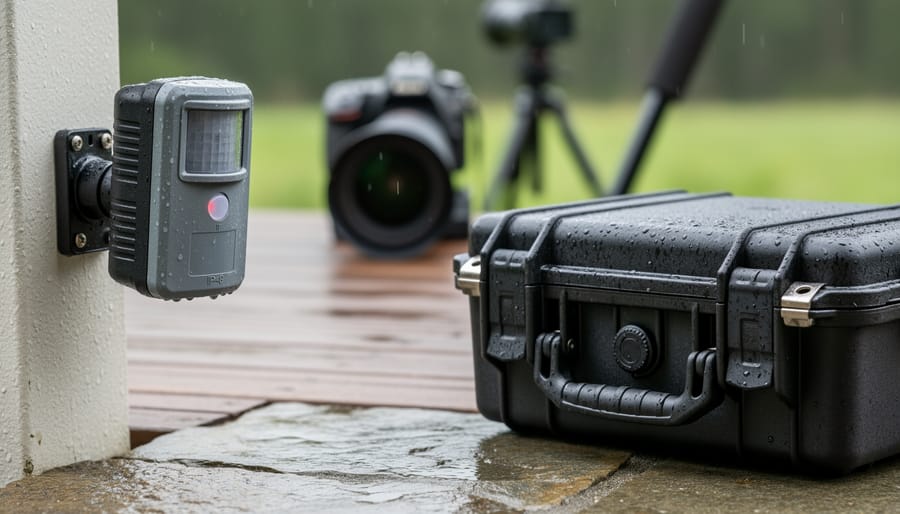
Before you wire up your first outdoor moisture sensor, pause to address a few critical issues that can either wreck your expensive monitoring equipment or, worse, feed you dangerously inaccurate data while your camera gear silently deteriorates.
Electrical safety matters more than you’d think. Battery-powered sensors minimize risk, but if you’re running AC-powered units or hardwired monitoring systems, ensure all connections are properly insulated and protected from moisture intrusion. Use outdoor-rated junction boxes, seal all entry points with weatherproof cable glands, and consider running power through a GFCI outlet. A shorted sensor is an expensive lesson; a fire in your storage area is catastrophic.
Placement directly determines whether you’re getting useful information or fiction. Sensors mounted in direct sunlight will read artificially high temperatures and skewed humidity levels because the sun heats the sensor housing faster than the surrounding air. Similarly, placing a sensor where rain can hit it directly, even if the unit is waterproof, will spike readings to 100% humidity regardless of actual ambient conditions. Mount sensors under eaves, inside protective housings, or in shaded locations that still allow adequate airflow.
Understanding what your sensor actually measures prevents expensive mistakes. Most consumer sensors report relative humidity, which changes dramatically with temperature, a 70% RH reading at 85°F represents far more actual moisture than 70% RH at 50°F. For critical equipment protection, you need to track dew point (the temperature at which condensation forms) alongside relative humidity. If your sensor doesn’t calculate dew point automatically, use a conversion app or chart to understand when conditions will cause moisture to condense on cold camera bodies and lenses brought in from air-conditioned storage.
Calibration isn’t optional. Cheap sensors can drift by 10-15% over time, rendering them useless for the 30-50% RH sweet spot where camera gear stays safe. Before trusting any new sensor, verify its accuracy against a known standard, either a calibrated lab hygrometer or the simple salt test (table salt in a sealed container stabilizes at 75% RH). Plan to recalibrate every six months, or whenever readings seem suspicious.
Step-by-Step: Installing and Configuring Your Outdoor Moisture Sensor
Choosing the Right Location for Accurate Readings
The location of your moisture sensor determines whether you’ll get meaningful data or misleading numbers that leave your gear vulnerable. Your goal is to measure the actual humidity conditions your equipment experiences, not the general air in a room or the microclimate at a sensor ten feet away from your cameras.
For storage areas like home studios or gear closets, position the sensor at the same height as your equipment and within two feet of where cameras and lenses actually sit. Don’t mount it on an exterior wall, these create localized cold spots where condensation can form, giving you readings that don’t reflect conditions three feet away where your shelves are. Interior walls or freestanding placement near equipment cases work better.
Avoid placing sensors directly in HVAC airflow or near heating vents. That forced air creates temporary microclimates that spike or drop humidity readings while the rest of the room remains at different levels. Similarly, keep sensors away from windows where direct sunlight creates heat pockets that temporarily lower relative humidity readings even though the space’s actual moisture content hasn’t changed.
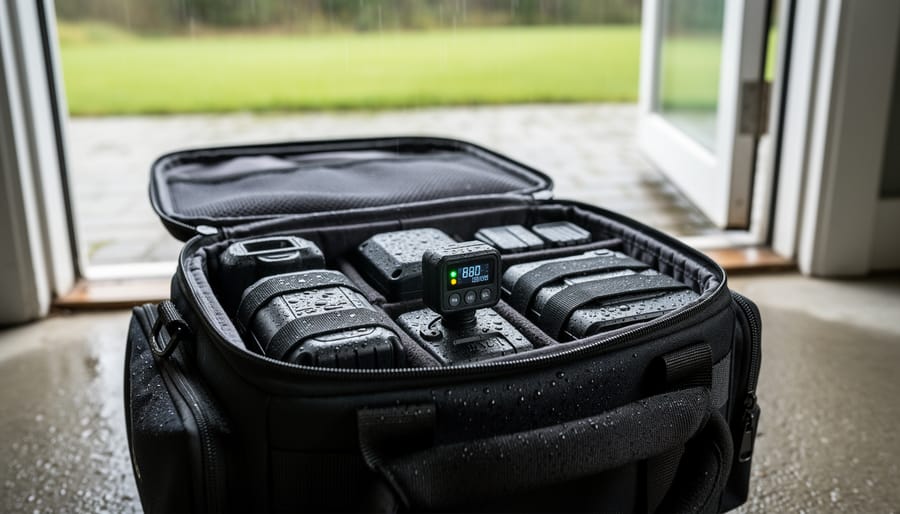
When monitoring outdoor shooting locations or vehicle storage, position sensors inside the protective cases or camera bags themselves rather than measuring ambient conditions. The humidity inside a sealed Pelican case can differ dramatically from open air, especially as temperature changes. For transport scenarios, attach small wireless sensors directly to equipment foam or tuck them between camera bodies, this captures what your gear actually experiences during that shoot or drive.
Connecting and Calibrating the Sensor
Most sensors ship uncalibrated, so don’t skip this step. Start by downloading the manufacturer’s app, search your phone’s app store using the exact sensor model number. Create an account, then power on the sensor and wait for the pairing LED to flash (usually blue or green).
In the app, tap “Add Device” and select your sensor model. Hold your phone within three feet during pairing; walls and metal cases kill Bluetooth signals fast. If it fails after 60 seconds, restart both the sensor and your phone, then try again. For Wi-Fi models, enter your network password carefully, case matters, and many sensors can’t connect to 5GHz networks, only 2.4GHz.
Once connected, run the calibration routine immediately. Place the sensor next to a reliable reference hygrometer (a $15 analog model works) in the same storage space where your gear lives. Let both sit undisturbed for four hours. Compare the readings. If they differ by more than 3%, use the app’s calibration offset feature to adjust. Most apps let you add or subtract percentage points, if your sensor reads 58% and the reference shows 52%, subtract 6%.
Record this baseline reading with today’s date. In humid climates, you might see 70-85%. Dry regions often start at 25-40%. This number becomes your reference point for spotting problems. Modern humidity sensors need recalibration every six months, or immediately after battery changes.
Setting Up Alerts and Thresholds
Setting effective humidity thresholds requires understanding both your equipment’s vulnerabilities and your local climate patterns. Most camera bodies and lenses thrive between 30-50% relative humidity, but your specific alerts should account for seasonal extremes and storage conditions.
Start by setting two alert levels in your monitoring app. Configure a warning threshold at 55% RH, this gives you time to add desiccants or run a dehumidifier before conditions become critical. Set your critical alert at 60% RH, the point where mold growth accelerates and condensation risks spike. For extremely dry climates, add a low-humidity alert at 25% RH to prevent lubricant drying and seal cracking.
Your notification preferences matter as much as the thresholds themselves. Enable push notifications for critical alerts and email summaries for daily readings. During humid summer months, you might want immediate alerts; in stable winter conditions, a weekly digest works fine.
Different gear demands different vigilance. If you store vintage lenses with older coatings, tighten your threshold to 50% RH maximum. Modern weather-sealed bodies tolerate brief excursions to 55% without issue. A photographer in Florida’s humid climate might run dehumidifiers continuously to maintain 45% RH, while someone in Arizona focuses on preventing readings from dropping below 30% during winter.
Test your response protocol by temporarily raising humidity near the sensor with a damp cloth, verify that alerts trigger and you know exactly which dehumidifier to activate or which storage case needs fresh silica gel.
Verifying Your Setup and Interpreting the Data
Once your sensor is up and running, resist the urge to trust it blindly. Run a simple verification test by placing a handheld moisture meter next to your outdoor sensor for 24 hours. If the readings differ by more than 5% relative humidity consistently, you’ve got a calibration issue or placement problem. I’ve caught faulty sensors this way before they led me to ignore genuine humidity spikes.
Understanding what your sensor tells you matters as much as the readings themselves. A stable 45% RH in your camera bag? Perfect, no action needed. A sudden jump from 40% to 70% after an outdoor shoot? That’s condensation from temperature change, and you need to open cases, wipe down gear, and add fresh silica gel packets before storing anything. Gradual creep from 50% to 58% over a week signals your desiccants are saturated or your storage area needs better ventilation.
Watch for patterns rather than obsessing over single readings. Coastal photographers will see higher baseline humidity than desert shooters, that’s normal. What’s not normal is wild swings (more than 15% change in an hour), persistent readings above 60% despite active dehumidification, or sensors that flatline at the same number regardless of weather changes. Any of these scenarios means recalibration or replacement.
Your response toolkit should scale with the severity. Readings creeping toward 55%? Toss rechargeable desiccant packs into your smart storage cases. Hitting 65%? Run a dehumidifier in the room and don’t store gear until levels drop. Sustained readings above 70%? Move equipment immediately to a climate-controlled space, you’re in the danger zone for fungal growth on lens coatings and internal electronics corrosion.
Recalibrate sensors every three months if they’re constantly exposed to outdoor conditions, every six months for protected installations. Most sensors drift over time, and even a 5% error compounds into bad decisions about your gear’s safety.
Next Steps: Building a Complete Moisture Control System
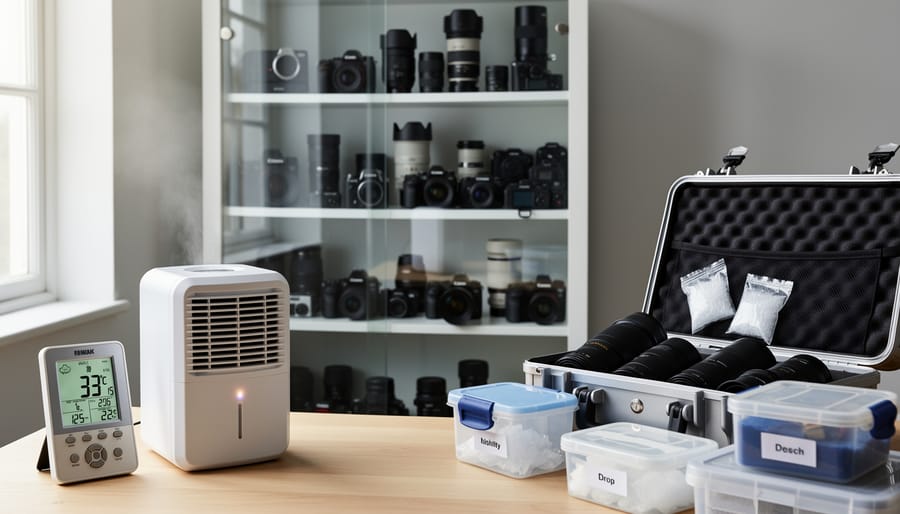
Now that your outdoor moisture sensor is up and running, it’s time to build a broader protection strategy. A single sensor delivers data, but real protection comes from pairing it with active humidity control tools and consistent habits.
Start by linking your sensor readings to action triggers. When humidity climbs above 50%, activate a small electric dehumidifier in your storage area or add fresh silica gel packs to equipment cases. For dedicated camera storage, consider a dry cabinet that maintains 40-45% RH automatically. These cabinets integrate seamlessly with external sensors, creating a closed-loop system that adjusts itself based on real-time conditions.
Create a monthly camera maintenance checklist that includes sensor data review. Export your humidity logs and look for patterns. Does humidity spike after rain? Does your garage storage hit dangerous levels in August? These insights let you anticipate problems rather than react to them. I keep a simple spreadsheet tracking monthly averages for each storage location, which helps me rotate silica gel before it saturates and adjust dehumidifier schedules seasonally.
If you store gear in multiple locations, add sensors to each zone. A three-sensor setup covering your main studio, vehicle storage, and backup equipment closet costs less than repairing a single moldy lens. Wireless sensors make scaling straightforward since they all feed into one monitoring app.
The goal is shifting from passive monitoring to active control, where your sensor becomes the brain of a system that keeps your equipment safe year-round without constant manual intervention.
Common Questions About Outdoor Moisture Sensors for Photography
What’s the ideal humidity range for camera storage?
Aim for 30-50% relative humidity to prevent both moisture damage and excessive dryness that can affect lubricants and seals. Most professional photographers target around 40-45% RH as the sweet spot for long-term equipment storage.
Can I use the same sensor indoors and outdoors?
Not all sensors are designed for both environments. Outdoor sensors need weatherproof housing and wider temperature tolerance, while indoor-only models may fail or give inaccurate readings when exposed to rain, extreme cold, or direct sunlight.
How often should sensors be recalibrated?
Most quality sensors need recalibration every 6-12 months, though this varies by model and usage conditions. If you notice readings that don’t match your handheld hygrometer or seem inconsistent, recalibrate immediately rather than waiting for the scheduled interval.
Are wireless sensors reliable enough for valuable equipment?
Yes, provided you choose models with proven connectivity and battery backup. Look for sensors that store data locally during connection drops and send alerts through multiple channels, so you won’t miss critical warnings even if your phone or Wi-Fi is temporarily down.
Beyond these core questions, photographers often wonder whether they need multiple sensors for a single storage space. The answer depends on the size and airflow patterns of your area. A small dry cabinet might only need one sensor, while a garage studio with poor air circulation could have humidity pockets that require two or three sensors positioned at different heights and distances from ventilation sources.
The distinction between humidity sensors and moisture sensors sometimes causes confusion. Humidity sensors measure water vapor in the air as a percentage, which is what you need for preventing mold, corrosion, and condensation on your gear. Moisture sensors, by contrast, detect liquid water or dampness in materials like walls or fabrics. For photography equipment protection, you want a humidity sensor that tracks relative humidity levels, not a moisture detector designed for construction or agriculture applications.
Battery life is another practical concern. Wireless sensors typically run anywhere from three months to two years on a single battery charge, depending on how frequently they transmit data and whether they include a display. Set calendar reminders to check battery levels before critical shooting seasons, and keep spare batteries on hand so a dead sensor doesn’t leave your equipment unmonitored during humid summer months or when you’re traveling.
Protecting your photography gear from moisture damage doesn’t require expensive repairs or replacement costs, it just takes consistent monitoring and a bit of planning. By installing an outdoor moisture sensor in your storage areas, camera bags, or shooting locations, you’ve taken a meaningful step toward preserving equipment that represents significant financial and creative investment.
The setup process we’ve covered, choosing the right location, calibrating your sensor, configuring smart alerts, and verifying accuracy, might seem detailed at first, but it quickly becomes second nature. Once your system is running, it works quietly in the background, giving you peace of mind whether you’re shooting in humid conditions or storing gear between assignments.
Make it a habit to check your sensor readings weekly, especially when seasons change. Spring humidity spikes and winter condensation patterns can catch you off guard if you’re not watching. Recalibrate every few months, replace batteries proactively, and adjust your alert thresholds as your local climate shifts.
Humidity control isn’t glamorous, but neither is discovering lens fungus or corroded contacts. Treat moisture monitoring as essential maintenance, not an optional extra. Your gear, and your budget, will thank you for it.

 By
By