By
By 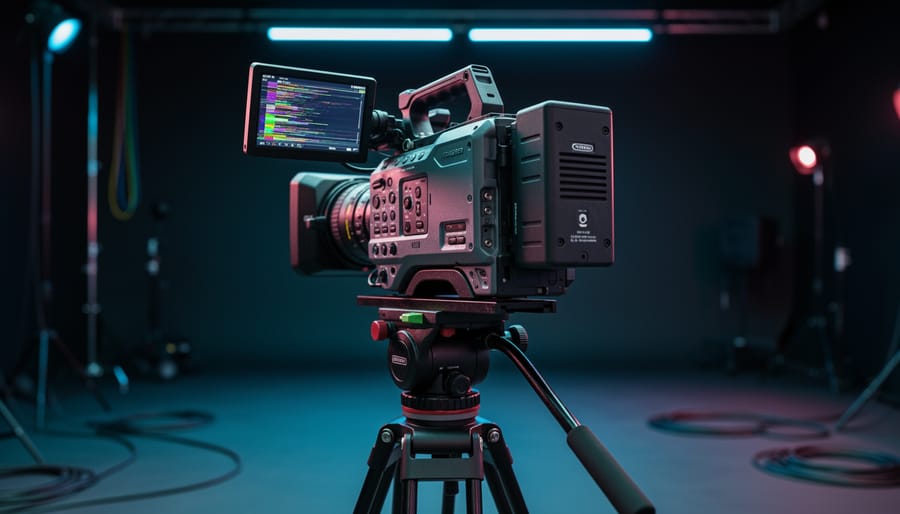
Glitch visual effects transform ordinary video into eye-catching, digitally corrupted footage that pulses with modern energy and cinematic tension. You can achieve professional-looking glitch effects using three primary approaches: post-production editing (the most beginner-friendly method requiring only video editing software), in-camera techniques with analog or digital signal manipulation, or hybrid workflows that combine practical disruption with digital enhancement. Most editors start with software-based methods, which typically take 15 to 30 minutes per clip and offer complete control without risk to your equipment.
The glitch aesthetic has evolved from technical failure to intentional design language. What began as accidental video corruption in early digital cameras and analog tape systems now serves as a visual shortcut for psychological distress, technological themes, or high-energy action sequences. You’ll find these effects throughout contemporary cinema, from science fiction thrillers depicting system failures to music videos and experimental narrative work. The beauty of glitch effects lies in their versatility: subtle RGB channel shifts can add tension to an otherwise static scene, while aggressive datamoshing creates abstract, reality-bending transitions.
Understanding the technical foundations helps you create more convincing effects. Real video glitches occur when compression algorithms fail, when analog signals degrade, or when data streams corrupt during transmission. By reverse-engineering these failures, you gain precise control over which elements break down, where artifacts appear, and how aggressively the image destabilizes. This knowledge separates amateur randomness from intentional, purposeful corruption that serves your story.
The methods outlined here accommodate different production budgets, technical skill levels, and creative goals, ensuring you can achieve the exact aesthetic your project demands.
What You’ll Need to Create Glitch Effects
Camera and Recording Equipment
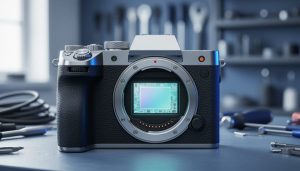
To capture in-camera glitch effects effectively, you need gear that gives you precise control and allows signal manipulation. Start with a camera that offers full manual control over shutter speed, ISO, and frame rate, mirrorless models like the Sony A7 series or Panasonic GH5 work exceptionally well because their electronic viewfinders let you preview glitch effects in real-time. DSLRs can work, but you’ll be shooting blind during certain techniques.
An external HDMI recorder such as the Atomos Ninja V is essential for advanced glitch work. These devices capture clean output signals and allow you to intercept the HDMI stream for manipulation. Pair this with an HDMI signal disruptor or cheap inline adapters that can be physically manipulated during recording to introduce interference patterns.
Cameras with weaker internal processors sometimes produce more interesting artifacts when pushed to extreme settings, making older consumer camcorders surprisingly valuable for authentic digital noise and compression glitches.
Post-Production Software and Plugins
DaVinci Resolve offers a solid starting point without spending anything. Its Fusion page handles displacement maps, RGB splits, and digital noise, enough for most narrative glitch work. The learning curve is manageable if you’re already comfortable with node-based compositing.
Adobe After Effects remains the industry standard for detailed glitch control. You get frame-accurate timing, extensive third-party plugin support, and the ability to isolate effects to specific layers or masks. Premiere Pro works well for simpler timeline-based glitches during editing, though it lacks After Effects’ precision for complex distortions.
For plugins, Data Glitch 2 by Rowbyte excels at realistic datamosh effects and RGB channel manipulation. Universe by Red Giant includes several glitch presets that work particularly well for music video aesthetics. Twitch by Video Copilot provides randomized transitions and screen tears that feel organic rather than templated.
Choose based on your workflow: if you’re editing and want quick glitch inserts, Premiere Pro plugins keep you in one program. For hero shots requiring frame-by-frame refinement, After Effects gives you surgical control. Budget-conscious filmmakers will find DaVinci’s free version handles 80% of professional glitch needs.
Practical Materials for Analog Techniques
Analog glitch techniques require simple but specific physical materials. Strong neodymium magnets (disc or bar shapes, roughly 1-2 inches) work for interfering with magnetic tape or creating sensor distortions, keep them at least six inches from your camera body to avoid permanent damage. Intentionally damaged HDMI or component cables with exposed wiring or bent pins produce signal corruption; use cheap cables you don’t mind destroying. Old or corrupted SD cards (Class 4 or older models work best) can create write errors during recording. You’ll also want a storage container to keep these materials separate from your working gear. Never use magnets near modern camera sensors without testing on expendable equipment first, and always shoot test footage before attempting analog techniques on actual projects.
Safety and Equipment Warnings
Before you experiment with glitch techniques, you need to understand the real risks to your gear and files. While most methods are safe when done correctly, pushing equipment beyond normal parameters or manipulating files can cause permanent damage if you’re not careful.
The biggest threat comes from physical interference methods. Magnets can permanently damage camera sensors, particularly on mirrorless cameras where the sensor sits exposed when you remove the lens. Even weak magnets placed near external recorders or memory cards can corrupt data structures beyond recovery. If you’re using magnetic interference for analog glitch effects, keep magnets at least six inches from the camera body and never wave them directly over the sensor or active recording media.
Heat presents another serious concern during extended glitch recordings. Intentionally overheating a camera to trigger sensor artifacts might create interesting visual effects, but it also degrades sensor performance over time and can void your warranty. Modern cameras have thermal shutoffs for a reason, respect those limits. If your camera warns about temperature, stop recording and let it cool completely.
Data corruption techniques carry their own hazards. Corrupting video files through hex editing or specialized software can produce stunning glitch effects, but you might also create files that won’t open at all. Work only on copies of your footage, never the original camera files. Keep uncorrupted masters on a separate drive that you don’t touch during the corruption process.
Test every technique on throwaway footage before your actual shoot. A five-minute test can reveal whether your specific camera model, software version, or workflow handles a particular glitch method safely. What works perfectly on one setup might brick files or damage equipment on another.
How to Create Glitch Effects: Step-by-Step Methods
Method 1: Digital Glitch Effects in Post-Production
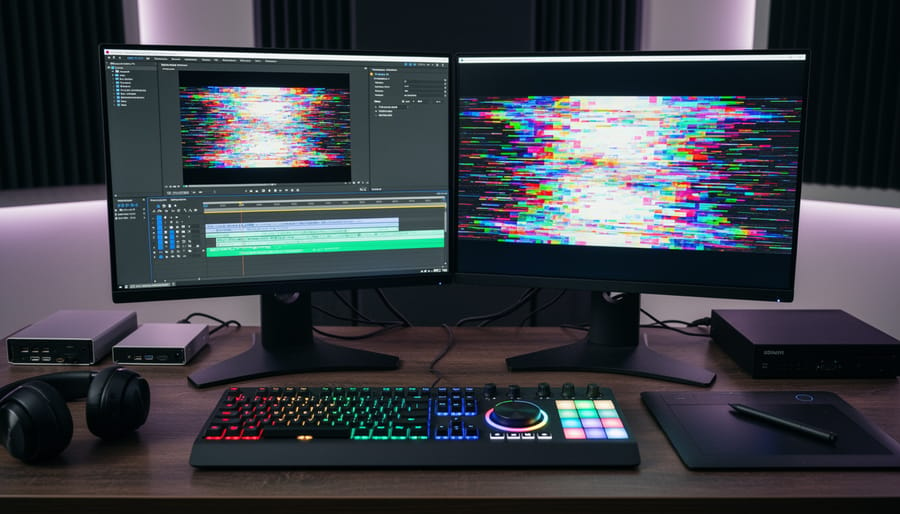
Digital glitch effects in post-production give you precise control over every aspect of the effect while keeping your camera equipment safe. This method works for any footage you’ve already shot and allows unlimited experimentation without risk. Most editing software includes built-in tools for glitch effects, though dedicated plugins can speed up the process significantly.
Start with software you already know, DaVinci Resolve’s free version handles glitch effects surprisingly well, while After Effects offers the most granular control if you’re comfortable with its workflow. Premiere Pro sits in the middle with solid built-in displacement effects and excellent third-party plugin support. For footage you’ve color graded in programs like Scinetone Resolve complete your grading before adding glitch effects so you’re manipulating the final color palette.
- Import your footage and create a duplicate layer above your original clip in the timeline, this protects your base layer and lets you blend effect intensity.
- Apply a displacement or distortion effect to the duplicate layer, adjusting horizontal displacement first (typically 20-50 pixels for subtle glitches, 100+ for intense ones).
- Split the RGB channels by duplicating your affected layer twice more, then isolate red on one layer, green on another, and blue on the third using your software’s channel controls or tint effects.
- Offset each color channel by 2-5 frames in different directions, shift red right, green left, and blue stays centered, creating the chromatic aberration characteristic of digital glitches.
- Add digital noise or grain (8-15% opacity) to layers where glitches occur, and consider brief frame holds or speed ramps for stuttering effects.
- Time your glitch moments to music beats, sound effects, or action peaks, this timing with sound makes effects feel intentional rather than random.
- Preview at full resolution on a calibrated monitor, adjusting effect opacity and duration until glitches enhance rather than distract from your story.
- Export using your project’s native resolution and frame rate, ensuring glitch layers render without compression artifacts that muddy the deliberate distortion.
The beauty of this workflow is repeatability. Save your effect stack as a preset, and you can apply consistent glitch styling across multiple clips in seconds. Adjust the displacement values and channel offsets for each shot’s energy level, subtle glitches during dialogue, aggressive distortion during action sequences. This method takes 15-30 minutes to master but gives you production-ready results that would cost hundreds in plugin purchases.
Method 2: In-Camera Glitch Techniques
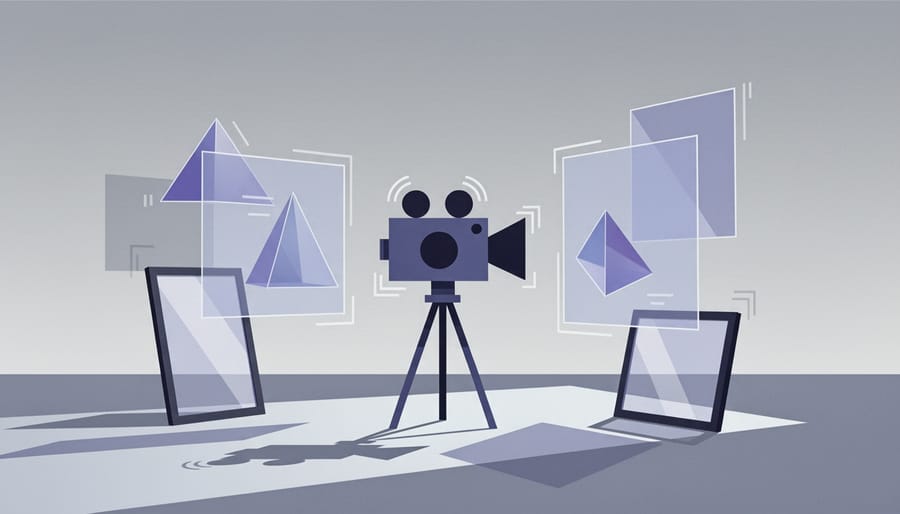
Creating glitch effects during the actual shoot rather than in post gives you spontaneous, organic results that are difficult to replicate digitally. This method requires careful preparation and immediate monitoring since you’re working with unpredictable variables in real-time. The advantage is capturing authentic artifacts that feel genuinely broken rather than processed, making your footage stand out with a raw, unpolished edge that suits music videos, experimental narratives, or dystopian sci-fi scenes.
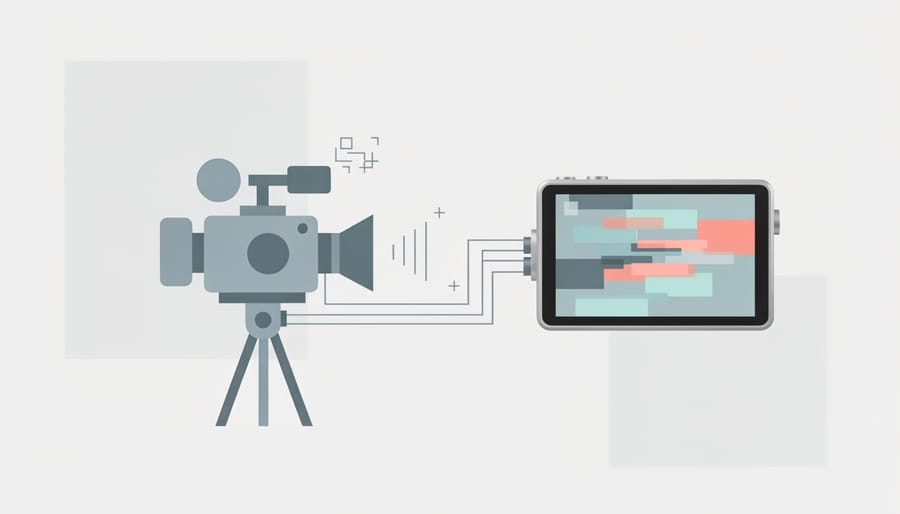
Start by connecting an external monitor or field recorder to your camera’s HDMI output so you can see glitch artifacts as they happen. This monitoring setup is essential because what appears on your camera’s LCD often won’t show the interference you’re creating in the signal path. Test your monitoring chain before your actual shoot to confirm you’re capturing what you see on the external display.
- Set up your monitoring equipment by connecting an HDMI cable from your camera to an external recorder or monitor. Place the monitor where you can see it during takes and verify signal flow with test footage.
- Prepare your interference tools: have neodymium magnets ready (kept safely away from storage media), partially damaged HDMI cables with exposed wiring, and any sensor-safe materials for creating lens flares or light leaks.
- Execute the technique during your take by introducing interference at planned moments. For HDMI glitches, gently flex or partially disconnect the cable during recording. For sensor interference, wave a magnet near (not touching) the camera body while rolling, or trigger sudden exposure shifts by rapidly adjusting ISO mid-shot.
- Review footage immediately after each take on your external monitor. Check that glitches occurred at intended moments and didn’t corrupt the entire clip beyond usability. Note what worked so you can replicate successful accidents.
- Document your techniques in detail: record magnet distance from sensor, cable manipulation method, camera settings used, and environmental factors. This log becomes your reference library for future projects requiring similar in-camera effects.
Keep backup takes without glitches for every shot. In-camera techniques can fail unpredictably or produce results too extreme for your final edit. Having clean footage lets you blend glitched and clean versions in post for controlled intensity, giving you creative insurance while still capturing those authentic real-time artifacts.
Method 3: Data Moshing and File Corruption

Data moshing pushes glitch effects into experimental territory by directly manipulating video file data. This method produces unpredictable, organic-looking artifacts, smeared motion trails, pixel blocks bleeding across frames, and temporal distortions that feel authentically broken. It’s the technique behind many iconic music video glitch moments, but requires careful handling since you’re intentionally corrupting files.
The core principle involves editing the raw binary data of video files to disrupt how frames are encoded. Video compression relies on keyframes (complete images) and interframes (which only store changes from previous frames). When you corrupt the data telling the decoder which frame references which, pixels from one moment smear into another, creating that signature data mosh aesthetic.
Start by selecting disposable footage, never work on your only copy. Export a clip as an AVI file with a codec like MJPEG or H.264, which compress predictably and corrupt in visually interesting ways. MP4 files can work but may become completely unreadable if you edit the wrong bytes.
Here’s the safe workflow for creating data mosh effects:
- Duplicate your exported video file at least twice, keep one untouched backup and one working copy you’ll corrupt.
- Choose your corruption method: hex editors like HxD (free) for precise control, or specialized data moshing software like Avidemux (which lets you delete keyframes systematically) or online tools like Mosh Up for quicker results.
- Make controlled edits by removing sections of data (typically 500-5000 bytes at a time in the middle of the file, never at the header), deleting I-frames to force frame blending, or duplicating byte sequences to create repetition glitches.
- Save the corrupted file and attempt to open it in VLC Media Player (which handles broken files better than professional editing software).
- Capture the playback using screen recording if the file won’t import into editing software, then refine by adjusting which bytes you corrupt or how much data you remove.
Expect a 70% failure rate initially, many corrupted files won’t open at all. When you get a successful mosh, the effect is usually locked to that specific file. Screen-record or re-export it immediately as clean footage you can edit normally. The randomness is part of the appeal; even experienced artists can’t perfectly predict results, which keeps each data mosh unique.
This technique works best for abstract sequences, transitions between scenes, or moments where narrative clarity isn’t critical. The effects often look digitally “archaeological”, like unearthed footage from a corrupted hard drive, which fits cyberpunk, horror, or experimental narratives perfectly.
Fine-Tuning Your Glitch Aesthetic
Once you’ve created glitch effects using any of the methods above, the real artistry comes in refining them to serve your story rather than overwhelm it. The difference between amateur and professional glitch work often lies in restraint, knowing when to push intensity and when to pull back creates visual interest without sacrificing narrative clarity.
Start by viewing your glitched footage in context with surrounding scenes. A glitch that looks impressive in isolation might clash with your overall aesthetic or distract from critical story moments. Think of glitch intensity on a sliding scale: subtle distortions work for dream sequences or psychological unease, while aggressive corruption suits cyberpunk worlds or moments of complete system failure. Test different intensity levels by duplicating your timeline and adjusting opacity or effect strength across versions.
Timing matters as much as the effect itself. Glitches that hit on action beats, dialogue emphasis, or musical downbeats feel intentional and rhythmic. Random, constant glitching reads as either technical failure or laziness. Watch your edit with sound and mark precisely where tension builds, reveals happen, or emotional shifts occur, these are your glitch trigger points.
Here’s how to refine your glitch aesthetic for maximum impact:
- Layer multiple effect types, combine RGB shifts with displacement and frame blending for complex, organic-looking corruption
- Time glitches to emphasize story beats: character realizations, environmental threats, or transitions between reality and altered states
- Integrate glitch colors with your cinematic color grading so corrupted frames share the scene’s palette rather than introducing jarring hues
- Control effect duration, brief flashes (3-5 frames) suggest interference, while sustained corruption signals deeper system breakdown
- Match glitch style to genre: clean digital artifacts for sci-fi, analog tape distortion for retro horror, data moshing for experimental narratives
Color palette deserves special attention. Your glitch effects should enhance, not fight against, your overall grade. If you’ve established a cool, desaturated look, introduce glitches with muted chromatic aberration rather than neon rainbow splits. Warm, golden scenes benefit from glitches that shift toward oranges and magentas instead of blues and cyans.
Don’t forget narrative clarity. Your audience should always understand what’s happening story-wise, even during heavy glitching. Reserve your most aggressive effects for moments where disorientation serves the narrative, a character losing consciousness, reality breaking down, or technology failing catastrophically. Keep faces and essential visual information relatively clear unless obscuring them is the point.
Testing and Verifying Your Glitch Effects
After you’ve crafted your glitch effects, verification prevents nasty surprises when the footage hits client screens or goes live. Start by playing back your edited sequence on multiple devices, your editing monitor, a laptop, a phone, and ideally a TV. Glitch effects that look intense but controlled on a calibrated monitor can become illegible or seizure-inducing on a consumer display with default settings cranked up.
Check these verification points before signing off:
- View footage on at least three different screen types (professional monitor, laptop, mobile device)
- Confirm audio remains in sync through heavily processed sections
- Verify critical visual information, faces, text, key actions, stays recognizable during glitches
- Check playback maintains consistent frame rate without stuttering or dropped frames
- Test final exports in all required delivery formats (MP4, ProRes, etc.)
Watch specifically for unintended artifacts: blocking in dark areas, color banding in gradients, or judder that wasn’t part of your design. If glitches coincide with dialogue or crucial plot moments, scrub through those sections slowly to confirm viewers can still follow the narrative. A good rule: if you squint and can’t make out what’s happening, dial back the intensity by 20-30%.
For client work, export a watermarked review copy and provide viewing instructions. Some clients review on phones during commutes, which is the worst-case scenario for glitch-heavy footage. Set expectations upfront about how effects will appear on different screens, and consider providing two versions, one at your intended intensity and one slightly reduced, so they can choose based on their distribution platform.
Next Steps and Creative Applications
Once you’ve nailed the foundational techniques, glitch effects become a versatile tool you can deploy strategically across different projects and genres. The key is matching your glitch style to the story you’re telling.
Music videos offer the most creative freedom, artists expect bold visual choices, and glitches can punctuate beat drops, emphasize lyrics, or create visual rhythm. Try syncing RGB separation to kick drums or triggering data moshing during chorus sections. Science fiction projects use controlled glitches to signal technology malfunction, alternate dimensions, or corrupted transmissions. Keep these precise and motivated by the story rather than decorative.
Psychological thrillers benefit from subtle, unsettling glitches that mirror a character’s mental state. A brief displacement effect when someone realizes something’s wrong, or progressive corruption as paranoia builds, adds subtext without dialogue. Sports promos thrive on aggressive, high-energy glitches timed to hard cuts and impact moments, creating urgency and excitement.
Combining glitch with other effects multiplies your creative options. Layer them over transitions for VFX to make cuts feel more intentional, or pair with particle systems for digital disintegration effects. Mix analog grain with digital artifacts for texture-rich, film-inspired glitch aesthetics.
Build your own glitch library by saving successful effects as presets or templates. Catalog different intensities and styles so you can quickly deploy them on deadline projects. As you gain experience, push beyond standard plugin presets, develop signature techniques by combining unusual parameters, creating custom corruption scripts, or experimenting with less common video codecs. Your unique glitch fingerprint becomes part of your director or editor identity, making your work instantly recognizable.
Common Questions About Glitch Effects
Do glitch effects slow down my editing system?
Rendering times vary dramatically based on your method and hardware. Simple displacement effects in proxies render quickly, but stacking multiple data-corruption layers or using real-time GPU effects can strain older systems. Most editors work with adjustment layers and render in passes rather than trying to preview everything at full resolution simultaneously. If you’re experiencing lag, render out glitch sections as individual clips, then reassemble your timeline with the pre-rendered footage. This workflow keeps your edit responsive while giving you complex effects.
Will my glitch footage play correctly on all devices?
Compatibility depends on your export settings, not the glitch technique itself. Once you’ve rendered your final video with glitches baked in, it functions like any other video file. The concern isn’t playback compatibility but rather extreme compression during upload to platforms like Instagram or YouTube potentially smoothing out subtle glitch details you worked hard to create. Always test a short clip on your target platform before rendering your entire project, and consider exporting at slightly higher bitrates to preserve fine digital artifacts that compression algorithms might otherwise eliminate.
When are glitch effects inappropriate for a project?
Avoid glitches in corporate work requiring polished professionalism, wedding videos where clients expect traditional aesthetics, or any context where the effect might confuse rather than enhance the narrative. If you’re unsure, show a test clip to your client before committing the effect throughout the project.
Can I fix glitch effects that look too intense after rendering?
Yes, but prevention is easier than correction. If you’ve over-processed footage, reduce the effect opacity in your timeline, blend the glitched layer with clean footage, or apply selective masking to limit where glitches appear. Always keep your original unprocessed footage as a backup layer.
Do I need to scale glitch effects differently for social media versus cinema?
Yes. Glitch details that read clearly on a cinema screen often disappear on phone screens, so amplify the effect intensity and increase the size of displaced elements for mobile-first content. Conversely, effects tuned for Instagram can look cartoonish on large displays, so always design for your primary viewing context.
What if my client doesn’t understand glitch effects?
Education prevents disappointment. Show reference clips from similar projects during pre-production, create a quick mood board with glitch examples that match the tone you’re proposing, and render a brief test sequence early in the edit. Many clients associate glitches with technical failures rather than intentional artistic choices, so frame your explanation around the emotional impact and storytelling purpose rather than the technique itself. If they remain hesitant, offer a version with and without effects so they can compare the difference in context.
Glitch effects offer you a powerful creative tool that can transform ordinary footage into visually striking cinematic moments. Whether you’re adding tension to a thriller, energy to a music video, or surreal qualities to experimental work, these techniques give you control over a visual language that resonates with modern audiences.
Start small. Experiment with subtle post-production glitches before moving to more aggressive in-camera techniques or data corruption methods. Test everything on practice footage first, and always keep backups of your original files. The best glitch effects serve your story rather than distract from it, they should enhance emotion, transition between scenes, or signal shifts in reality.
As you develop your skills with glitch aesthetics, remember they’re just one element in your broader visual effects toolkit. The principles you’ve learned here, intentional imperfection, controlled chaos, and purposeful disruption, can combine with color grading, motion graphics, and practical effects to create truly unique cinematic experiences. The technical foundation you’ve built allows you to integrate glitch effects seamlessly alongside other techniques, expanding your creative possibilities with every project.
Now grab your camera or open your editing software and start creating. Your signature glitch style is waiting to be discovered.


 By
By