By
By 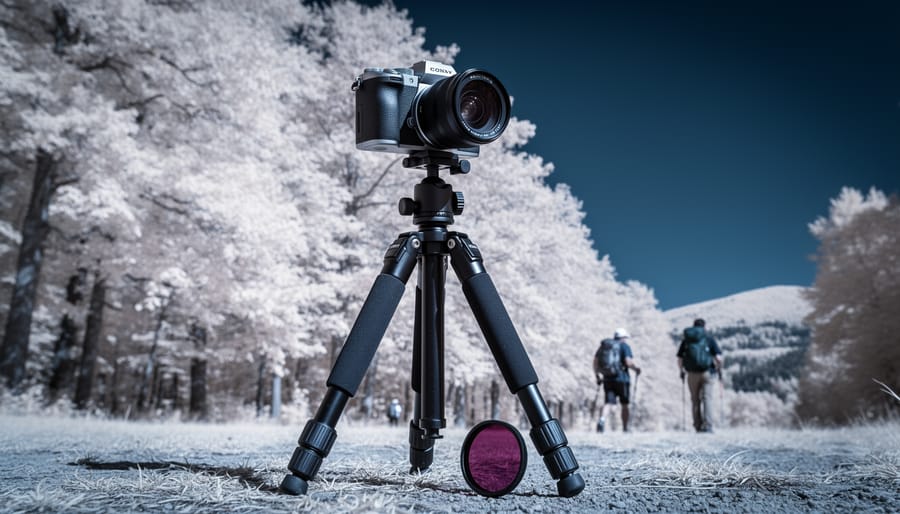
Infrared photography equipment comes in three main forms: a camera converted by removing its IR-blocking filter (the most versatile option), an external infrared filter paired with an unmodified camera (budget-friendly but requiring long exposures), or an IR-ready camera that shoots both visible and infrared light. Most photographers serious about IR work choose permanent conversion, which typically costs $300 to $600 through a specialized service and transforms any digital camera into a dedicated infrared shooter capable of handheld exposures in daylight.
The appeal is immediate once you see your first infrared image. Trees glow white, skies turn dramatically dark, and skin takes on an ethereal quality that no Photoshop filter can replicate. But getting there requires understanding which wavelength suits your vision (720nm for the classic look, 590nm for more color flexibility, or 850nm for pure black-and-white drama), verifying your lenses work without hotspots, and accepting that autofocus will need recalibration.
The good news is that infrared photography has never been more accessible. Digital sensors are naturally sensitive to infrared light, manufacturers have refined conversion processes to maintain image quality, and the secondhand market offers plenty of affordable camera bodies perfect for conversion. Whether you’re converting that old DSLR gathering dust or investing in a dedicated mirrorless body, the right equipment setup determines whether infrared photography becomes a regular creative tool or a frustrating experiment you abandon after one session.
What You’ll Need: Infrared Photography Equipment Options
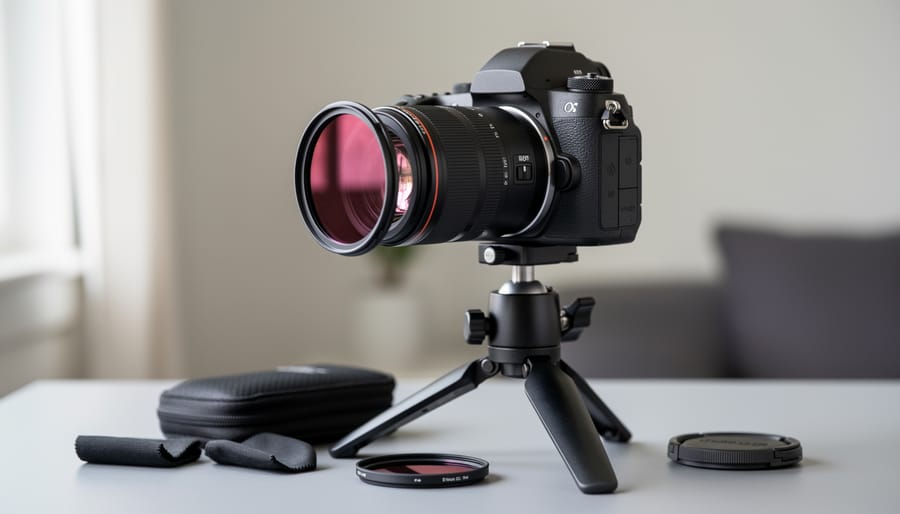
Converted Camera Bodies
A camera conversion removes the internal infrared-blocking filter that sits in front of your sensor and replaces it with an infrared-passing filter tuned to a specific wavelength. This gives you a dedicated infrared camera that handles like any normal digital body, autofocus works, exposures are reasonable, and you can shoot handheld in good light.
Professional conversion services charge between $300 and $500 in 2026, depending on your camera model and the filter you select. Companies like Life Pixel, Kolari Vision, and Spencer’s Camera ship worldwide and typically turn around conversions in one to two weeks. You send them your camera body, they perform the surgery in a clean environment, recalibrate the autofocus for infrared light, and return a camera that’s ready to shoot.
The wavelength you choose determines your final look. A 590nm conversion (sometimes called Super Color) captures a mix of visible red and infrared, producing images with vivid false colors, think golden yellows and intense blues that respond dramatically in post-processing. The 665nm sits between visible and infrared, offering color IR with slightly more surreal tones. For the classic black-and-white infrared aesthetic with glowing white foliage and dark skies, 720nm is the standard choice and the most popular conversion wavelength. Push further to 850nm and you get deep infrared with even darker skies and maximum wood grain detail, though all color information disappears.
Converted cameras deliver the best image quality because there’s no stacking filters in front of the lens. You avoid the light loss, potential softness, and color contamination that external filters introduce. The workflow mirrors regular photography, making infrared accessible rather than an exercise in tripod-bound patience.
Infrared Filters for Unmodified Cameras
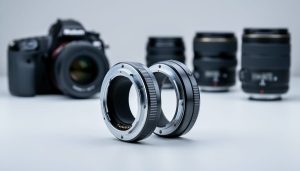
Using screw-on infrared filters with your existing camera offers the most budget-friendly entry into IR photography. These filters block visible light while allowing infrared wavelengths through, turning any DSLR or mirrorless camera into an occasional infrared shooter without permanent modification.
The Hoya R72 remains the most popular choice, passing wavelengths above 720nm and producing the classic infrared aesthetic with stark white foliage and dark skies. It typically costs $50-80 depending on thread size. The B+W 092 filter offers similar performance with slightly better optical quality, running $80-150. For more specialized results, Kolari Vision produces filters in specific wavelengths: their 590nm filter enables false-color infrared work, while 850nm options create high-contrast black and white images with minimal visible light contamination.
Thread size matters. Check your lens barrel for the diameter marking (usually 52mm, 58mm, 67mm, or 77mm) and buy accordingly. Step-up rings let you use one larger filter across multiple lenses, saving money if you have several cameras or focal lengths.
The trade-off for this affordability is workflow friction. Because your camera’s sensor still has its infrared-blocking filter, only a tiny fraction of IR light reaches it. Expect exposure times of 30 seconds to several minutes in daylight, making a sturdy tripod absolutely essential. Autofocus won’t work through dense IR filters, so you’ll need to focus first, then attach the filter without disturbing the focus ring. Some photographers mark their focus position with tape.
Wind becomes your enemy during these long exposures. Even slight subject movement blurs the image, limiting you to static scenes like architecture and landscapes. Action photography is impossible with this approach.
Lenses and Compatibility Considerations
Not all lenses play nicely with infrared light, and discovering compatibility issues after you’ve invested in a conversion can be frustrating. The main culprit is the hotspot effect, a bright circular glow in the center of your images caused by infrared light reflecting between lens elements and coatings. Modern lenses with complex optical designs and multi-layer coatings are particularly prone to this problem.
Wide-angle lenses tend to be the worst offenders. Many ultra-wide zooms produce severe hotspots that make them unusable for infrared work, even at smaller apertures. Prime lenses, especially older manual-focus designs with simpler coatings, generally perform better. The classic Nikon 50mm f/1.8D, for instance, has earned a reputation as an excellent infrared lens because it produces clean images without hotspots.
Focal length matters beyond the hotspot issue. Moderate telephoto lenses (85mm to 135mm) excel at infrared landscape and portrait work, as they compress scenes beautifully while the infrared wavelengths create that distinctive glow in foliage. Ultra-telephoto lenses can work well too, though atmospheric haze affects infrared even more than visible light, limiting distant subjects.
Before committing to an expensive lens for infrared use, check compatibility databases maintained by conversion services like Kolari Vision or LifePixel. These list tested lenses with their hotspot severity ratings. Better yet, if you’re having a camera converted, test your existing lens collection first with an IR filter to identify which glass you can confidently use after conversion. A lens that costs $800 won’t deliver $800 worth of infrared performance if it hotspots badly.
Essential Accessories
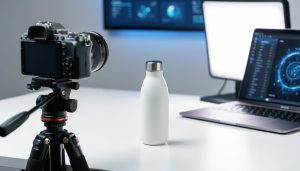
Infrared photography demands supporting gear that compensates for its technical challenges. A sturdy tripod tops the list, even with converted cameras, IR often requires slower shutter speeds than visible-light work, particularly in shaded areas or when using deep-pass filters. Choose a tripod rated for at least double your camera-and-lens weight. Models with a center column hook for added stability work well in windy conditions common during landscape IR sessions.
A remote shutter release eliminates camera shake during those longer exposures. Cable releases or wireless remotes both work; budget $20-60 depending on your camera system. If shooting with screw-on IR filters, you’ll appreciate a lens hood to minimize flare, infrared light scatters differently than visible light, making stray reflections more problematic.
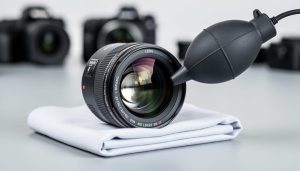
For filter-based shooters, a quality filter wrench helps remove stuck filters without damaging threads. Keep lens cleaning supplies handy; you’ll handle filters frequently. A bubble level or the in-camera level ensures horizons stay straight when composing through a dark viewfinder. Finally, pack extra batteries, live view drains power faster, and cold weather compounds the issue during those dawn IR sessions.
Safety and Equipment Care Warnings
Before diving into infrared photography, you need to understand the equipment risks involved. Camera conversion isn’t reversible in most cases, and mishandling IR gear can permanently damage your equipment.
Camera Conversion Voids Warranties
Having your camera converted to infrared permanently voids the manufacturer’s warranty. The conversion process requires removing the sensor’s hot mirror filter and replacing it with an infrared-passing filter, this physical modification means the camera can never be serviced under warranty again. Only proceed if you’re willing to accept full responsibility for the camera’s future maintenance and repairs. If you’re converting a newer body still under warranty, factor in that you’re sacrificing that coverage.
Sensor Damage from Direct Sunlight
While converted cameras handle sunlight normally, using external IR filters on standard cameras creates a unique hazard. The dark filter blocks visible light but passes infrared, and during the long exposures required (often 30 seconds to several minutes), you’re concentrating IR energy on the sensor. Avoid compositions that place the sun in the frame during these extended exposures.
Use Reputable Conversion Services Only
Camera conversion requires precision work on delicate sensor assemblies. Use established services with proven track records, in 2026, companies like Life Pixel, Kolari Vision, and Spencer’s Camera have years of experience and offer warranties on their conversion work. Attempting DIY conversion or using unknown services risks dust on the sensor, misaligned filters, or complete camera failure. A botched conversion turns your camera into an expensive paperweight.
Handle IR filters carefully, as scratches affect image quality more severely than with standard filters.
Step-by-Step: Setting Up Your Infrared Camera System
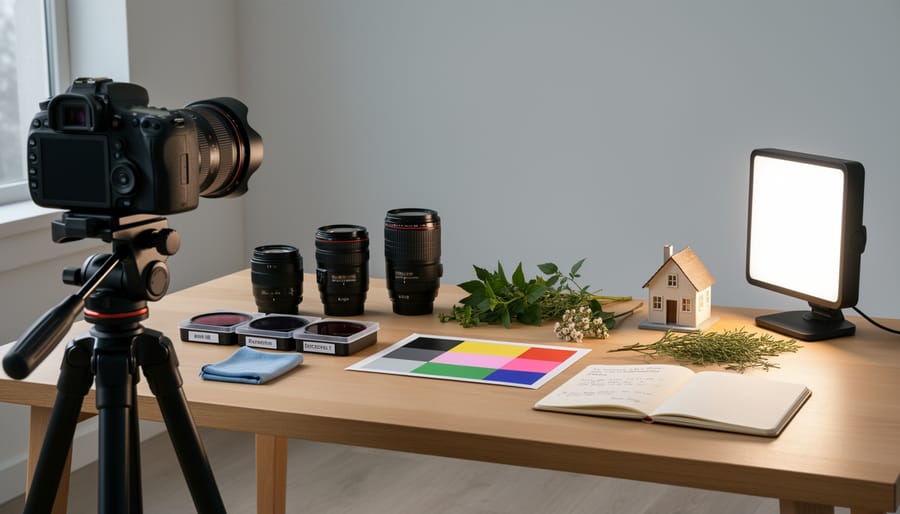
Step 1: Choose Your Conversion Path
Your first decision shapes everything that follows: will you commit to a dedicated infrared camera, or keep your gear flexible?
A full camera conversion, where a service replaces your sensor’s IR-blocking filter with an infrared-passing filter, costs between $300 and $500 in 2026. This route makes sense if you plan to shoot infrared regularly, maybe monthly or more. You’ll get the best image quality, normal shutter speeds, and the ability to use autofocus. The downside? That camera body becomes IR-only; you can’t switch back to standard photography without another conversion.
Screw-on infrared filters offer flexibility. Keep your camera stock and thread on a filter when you want infrared images, then remove it for regular work. This approach costs $50-150 for a quality filter, but you’ll face extremely long exposures (often 30 seconds or more), mandatory tripod use, and manual focus challenges. It’s ideal if you’re experimenting or shoot infrared only occasionally.
Buying a pre-converted body, often an older model you already know, splits the difference. You maintain a standard camera for everyday shooting and a dedicated IR body for infrared sessions. This parallels the approach many photographers take with specialized techniques like night photography tips where dedicated equipment improves results.
Consider how infrared fits your workflow. Occasional experimentation? Start with filters. Regular infrared shooting? Conversion or a pre-converted body pays off quickly in usability and image quality.
Step 2: Select the Right Wavelength or Filter
Wavelength choice fundamentally shapes your infrared images. Each option blocks visible light while transmitting different parts of the infrared spectrum, creating distinct aesthetic results.
The 590nm filter produces vivid false-color infrared with bold reds, yellows, and blues. Foliage turns golden or crimson, skies shift to yellow or orange, and you retain some visible light for autofocus reliability. It’s ideal if you want surreal color effects and easier shooting.
At 720nm, you get the classic infrared look: white foliage, dark skies, and ethereal black-and-white conversions. This wavelength has become the standard because it balances dramatic IR characteristics with reasonable exposure times (1/125s at f/8, ISO 400 in bright sun with a converted camera). Landscapes and architecture shine at this wavelength.
Moving to 850nm or 950nm deepens the effect. You’ll see extreme contrast, nearly black skies, and penetrating haze reduction. However, exposures lengthen significantly, autofocus becomes unreliable, and some sensors show reduced sensitivity. These deeper wavelengths suit fine-art work where maximum atmospheric penetration matters more than shooting speed.
For first-time IR photographers, 720nm offers the most versatile starting point.
Step 3: Test Your Lenses for Hotspots
Before you commit to a lens for infrared work, you need to test it for hotspots, that telltale circular glow in the center of your images caused by infrared light reflecting off the sensor and back through lens coatings.
The test is simple. Point your camera at a plain, evenly-lit surface like a white wall or clear blue sky. Shoot at f/8 and f/11, your most common working apertures. Review the images at full size on your computer. A hotspot appears as a brighter circular or oval area in the middle of the frame, sometimes subtle, sometimes glaringly obvious.
Wide-angle lenses fail this test most often. Many zooms, especially older designs, show pronounced hotspots. Prime lenses generally perform better, and longer focal lengths (85mm and up) rarely cause problems.
Keep detailed notes. A lens might be fine at f/5.6 but unusable at f/16. Test everything you own, then build your infrared kit around the winners. If your favorite wide-angle fails, you’ll need to find an alternative or accept limited shooting scenarios. Some photographers maintain a completely separate lens set for infrared work.
Step 4: Configure Camera Settings
With your infrared camera ready, proper configuration transforms those initial muddy pinkish-red images into usable infrared photographs. Start with the custom white balance, which is crucial for getting workable color in your files.
Point your camera at green grass or healthy foliage filling the frame. In your camera’s custom white balance menu, take a reference shot of this vegetation. The camera will interpret the infrared-reflecting foliage as white, creating a baseline that shifts your images toward more manageable tones. You’ll still need post-processing, but this step gives you a far better starting point than auto white balance.
If you’ve had a camera professionally converted, check whether the service included autofocus calibration. Many converters adjust the AF system to account for infrared’s different focal plane, but not all do. Test autofocus against manual focus on a static subject. If your AF consistently front-focuses or back-focuses, you may need to send the camera back for recalibration or rely on manual focus and live view.
Always shoot in RAW format. Infrared images require significant post-processing, particularly channel swapping, and RAW files preserve the data you need. JPEG compression discards information you can’t recover later.
For exposure, start with your camera’s meter reading, then bracket. Infrared meters differently than visible light, so what looks properly exposed in-camera often needs adjustment. Review your histogram and be willing to override the meter.
Step 5: Assemble Your Field Kit
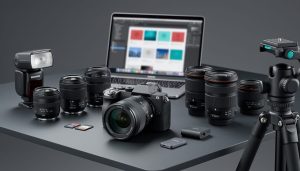
Getting your infrared gear organized before heading out saves frustration in the field. Pack your converted camera body (or standard body with IR filters) in a clearly labeled bag or case. I mark mine with a piece of red tape, simple, but it prevents me from grabbing the wrong camera when I’m rushing.
Include only the lenses you’ve tested and verified for hotspots. Tape a small note inside your camera bag listing which lenses passed your testing and at what apertures they work best. This quick reference stops you from wasting time with problematic glass.
For tripod work, bring a sturdy model that won’t shift during long exposures. Add a remote release or use your camera’s timer. If you’re shooting with filters on an unconverted camera, pack a lens cloth, fingerprints on dark IR filters are invisible until you review images later.
Keep a field notepad with your custom white balance settings for different wavelengths. Grass works for 720nm, but you might need blue sky for deeper IR. Writing these down beats guessing each session.
Store your infrared kit completely separate from your regular photography gear. Mixing them leads to confusion about which body needs which workflow, especially during post-processing.
Testing Your Setup and Troubleshooting
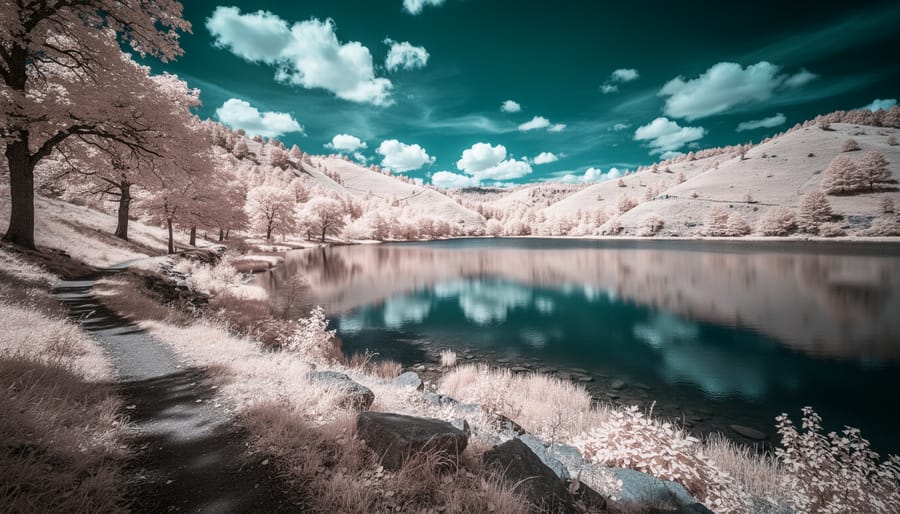
After your first infrared shoot, take a few minutes to review your images and confirm everything is working as expected. A properly set up IR system should produce images with good overall sharpness, even tonal distribution across the frame, and the distinctive infrared look you chose based on your wavelength. Load your RAW files into editing software and zoom to 100% to check critical sharpness in the center and corners of the frame.
Successful infrared images have a characteristic appearance that differs from standard photography. With a 720nm conversion, you should see bright, almost glowing foliage, dark skies, and strong contrast between vegetation and other elements. A 590nm setup produces more color information, with foliage appearing golden or red-orange and skies showing deeper blues or magentas. If your images look muddy, flat, or essentially like desaturated regular photos, something in your setup needs adjustment.
The most common issues have straightforward solutions once you know what to look for:
- Focus problems: If images are soft throughout, your autofocus may need recalibration for infrared wavelengths, contact your conversion service for adjustment instructions or send the camera back for fine-tuning.
- Unexpected color casts: Extreme pink or yellow tints usually mean your custom white balance wasn’t set on appropriate foliage, reshoot your white balance reference on healthy grass or leaves in bright, even light.
- Hotspots: A bright circular area in the center of your images indicates lens incompatibility with infrared, test a different lens or consult hotspot compatibility lists for your camera model.
- Exposure challenges: If your f-stop settings and shutter speeds seem erratic, ensure you’re shooting in manual mode and using your camera’s live view histogram to judge exposure rather than relying on the optical viewfinder.
Check for consistent sharpness across your frame by photographing a detailed, flat subject like a brick wall. If one side is sharp while the other is soft, your lens may have decentered elements, this is a lens issue, not an infrared problem. Persistent vignetting that doesn’t match your lens’s normal behavior might indicate your sensor filter wasn’t installed perfectly parallel during conversion.
When problems persist after trying these fixes, it’s time to contact professionals. Recurring autofocus inconsistencies, visible dust or spots that won’t clean from the sensor area, or any mechanical issues with the camera body warrant sending your converted camera back to the service that modified it. Reputable conversion services typically offer free recalibration within the first few months if the initial setup wasn’t optimal.
Next Steps: Advancing Your Infrared Workflow
With your infrared camera system tested and producing clean results, you’re ready to develop a complete workflow and expand your capabilities.
Post-processing forms the backbone of infrared photography. Your RAW files will likely appear red-tinted or oddly colored straight from the camera. Channel swapping, exchanging the red and blue channels in your editing software, creates the signature white foliage and dark skies. Lightroom and Photoshop both handle this through the Channel Mixer, though dedicated plugins like Nik Collection’s Silver Efex Pro offer specialized IR presets. Develop a processing template for your specific camera and wavelength conversion so you’re not starting from scratch with each shoot.
Your lens collection should grow based on actual field performance, not assumptions. After testing for hotspots, prioritize acquiring lenses that passed cleanly. Many photographers build separate IR kits featuring their proven glass, often older manual-focus lenses excel because simpler coatings transmit infrared more uniformly. Wide-angles between 16-35mm capture dramatic landscapes, while 50-85mm focal lengths suit architectural and portrait work where the IR effect adds atmosphere without distortion.
Consider experimenting with different infrared techniques as your comfort increases. Night infrared photography opens entirely new creative territory, since infrared cuts through haze and darkness differently than visible light. Some photographers explore false-color IR by shooting with less aggressive wavelength conversions (590nm), producing surreal golden and cyan palettes. Others investigate combining infrared with conventional exposures for layered composites.
The technical foundation you’ve built supports limitless creative exploration. Start shooting consistently with your current setup before adding complexity, mastering exposure, composition and post-processing with your existing wavelength teaches you how infrared sees the world.
Frequently Asked Questions
How much does camera conversion cost compared to using filters?
Professional IR conversion runs $300-500 in 2026, while quality infrared filters cost $50-150. Conversion gives better image quality and normal shooting workflow, but filters let you keep your camera unmodified and try IR photography before committing to the expense.
Can I shoot infrared with my smartphone?
Most smartphones have IR-blocking filters that prevent true infrared photography. While some apps claim to simulate IR effects, they’re just digital filters, not actual infrared imaging.
Is camera conversion reversible?
No, removing the IR-blocking filter and installing an infrared filter is permanent. This is why many photographers buy a second body for conversion rather than modifying their primary camera.
What’s the best budget approach to start with infrared?
Buy a used camera body (older models work fine) and have it converted, or start with a screw-on 720nm filter on your existing camera. The filter approach requires a tripod for long exposures but lets you test whether IR photography suits your style before investing in conversion.
Beyond the basics of infrared equipment, converted IR cameras also excel at modified spectrum photography similar to telescope astrophotography since both involve capturing light wavelengths the human eye can’t see. Some photographers even use full-spectrum conversions for DSLR deep space imaging, swapping filters to capture hydrogen-alpha nebulae.
For conversion services in 2026, reputable options include Kolari Vision, LifePixel, and Spencer’s Camera in the US, and Advanced Camera Services in the UK. These companies handle the delicate sensor work and provide warranty coverage on their conversions. Most services take two to three weeks and offer multiple wavelength options, with 720nm remaining the most popular choice for general infrared photography.
Building an infrared photography kit doesn’t require choosing a single “right” path. Whether you’re investing in a full camera conversion, starting with screw-on filters, or picking up a pre-converted body, each approach opens the door to this distinctive photographic technique. The $50 filter route and the $500 conversion both lead to the same creative destination, they just take different roads to get there.
Your first infrared images won’t be perfect. You’ll discover lenses that hotspot, struggle with white balance, and probably end up with some unexpectedly pink skies. That’s part of the process. Each shoot teaches you how your specific gear behaves with invisible light, and that hands-on knowledge matters more than any specification sheet.
Start with the equipment approach that fits your budget and commitment level right now. Test your lenses systematically. Shoot often enough that the workflow becomes intuitive. Infrared photography rewards patience and experimentation, not expensive gear alone. The photographers creating stunning IR work aren’t necessarily the ones with the most wavelength options or the priciest conversions, they’re the ones who’ve learned exactly how their equipment sees the world beyond visible light.

 By
By