By
By 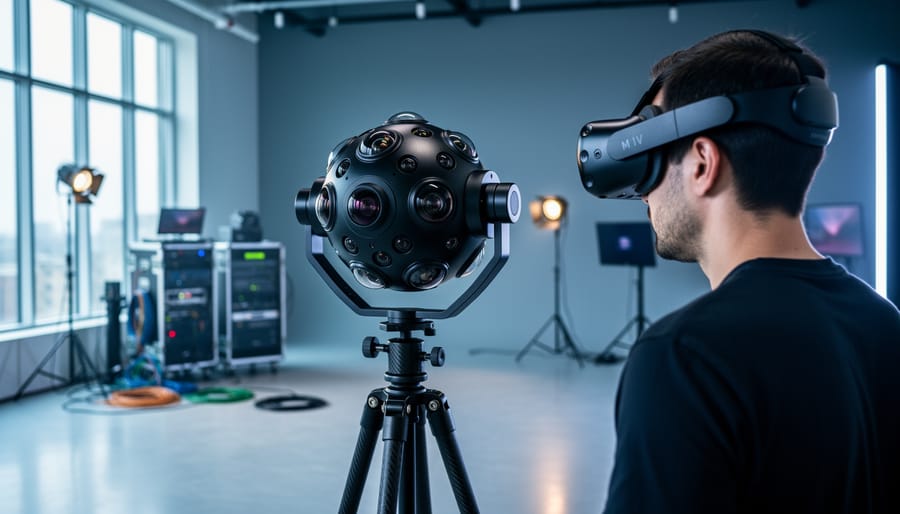
Visual compression is a perceptual technique that reduces file sizes for VR photography by exploiting how the human visual system prioritizes detail, rather than uniformly compressing all image data. The method applies higher compression to peripheral regions where viewers won’t notice degradation while preserving sharpness in focal areas, cutting file sizes by 40-70% without diminishing the immersive experience. This approach is especially critical for VR delivery, where massive 360-degree images must stream smoothly to headsets with limited bandwidth and processing power.
Unlike traditional file compression that treats every pixel equally, visual compression acknowledges a fundamental truth: we don’t see everything with equal clarity. Your eye captures sharp detail only in the center of your vision, roughly a 2-degree cone, while peripheral regions contribute to spatial awareness without demanding high resolution. VR photographers have seized on this biological limitation to solve one of their biggest technical headaches. A typical 8K stereo 360 panorama weighs in at 100-200 MB uncompressed, far too large for real-time streaming or quick loading on standalone headsets.
The technique integrates naturally into the 3D photography pipeline sitting between stitching and final export. Most VR creators now consider it essential rather than optional, particularly for applications like virtual tours, 360 product showcases, and immersive journalism where users expect instant loading across varying network conditions. The workflow requires specialized tools that understand both image compression and human perception, along with careful verification to ensure the quality trade-offs remain invisible to viewers.
Understanding Visual Compression in VR Photography
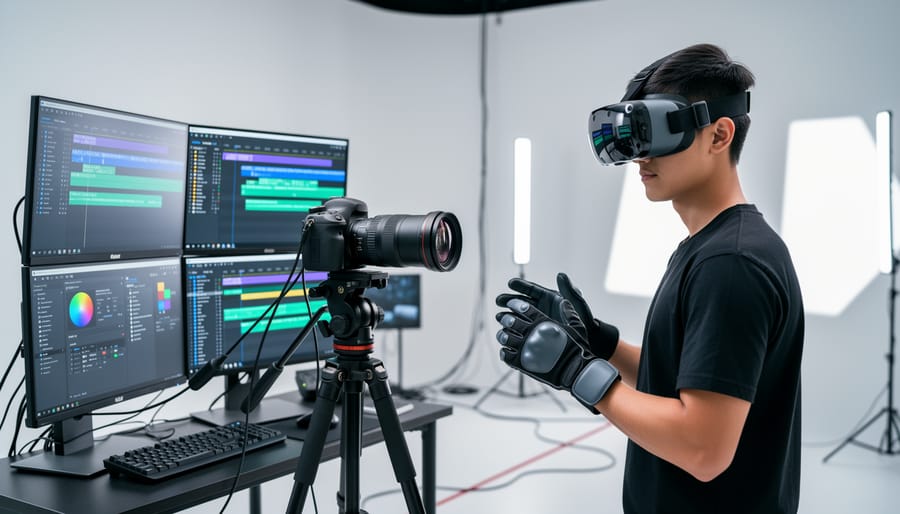
Visual compression in VR photography isn’t about making files smaller through traditional zip algorithms. It’s about intelligently reducing the amount of visual data your viewer’s brain actually processes, while maintaining the illusion of a complete, immersive environment. Think of it as strategic data reduction that works with human perception rather than against it.
Your eyes can’t focus on everything simultaneously in a VR headset. The center of your vision captures sharp detail, while your peripheral vision primarily detects motion and broad shapes. Visual compression techniques exploit this biological limitation. Foveated rendering, for instance, delivers high-resolution imagery only where you’re directly looking, dropping quality progressively toward the edges of your field of view. The result? You perceive a crystal-clear environment, but the actual data transmitted can be 30-40% smaller than a uniformly high-resolution image.
Resolution hierarchies take a similar approach spatially. A 360-degree panorama doesn’t need equal detail everywhere. Users naturally spend more time looking at the horizon line in most VR experiences, so you can allocate higher resolution to that equatorial band while reducing it at the poles (the ceiling and floor). Temporal compression adds another layer by analyzing how scenes change frame-to-frame in VR video, storing only the differences rather than complete new images for every frame.
Why does VR demand these specialized strategies? The data footprint tells the story. A single uncompressed 8K stereoscopic 360-degree image weighs approximately 200-300 MB. String together 30 of those per second for video, and you’re looking at 6-9 GB of data every second. No consumer internet connection handles that, and no mobile VR headset has the processing power to render it in real time. Even a high-quality compressed VR video at 100 Mbps requires careful optimization.
Flat images don’t face these constraints. A standard 4K photograph compresses beautifully with JPEG because you view it on a static screen at a fixed distance. In VR, you’re inside the image, moving your head freely, expecting instant response. Any compression artifact becomes magnified when it’s wrapped around your entire field of vision. A subtle blocking artifact acceptable on a monitor becomes a nauseating disruption in VR when it stutters during head movement. That’s why visual compression techniques specific to VR aren’t optional, they’re fundamental to creating experiences that work.
Tools and Software You’ll Need

Before you start compressing VR content, you’ll need a specialized toolkit that covers the entire workflow from capture to final delivery. Unlike flat photography, VR compression requires software that understands spherical formats and hardware that lets you verify quality as users will actually experience it.
Your essential toolkit breaks down into five categories:
- Capture and stitching software: Insta360 Studio (free), GoPro Player (free), PTGui Pro ($200)
- VR editing platforms: Adobe Premiere Pro with VR plugins ($54.99/month), DaVinci Resolve Studio ($295 one-time), Mistika VR ($395/year)
- Codec encoding tools: HandBrake (free, H.265 support), FFmpeg (free, command-line), Voukoder plugin (free, integrates with editing suites)
- VR preview headsets: Meta Quest 3 ($500), PSVR2 ($550), or budget option Oculus Go (used market, $150)
- Platform SDKs and tools: Meta Spatial SDK (free), YouTube VR uploader (free), Steam VR SDK (free)
If you’re just starting out, begin with the free tier. Most 4K 360 cameras ship with capable stitching software, and you can handle basic compression with HandBrake or the free version of DaVinci Resolve. Pair that with a Quest 3 for quality checks, and you’ve got a functional pipeline under $600 beyond your camera investment.
For professional work, the paid options earn their keep. Adobe Premiere Pro offers the smoothest integration if you’re already in that ecosystem, though it demands substantial GPU power for real-time VR preview. DaVinci Resolve Studio hits a sweet spot: powerful color tools matter more in VR where users can look anywhere, and the one-time purchase beats subscription fatigue. Mistika VR specializes in high-end VR post-production with advanced stitching control, making it worth the annual cost if you’re delivering to clients with exacting standards.
One often-overlooked requirement: you need a VR headset that matches your target audience’s hardware. Compressing for Quest 3 users but only testing on a desktop monitor guarantees you’ll miss artifacts that become obvious in the headset. The compression settings that look fine on a flat screen often reveal blocking or banding when viewed in immersive 3D space.
Safety Warnings and Quality Thresholds

Over-compression in VR photography creates immediate physical consequences that don’t exist in flat imagery. When you push compression too far, visible artifacts like blocking, banding, and blur trigger disorientation and nausea in viewers wearing headsets. The spatial cues that create presence break down, and instead of being immersed in a scene, users become acutely aware they’re looking at degraded digital content.
Different headsets demand different quality floors because of their resolution and field-of-view characteristics. For Meta Quest 3 (dual 2064×2208 per eye), maintain at least 5.7K source resolution at 100 Mbps for stereoscopic video. Apple Vision Pro’s higher pixel density (3680×3140 per eye) requires 8K source material at 150-200 Mbps to avoid perceptible quality loss. PSVR2 sits in the middle with 2000×2040 per eye, needing 5K at 80-100 Mbps. These aren’t suggested targets, they’re thresholds below which spatial presence collapses.
Stop compressing when you notice any of these indicators during headset testing: color gradients show visible steps instead of smooth transitions, fine details like text or distant objects become illegible, motion during head turns creates trailing or ghosting, or straight lines develop a stair-step appearance. These artifacts don’t just reduce quality; they actively work against the 360 camera techniques you used to capture spatial realism in the first place.
The most common mistake is applying flat-image compression logic to VR content. A bitrate that produces beautiful results on a monitor creates unwatchable content in a headset because the image wraps your entire field of view. Standard H.264 settings from video editing workflows will destroy VR footage. Always test compression settings while wearing the target headset, not by examining files on a flat screen where artifacts remain invisible until it’s too late.
Step-by-Step Visual Compression Process
Step 1: Optimize During Capture
The best compression starts before you compress anything. Clean source footage dramatically reduces the workload your codec faces later, which means you can achieve smaller file sizes without sacrificing immersion quality.
Shoot in optimal lighting conditions whenever possible. Underexposed or noisy footage forces your camera’s sensor to amplify weak signals, introducing grain that compression algorithms interpret as detail worth preserving. This inflates your file size while simultaneously making artifacts more visible. If you’re shooting indoors, add lighting rather than cranking ISO beyond 800. For outdoor scenes, golden hour provides naturally balanced light that compresses cleanly.
Select the appropriate ISO for your conditions, but err conservative. Modern 360° cameras handle ISO 400-800 well, but anything above 1600 starts generating noise patterns that fight compression. That grain isn’t adding value to your VR experience, it’s just data baggage.
Configure your stitch settings before capture, not in post. Most 360° cameras offer stitch quality presets; choose the mode that matches your final delivery resolution. Shooting at 8K when you’re delivering at 4K wastes processing power and storage without improving your final output. The extra pixels get discarded anyway.
Avoid over-sampling unless you have a specific creative reason. Capturing at unnecessarily high frame rates (120fps when you need 30fps) or extreme resolutions creates massive source files that offer no perceptual benefit after compression targets reduce them to deliverable specs. Start lean, compress smart.
Step 2: Apply Spatial Resolution Hierarchies
In a 360° VR image, not all pixels carry equal perceptual weight. Users spend roughly 70% of their viewing time within a 60-degree band around the equator, the horizontal center where most action happens. The poles? They’re rarely examined closely. Exploit this behavior by assigning resolution budgets accordingly.
Start by opening your stitched 360° image in your VR editing suite. In Adobe Premiere Pro’s VR workspace, navigate to the “VR Projection” settings and enable “Custom Resolution Map.” In Mistika VR, look for “Adaptive Resolution” under the export panel. Both let you define resolution zones across the spherical projection.
Set your equatorial band (roughly ±30 degrees from center) to full resolution, if you’re working with an 8K equirectangular source, keep that zone at 8K. For the mid-latitude bands (30-60 degrees above and below equator), drop to 75% resolution. At the poles (beyond 60 degrees), reduce to 50% or even 4K. The specific percentages depend on your content: if you’ve got detailed architecture reaching toward the sky, extend the high-res zone upward.
Most software renders this as a gradient overlay on your equirectangular preview. Adjust the transition zones to avoid hard boundaries, a 10-15 degree feather between resolution tiers prevents visible seams during head movement. DaVinci Resolve Studio offers particularly smooth gradient controls under its “VR Reframe” toolset.
Export a test file and check it in your headset while deliberately looking at the poles. If you notice pixelation or compression artifacts during casual viewing, pull back your reduction slightly. The goal isn’t maximum compression, it’s imperceptible quality loss. Done correctly, you’ll cut file size by 25-35% while maintaining the immersive experience where it matters.
Step 3: Implement Foveated Encoding
Foveated encoding exploits a simple truth about human vision: we see sharp detail only in the center of our visual field, while peripheral vision detects motion and general shapes at much lower resolution. In VR photography, this means you can allocate more bits to the center of the frame where users focus, and fewer to the edges, without anyone noticing the difference.
Most VR editing software supports two approaches. Static foveation applies a fixed quality gradient from center to edge, assuming users will look straight ahead most of the time. This works well for guided experiences like virtual tours where you control the narrative flow. Set your center zone (typically 60-80 degrees of field of view) to your target bitrate, then drop peripheral zones to 50-70% of that value. A 360° video that would normally require 100 Mbps might compress to 60-70 Mbps using static foveation, cutting file size by 30-40% with no perceptible quality loss during normal viewing.
Dynamic foveation tracks where the user actually looks using eye-tracking data, adjusting quality in real-time as their gaze moves. It delivers bigger savings, up to 50% in some cases, but requires compatible headsets and adds processing overhead. Reserve this for high-end experiences where users have Quest Pro or Vision Pro devices.
When setting up foveation in your encoder, start conservative: a gentle quality gradient (center at 100%, edge at 60%) prevents harsh transitions that break immersion. Test by deliberately looking at peripheral areas in your headset. If you spot obvious blur or blocking when you move your eyes to the edge of vision, dial back the compression ratio on outer zones. The goal is invisible optimization, not obvious corner-cutting.
Step 4: Choose the Right Codec and Settings
Codec selection directly determines how well your VR content plays across different platforms and headsets. For VR delivery in 2026, you’re choosing between three main options: H.265 (HEVC), VP9, and AV1.
H.265 remains the safest choice for broad compatibility. It’s natively supported by Quest headsets, PSVR2, and most standalone VR devices. For 4K stereoscopic VR, target 80-120 Mbps bitrate. If you’re working with 8K monoscopic content, push that to 150-200 Mbps. These rates preserve detail during head movement without creating massive files.
VP9 works best for YouTube VR and web-based experiences. It delivers similar quality to H.265 at slightly lower bitrates (roughly 10-15% smaller files), but hardware decoding isn’t universal. Use 70-100 Mbps for 4K and 130-180 Mbps for 8K.
AV1 offers the best compression efficiency, about 30% better than H.265, but support is still growing. It’s ideal for future-proofing content and works well on newer PC VR setups, but check your target platform’s compatibility before committing.
For all codecs, set keyframe intervals to 2-3 seconds maximum. VR users constantly change viewing direction, and longer intervals create noticeable lag when the scene updates. This is shorter than standard video (typically 10 seconds) but critical for maintaining presence.
Color subsampling matters more in VR than flat video. Use 4:2:2 chroma if your platform supports it, the extra color data prevents banding in gradients, which VR headsets magnify. If file size is tight, 4:2:0 works for most content, but watch skies and smooth surfaces closely.
Platform requirements override your preferences. Meta requires H.265 with specific profile settings. Steam accepts all three codecs but recommends H.265 for compatibility. YouTube VR prioritizes VP9. Always encode a test clip and verify playback on your target platform before processing your entire project.
Step 5: Apply Temporal Compression for Video
Temporal compression exploits redundancy between video frames, critical for VR video where file sizes balloon quickly. A 360° video at 5K resolution and 60fps generates massive data streams, so effective temporal compression can reduce file sizes by 60-70% without visible quality loss if you configure it correctly for VR’s unique demands.
Start with motion prediction settings in your encoder. VR benefits from higher motion search ranges than flat video because head movement creates unpredictable frame-to-frame changes. Set your motion vector search radius to at least 32 pixels, this helps the encoder find matching blocks even when the viewer rotates their head between frames, reducing the data needed to describe each new frame.
GOP (Group of Pictures) structure requires different thinking for VR. While flat video often uses GOP lengths of 250 frames or more, VR needs shorter GOPs, typically 60-120 frames maximum. Longer GOPs create noticeable lag when users rapidly change viewing direction, causing disorientation and breaking immersion. I recommend starting with a GOP of 90 frames for 30fps content (3 seconds) or 120 frames for 60fps content (2 seconds). This keeps seek times responsive when users scrub through the timeline or when platforms need to adjust quality mid-stream.
The constant bitrate versus variable bitrate decision depends on your delivery method. Use CBR (constant bitrate) for live streaming or platform uploads with strict bandwidth requirements, it guarantees smooth playback but wastes bits on simple scenes. Choose VBR (variable bitrate) for downloaded content or high-quality archives, allowing the encoder to allocate more data to complex motion sequences while saving on static scenes. For VR specifically, use two-pass VBR encoding to let the algorithm analyze the entire video first, optimizing how it distributes bits across the timeline while respecting your target average bitrate.
Step 6: Optimize the Delivery Pipeline
After encoding your VR content with the right codec and settings, you need to package it for actual delivery. Your compression choices here directly determine whether users experience smooth immersion or frustrating buffering.
Streaming vs. Download Packaging
For streaming delivery, package your VR content in fragmented formats like DASH (Dynamic Adaptive Streaming over HTTP) or HLS (HTTP Live Streaming). These break your video into small chunks, typically 2-6 seconds each, allowing playback to start before the entire file downloads. For VR, use shorter segment durations (2-3 seconds) than flat video because head movement during buffering causes immediate disorientation.
Download-and-play delivery uses a single file package, which works well for high-quality experiences where users can wait. Steam VR and some art installations favor this approach. The tradeoff: you need one highly optimized encode since users can’t switch quality mid-experience.
Implementing Adaptive Bitrate Streaming
ABR for VR requires creating multiple quality tiers, usually three to five versions of the same content. A typical ladder for 4K VR video might include 20 Mbps (high), 12 Mbps (medium), 6 Mbps (low), and 3 Mbps (mobile). Unlike flat video, don’t drop below 3 Mbps for VR because the immersive field of view magnifies compression artifacts.
The player switches between these tiers based on network conditions. However, VR switching needs smoother transitions than flat video, jarring quality jumps during head rotation break presence. Configure your ABR algorithm with longer buffer targets (10-15 seconds instead of the typical 5) and gentler step-downs between quality levels.
CDN Optimization
Use CDNs with edge servers positioned close to your target audience. Geographic distance matters more for VR than flat video because higher bitrates mean latency issues appear faster. Cloudflare, Fastly, and AWS CloudFront all support VR formats, but verify they cache your DASH or HLS manifests correctly.
Your compression decisions cascade through delivery: aggressive compression creates smaller segments that load faster but look worse, while conservative compression demands more bandwidth and risks stalling. Test your delivery pipeline under realistic network conditions, not just on office WiFi, to find the balance that maintains immersion.
Testing and Verification
Testing your compression settings on a flat monitor tells you almost nothing about the actual VR experience. You need to validate quality inside a headset where users will actually view your work, checking for artifacts that only appear in stereoscopic 3D and during head movement. Start with the hardware your audience will use, if you’re delivering for Quest 3, test on Quest 3, not a high-end PCVR rig that masks compression issues.
Load both your compressed and original files into the same VR environment for direct comparison. Look at areas with fine detail first: text, foliage, architectural lines, anything with high-frequency patterns. Pan your head slowly left and right, compression artifacts often become visible during motion when they’re invisible in static frames. Pay special attention to the horizon line and areas where your VR composition draws the viewer’s eye, since that’s where quality degradation hurts most.
- Load compressed and original files side-by-side in your VR headset and compare critical focus areas during slow head panning.
- Scan for specific artifacts: color banding in gradients (skies, shadows), blocking in detailed textures, blur in peripheral zones beyond intended foveation.
- Test playback performance, check frame rate stability, measure buffering time on typical internet speeds, verify smooth streaming without stutters.
- Validate on at least two different headset models if delivering cross-platform, noting any platform-specific rendering differences.
- Conduct a comfort check with fresh eyes after a break, watch for subtle issues that trigger disorientation or eye strain during extended viewing.
Measure your file size reduction against the baseline. A successful VR compression workflow typically achieves 30-50% size reduction while maintaining perceptual quality. If you’re seeing visible artifacts or getting less than 20% savings, revisit your codec settings, you’re either over-compressing or under-utilizing the available techniques. Document your final settings (bitrate, resolution maps, codec profile) for future projects with similar content.
Common Issues and Troubleshooting
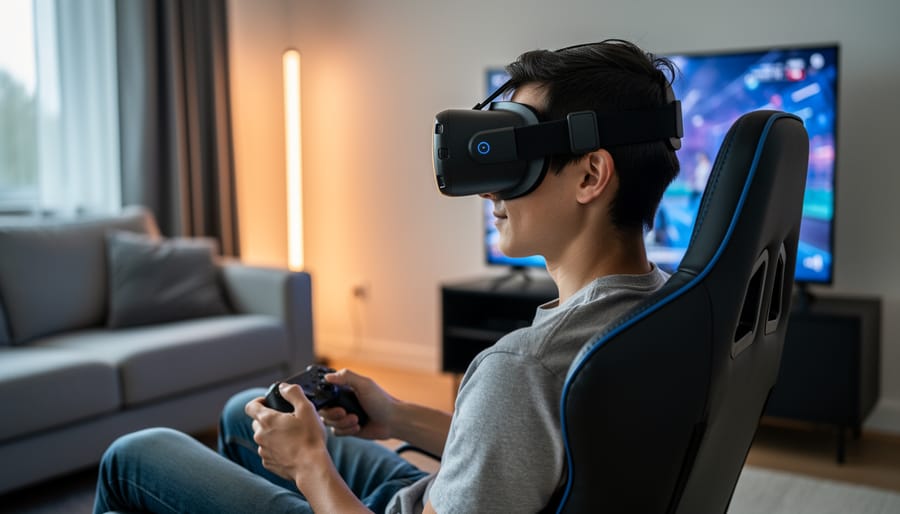
Even with careful compression, you’ll likely encounter a few recurring challenges. Here’s how to diagnose and fix the most common problems that trip up VR photographers.
Visible Seams After Compression
If compression introduces visible stitching lines that weren’t there in your original file, the codec is probably treating each face of your equirectangular projection independently. Switch to a VR-aware encoder that understands 360° topology, many H.265 encoders now include a spherical metadata flag. Re-encode with this flag enabled, and increase the bitrate slightly in seam-adjacent areas if your software supports regional quality maps.
Motion Sickness from Temporal Artifacts
Stuttering or ghosting during head movement triggers vestibular conflict. This usually stems from GOP lengths that are too long for VR, users notice frame prediction errors more acutely when their head motion doesn’t match the visual update. Reduce your GOP to two seconds maximum (60 frames at 30fps), and consider switching from variable to constant bitrate for smoother playback during rapid movements.
Platform Rejection Due to Spec Mismatch
Each VR platform has strict container, codec, and metadata requirements. YouTube VR demands specific spherical metadata tags; Meta Quest requires H.265 Main10 profile for HDR content. Before uploading, validate your file against the platform’s published specs using tools like MediaInfo or FFprobe. Pay particular attention to color space declarations, many rejections happen because HDR metadata is missing or incorrectly flagged.
Why do my VR photos look fine on screen but blurry in headset?
Flat monitors can’t reveal VR-specific issues like insufficient angular resolution or peripheral blur from aggressive foveation. Always test in the actual headset where the content will be viewed, what looks sharp at 1:1 zoom on a monitor may lack detail when wrapped around your full field of view.
How much can I compress before users notice?
For static 360° photos, you can typically achieve 60-70% file size reduction before visible artifacts appear in a VR headset. Video is more sensitive, aim for no more than 50% reduction from your master file, and always test with head movement, not just static viewing.
What’s causing stuttering during head turns?
Stuttering during head rotation almost always indicates your bitrate is too low for the frame’s complexity or your GOP structure is too long. Increase your target bitrate by 20% and shorten keyframe intervals to every 1-2 seconds.
Excessive File Size Despite Compression
If you’ve applied compression but file sizes remain impractical, you’re likely starting with unnecessary source data. Revisit your capture settings, shooting 12K when your delivery target is 4K wastes processing time and creates minimal quality improvement after downsampling. Match your source resolution to 1.5-2× your delivery resolution, not higher.
Quality Loss in High-Detail Areas
Complex textures like foliage or architectural detail can break down into blocking artifacts even at reasonable bitrates. Use spatial resolution hierarchies to allocate more bits to these regions, or apply a light sharpening filter pre-compression to help the encoder preserve edge definition. Avoid over-sharpening, which creates false detail the codec will struggle to encode efficiently.
Next Steps and Advanced Techniques
Once you’ve built confidence with the core compression workflow, several advanced paths open up. Neural codecs, AI-driven compression models like Google’s Lyra and emerging VR-specific variants, are reshaping the landscape in 2026. These models analyze spatial patterns in 360° content and compress more efficiently than traditional codecs, sometimes achieving 50% smaller files at equivalent perceptual quality. Experiment with available neural codec implementations in your editing suite’s export settings, but always test thoroughly in-headset before committing to a delivery pipeline.
Dynamic quality adjustment takes foveated encoding further by responding to real-time gaze tracking data. If your target platform supports eye-tracking (Vision Pro, Quest Pro, PSVR2), you can encode content that shifts compression intensity based on where the viewer actually looks, not just static peripheral zones. This requires platform-specific SDKs and adds workflow complexity, but the payoff in bandwidth efficiency is substantial for streaming applications.
Platform optimization matters more than you might expect. Meta’s Quest ecosystem favors different compression profiles than Steam VR or YouTube 360. Study each platform’s codec requirements, maximum bitrates, and hardware decode capabilities. A real estate tour benefits from aggressive compression of static backgrounds while preserving architectural detail, whereas artistic VR projects might prioritize color fidelity and texture nuance over file size. Journalism work often needs fast encoding turnaround balanced with acceptable quality.
Keep current with codec evolution, AV1 support is expanding rapidly, and proprietary formats emerge regularly. Join VR creator forums, follow codec development roadmaps, and test new encoders as they release. Finally, don’t neglect the fundamentals that make compression effective: proper stereoscopic viewing setup and clean capture technique will always yield better compressed results than trying to fix poor source material with advanced algorithms.

 By
By