By
By 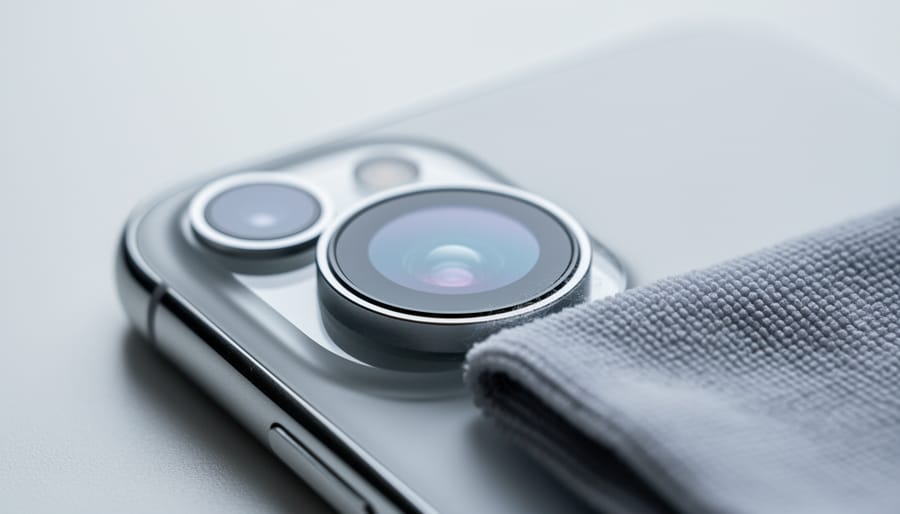
Your iPhone’s camera lens can be spotless in under 60 seconds using a microfiber cloth and proper technique. The process requires no special cleaners or expensive tools, just a gentle circular motion from center to edge to remove fingerprints, dust, and smudges without scratching the glass.
That tiny lens captures everything from family memories to portfolio-worthy shots, yet most iPhone users either ignore lens maintenance entirely or accidentally damage the coating with harsh materials. The camera lens on your iPhone uses the same optical glass principles as professional photography lenses, complete with anti-reflective coatings that improve light transmission and reduce flare. Treat it roughly with paper towels or shirt fabric, and you’ll create micro-scratches that permanently degrade image quality.
The good news? Regular cleaning takes less time than scrolling through your camera roll, and you probably already own everything you need. A clean lens eliminates the soft, hazy look in photos, improves autofocus accuracy, and restores the sharpness you expect from modern iPhone cameras. Whether you shoot professionally or just want clearer vacation photos, maintaining your lens should be as routine as charging your phone.
This guide walks through the exact materials, safe techniques, and common mistakes that separate proper lens care from potential damage. You’ll learn when to clean, what to avoid, and how to verify your lens is truly spotless before your next shot.
Why Your iPhone Lens Gets Dirty (And Why It Matters)
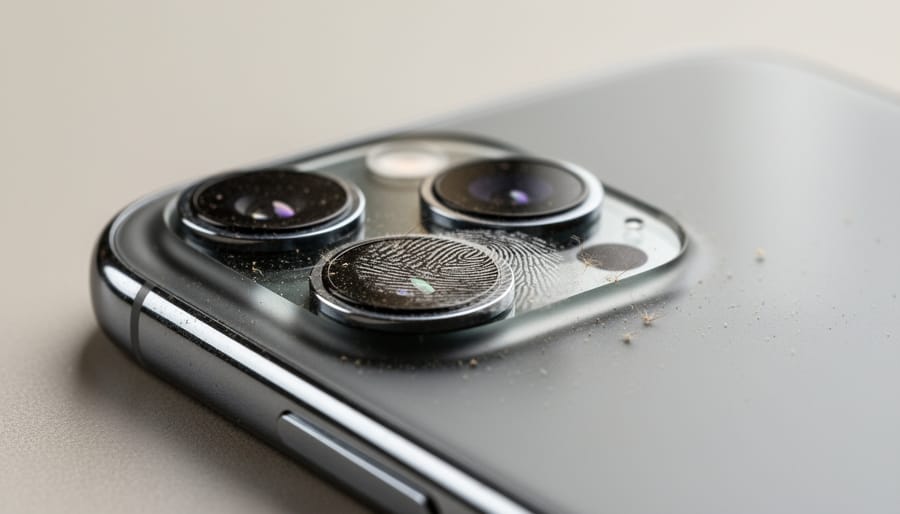
Your iPhone’s camera lens sits exposed at the corner of your phone, positioned perfectly to encounter every surface you touch, every pocket you slide it into, and every environment you carry it through. That constant exposure means contamination is inevitable, not occasional.
The lens picks up trouble from surprisingly mundane activities. Every time you pull your phone from your pocket, lint and fabric fibers transfer to the glass. Touch the phone’s back while adjusting your grip, and skin oils migrate to the lens. Apply makeup, sunscreen, or hand lotion, and residue finds its way there within minutes. Even setting your iPhone face-down on a table can deposit invisible particles that later blur your shots.
The impact on your photos is immediate and measurable. A clean lens produces sharp, contrasty images with accurate color. A dirty one doesn’t just make things slightly worse, it fundamentally degrades image quality:
- Fingerprints and oils scatter light across the frame, reducing sharpness and creating a hazy, low-contrast look
- Dust and lint particles create soft spots or dark specks, especially noticeable in bright, even areas like skies
- Smudges cause flare and ghosting when shooting toward light sources, washing out colors and detail
- Makeup and cosmetic residue leaves stubborn films that reduce clarity and create uneven light transmission
Here’s what this looks like in practice: you’re photographing a sunset over water, but instead of crisp reflections and rich colors, you get washed-out streaks radiating from the sun and muddy tones throughout. The composition is perfect, the light is stunning, but the smudged lens has ruined the shot. You can’t fix that fundamental softness in editing, the detail simply isn’t there to recover.
This is why cleaning technique matters. Removing contamination properly restores your iPhone’s optical performance, but doing it wrong can scratch coatings or grind particles into the glass, making the problem permanent.
What You’ll Need: Tools and Materials for Safe iPhone Lens Cleaning
You don’t need a full cleaning kit to maintain your iPhone’s camera lens, but having the right tools makes the job safer and more effective. Here’s what actually works.
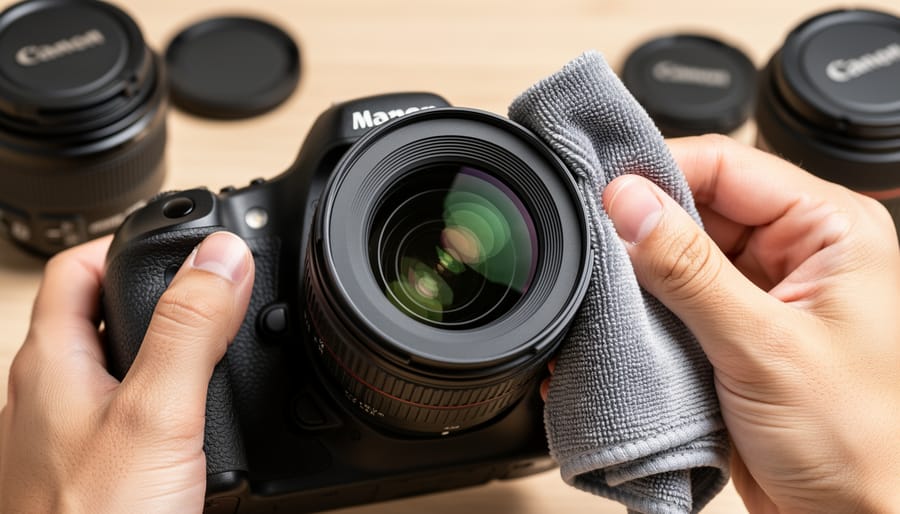
Start with a proper microfiber cloth, this is your primary tool. Camera-grade microfiber cloths differ from the generic ones that come with eyeglasses or electronics. They’re densely woven, lint-free, and designed specifically for coated optics. The microfiber magic lies in the fabric’s ability to lift oils and particles without scratching. Keep at least two cloths on hand, one for general cleaning, one reserved for final polish. These same cloths work perfectly for your DSLR or mirrorless lenses.
For cleaning solution, stick with products labeled for camera lenses or eyeglasses. These are formulated to be safe for anti-reflective and oleophobic coatings. A small spray bottle lasts months since you need just one or two sprays per cleaning. Never apply solution directly to the lens, always spray the cloth first.
A lens pen combines a retractable brush for loose debris and a carbon cleaning tip for fingerprints and oils. The brush end gently sweeps away dust, while the carbon tip lifts stubborn smudges through circular motion. Professional photographers keep these in their camera bags for quick field cleaning, and they’re equally useful for phone lenses.
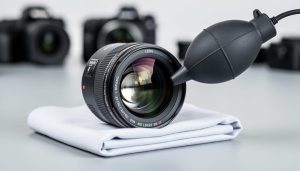
Compressed air or a rubber blower bulb removes loose particles before you wipe. The blower bulb is gentler and won’t introduce moisture like canned air sometimes does. This step prevents scratching from grinding debris across the glass.
Skip household products entirely. Your everyday cleaning supplies, window cleaner, rubbing alcohol, paper towels, shirt fabric, can strip coatings or scratch the lens. These tools cost under thirty dollars total and protect equipment worth considerably more.
Critical Safety Warnings: What Never to Do
Your iPhone’s camera lens has a specialized optical coating that enhances image quality by reducing reflections and improving light transmission. This coating is far more delicate than the glass itself, and once damaged, it cannot be repaired, only the entire camera module can be replaced, typically at significant cost and potentially voiding any warranty if Apple determines the damage resulted from improper cleaning.
Abrasive materials create microscopic scratches that accumulate over time, degrading sharpness and creating internal reflections that reduce contrast. Regular clothing carries dust particles and has a weave pattern coarse enough to act like sandpaper on the delicate coating. Even “soft” materials like cotton t-shirts or facial tissues can embed particles into the lens surface as you wipe.
Harsh chemicals pose an equally serious threat. Window cleaners like Windex contain ammonia that breaks down optical coatings. Alcohol-based cleaners, including hand sanitizer and isopropyl alcohol, can dissolve the coating’s bonding agents. Acetone and other solvents will strip the coating entirely within seconds. These products work fine on regular glass but are catastrophic for coated optics.
Excessive pressure is another common mistake. You shouldn’t need to press hard to clean without scratching if you’re bearing down, you’re either using the wrong material or pushing debris across the surface. Sharp objects like fingernails, toothpicks, or knife edges might seem useful for stuck-on material, but they gouge the coating instantly.
The damage from these mistakes is irreversible. You’ll see it as permanent hazing, reduced sharpness, increased lens flare, or visible scratch patterns in your photos. Professional repairs run $150-400 depending on your iPhone model, and Apple won’t cover damage classified as “accidental” or resulting from improper maintenance.
Step-by-Step: The Right Way to Clean Your iPhone Camera Lens
Step 1: Remove Loose Debris
Before you touch the lens with any cloth, your first job is to remove anything loose sitting on the glass. Dust, sand, and lint act like tiny abrasives when you wipe, dragging them across the lens creates scratches that no amount of polishing will fix.
Use a lens blower bulb or canned compressed air. Hold your iPhone with the lens facing downward and give it several short puffs from about four to six inches away. The downward angle lets gravity help dislodged particles fall away instead of resettling. Blowing off loose dust before wiping is standard practice for all camera lenses, and your iPhone deserves the same care.
If you’re using canned air, keep the can upright and use only brief bursts. Tilting it can spray propellant, a cold liquid that leaves residue. A manual blower bulb is safer and gives you better control. Never blow on the lens with your mouth; your breath contains moisture and saliva particles that create new problems.
Step 2: Apply Cleaning Solution (When Needed)
Most of the time, a dry microfiber cloth handles light smudges just fine. But when you’re dealing with oily fingerprints or stubborn residue that won’t budge, a cleaning solution designed for coated optics makes all the difference.
The cardinal rule: apply solution to your cloth, never directly onto the lens. Spraying liquid on the iPhone risks seepage into edges and internal components. Put one or two drops on a clean section of your microfiber cloth, that’s plenty. The cloth should be barely damp, not soaked.
For light cleaning without solution, try the breath-fog method photographers have used for decades. Breathe gently on the lens (a soft “hah” sound) to create a light condensation, then immediately wipe with your dry cloth in circular motions. This works surprisingly well for minor smudges and costs nothing.
Skip household cleaners entirely. Windex, alcohol, and ammonia-based products strip the oleophobic coating Apple applies to reduce fingerprints. Stick with solutions labeled safe for camera lenses or eyeglasses.
Step 3: Wipe with Proper Technique
With your dampened microfiber cloth ready, use gentle circular motions starting from the center of the lens and working outward in a spiral pattern. This technique pushes debris away from the lens rather than dragging it across the surface. Apply only light pressure, about the same force you’d use to clean your eyeglasses. Too much pressure can grind particles into the coating or stress the lens assembly.
Make two to three complete circular passes for typical smudges. If you notice streaks forming, you’re likely using too much solution or pressing too hard. The proper cloth choice matters here, a clean microfiber designed for camera lenses won’t leave lint or create new streaks.
After your initial passes, flip to a fresh section of the cloth for a final dry polish. This removes any remaining moisture and solution residue. Most iPhone lenses are clean after three passes total, but heavily soiled lenses might need you to switch to an entirely clean area of the cloth and repeat the process.
Step 4: Use a Lens Pen for Stubborn Spots
If microfiber cleaning leaves behind stubborn oil smudges or fingerprint residue that won’t budge, it’s time to use a lens pen. These specialized tools feature a carbon cleaning tip designed specifically for removing oily residues from coated glass.
Remove the cap and gently place the circular carbon tip flat against the smudge. Use light, circular motions working from the center outward, similar to your cloth technique. The carbon compound lifts oils without scratching. Two or three passes should clear most spots. Don’t press hard or scrub aggressively, the carbon does the work with minimal pressure.
Lens pens work brilliantly on localized oil spots but aren’t ideal for general cleaning or loose debris. If the spot persists after a few gentle passes, the issue might be something the carbon can’t address. In that case, go back to Step 2 and try the cleaning solution method again rather than grinding away with the pen. Know when to stop and reassess.
Step 5: Final Dry Polish
After your cleaning passes, grab a fresh, untouched section of your microfiber cloth, one that hasn’t picked up any moisture or cleaning solution. Use gentle, sweeping circular motions to buff the lens surface, lifting any remaining streaks or faint residue the wet cloth left behind.
Hold your phone at an angle under good lighting, natural light from a window works best. You’re looking for a completely uniform surface with no cloudy spots, fingerprint patterns, or light halos. The glass should be so clear you almost forget it’s there.
If you spot any lingering marks, don’t restart the entire process. Usually a few more seconds of dry buffing with a clean cloth section will eliminate them. Your lens is truly clean when you see nothing but pristine, unobstructed glass reflecting light evenly across its entire surface.
How to Verify Your Lens Is Actually Clean
After cleaning, don’t just assume your lens is spotless, verify it. Point your iPhone camera at a plain, evenly-lit surface like a white wall or clear blue sky and take a test shot. Zoom in on the image and look for any soft spots, hazing, or reduced sharpness that indicates remaining smudges. If you see issues, you’re dealing with residue, not damage.
Next, check for flare. Point your iPhone toward a bright light source, a lamp or window works well, and watch the live preview screen. Clean glass produces minimal, well-defined flare; dirty lenses create messy, scattered light artifacts and significantly reduced contrast. If you still see excessive flare after cleaning, repeat the process with fresh sections of your microfiber cloth.
Physically inspect the lens under good lighting, tilting your iPhone at different angles. A truly clean lens should appear uniformly clear with no visible streaks, fingerprints, or oily spots. Your reflection should look sharp and undistorted. Establishing good cleaning system care habits means checking your work becomes second nature.
If test photos still show problems after two thorough cleaning attempts using proper technique, you might be looking at scratches or coating damage rather than contamination. Permanent damage appears as consistent defects in the same location across multiple shots, whereas dirt moves or changes with additional cleaning. At that point, the issue requires professional assessment or lens replacement.
Preventing Future Contamination: Protection Techniques That Work
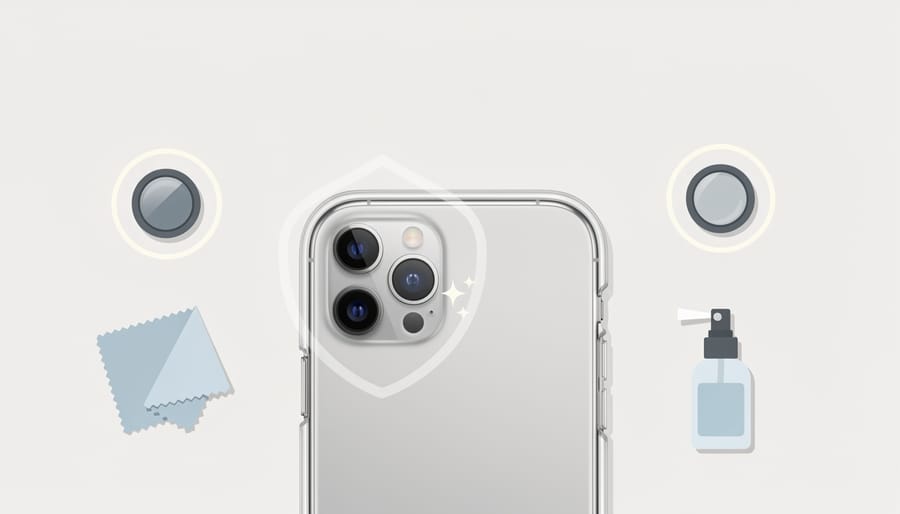
The best way to deal with a dirty iPhone lens is to keep it from getting dirty in the first place. A few simple habits can dramatically reduce how often you need to clean, protecting both your lens and your photo quality.
Storage Matters More Than You Think
How you carry your iPhone directly affects lens contamination. Store it in a dedicated pocket with nothing else, keys, coins, and other items transfer oils and create scratches. If you must share pocket space, position the phone with the camera facing your body rather than outward where fabric and debris make constant contact. Better yet, use a bag compartment where the phone sits alone, just as you’d never toss a DSLR into a pocket full of loose change.
Choose Your Case Wisely
A quality case with a raised bezel around the camera module creates a protective barrier that keeps the lens from touching surfaces when you set your phone down. Look for bezels that extend at least 1mm beyond the lens, enough to prevent contact without interfering with photos. This same protective thinking applies to lens hoods on professional cameras, which shield front elements from bumps and fingerprints.
Protection Films: A Mixed Proposition
Tempered glass lens protectors offer scratch resistance but can degrade image quality through additional reflections, flare, and slight softness. If you work in harsh environments, construction sites, beaches, workshops, the trade-off might be worth it. For most photographers, a good case provides sufficient protection without optical compromise. Think of it like a UV filter on a DSLR: some swear by the protection, others prioritize pure glass quality.
Build a Maintenance Routine
Prevention works best as a system of small habits:
- Quick visual check before important shots, catch problems before they ruin the moment
- Weekly gentle wipe with a dry microfiber cloth, even if the lens looks clean
- Monthly deep clean using proper technique, regardless of visible contamination
- Immediate attention after beach trips, dusty environments, or makeup application
- Keep a small microfiber cloth in your everyday bag for spot cleaning
Professional photographers maintain their gear on schedules rather than waiting for visible problems. Apply that same discipline to your iPhone. Regular light maintenance prevents the buildup that requires aggressive cleaning, reducing wear on the lens coating over time. Clean glass becomes a habit, not a crisis response, and your photos consistently benefit from that clarity.
Common iPhone Lens Cleaning Questions Answered
Let’s address the most common questions that come up when maintaining your iPhone camera lens.
How often should I clean my iPhone lens?
Clean it whenever you notice smudges or reduced image quality, which for most users means every few days. If you’re shooting important photos, do a quick check before each session.
Can I use the same cleaning kit for my iPhone and my DSLR lenses?
Absolutely. Camera-grade microfiber cloths and lens cleaning solutions work identically on both, though you might use less solution on the smaller iPhone lens.
What do I do about beach sand on my lens?
Never wipe sand directly, you’ll scratch the coating. Use compressed air first to blow away all particles, then follow the standard cleaning process only after all debris is gone.
Will cleaning remove scratches from my iPhone lens?
No. Scratches are permanent damage to the glass or coating, and cleaning won’t fix them. This is why prevention and gentle technique matter so much.
Water spots deserve special attention because they’re surprisingly persistent. If you get caught in rain or splash water on your lens, don’t just wipe it dry. Water contains minerals that leave residue when it evaporates. Use your lens cleaning solution to dissolve these deposits before wiping, the same approach you’d use on a camera filter after shooting near a waterfall.
One question that causes confusion: persistent haze or cloudiness that won’t clean off. If you’ve tried the complete cleaning process twice and the lens still looks foggy, you’re likely dealing with internal condensation or coating damage rather than surface dirt. Internal moisture usually clears on its own within hours in a dry environment. Coating damage, unfortunately, is permanent and typically results from using harsh chemicals or abrasive materials in the past.
The iPhone lens doesn’t need dramatically different care than dedicated camera lenses, it’s still coated glass that responds to the same gentle cleaning principles. The main difference is scale. You’re working with a much smaller surface area, which means less solution, lighter pressure, and more precision. Think of it as practice for maintaining your larger lenses.
Cleaning your iPhone camera lens properly takes less than a minute, but the improvement in your photos is instant and noticeable. Sharp details, accurate colors, and clear highlights all depend on clean glass between your sensor and the world.
The techniques you’ve learned here apply far beyond your iPhone. Whether you’re wiping down a mirrorless lens, protecting a DSLR with a UV filter, or maintaining any optical equipment, the same principles hold: use the right tools, avoid abrasive materials, and never rush the process. Regular maintenance beats emergency cleaning every time.
Make lens cleaning part of your photography routine. Before an important shoot or even just a casual weekend outing, take thirty seconds to check your lens. A quick wipe now prevents frustration later when you discover an entire session compromised by a fingerprint smudge you didn’t notice.
Your next step is simple: grab that microfiber cloth, clean your iPhone lens right now, and take a test photo of something you shoot often. Compare it to your recent images. You’ll likely see details you’ve been missing for weeks. Clean glass is the foundation of sharp photography, regardless of your camera.



 By
By