By
By 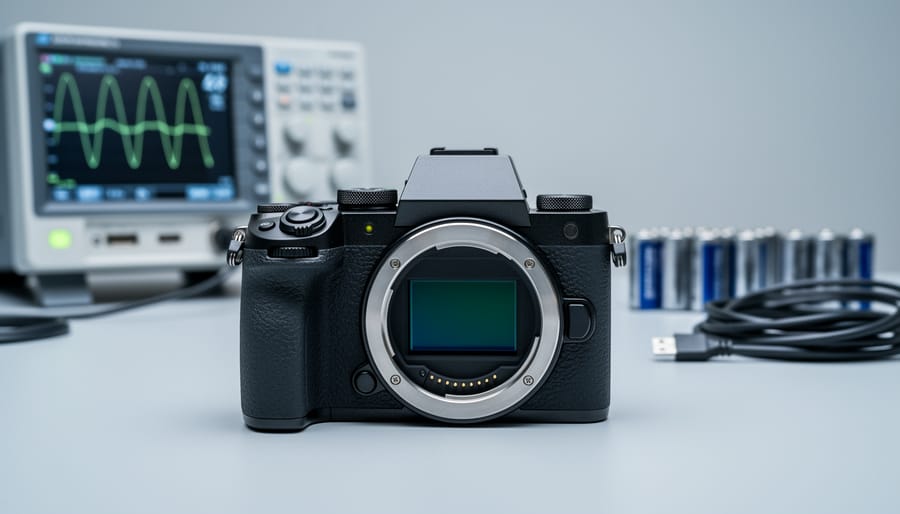
Quantum efficiency in CMOS sensors measures how effectively each pixel converts incoming photons into electrons that become your image signal. Expressed as a percentage, it tells you what fraction of the light hitting your sensor actually contributes to the photograph. A sensor with 60% quantum efficiency captures six out of every ten photons as usable data, while the remaining four are lost to heat, reflection, or simply pass through without detection.
This specification directly impacts three things every photographer cares about: how clean your images look in dim conditions, how long your battery lasts during intensive shoots, and whether your camera body heats up during video recording or high-speed bursts. Higher quantum efficiency means your sensor needs less amplification to produce a properly exposed image, which translates to lower noise, reduced power consumption, and less thermal stress on your equipment.
Modern CMOS sensors have made remarkable progress in quantum efficiency over the past decade. Entry-level models typically achieve 40-50% efficiency in visible light, while flagship cameras with backside-illuminated or stacked sensor designs can reach 70-85% at peak wavelengths. These numbers might seem abstract until you realize that a jump from 50% to 70% quantum efficiency can mean the difference between shooting at ISO 3200 versus ISO 6400 for the same scene, with all the image quality implications that entails.
Understanding quantum efficiency helps you make informed decisions when comparing cameras, especially if you frequently work in challenging lighting conditions or need maximum performance per watt for remote or battery-powered applications.
What Quantum Efficiency Means in Camera Sensors
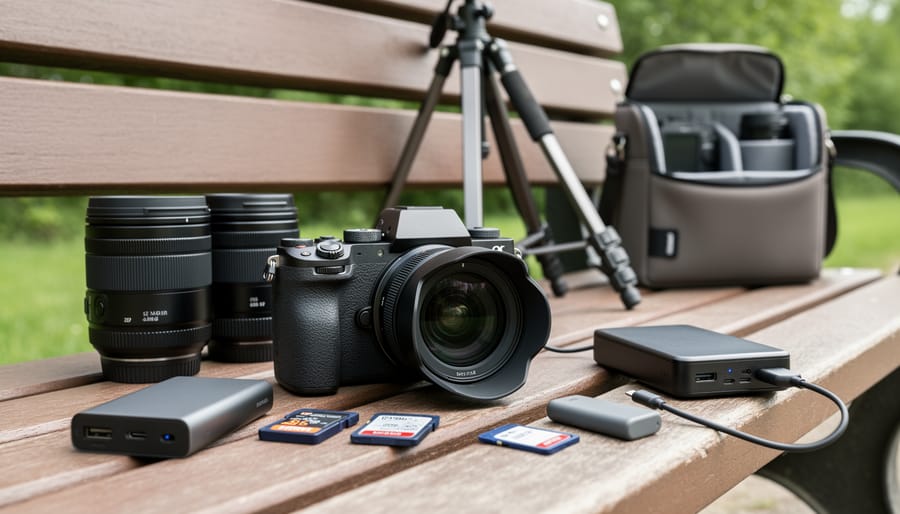
Quantum efficiency is the ratio of photons that strike your camera’s sensor to the electrons that actually get counted as image data. If 100 photons hit a pixel and 60 electrons are registered, that’s 60% quantum efficiency. Think of it as your sensor’s batting average, not every pitch that comes in gets turned into a hit.
Most modern CMOS sensors achieve 40-60% quantum efficiency under ideal conditions. That might sound underwhelming, but it represents decades of engineering breakthroughs. Early digital sensors struggled to break 30%, which meant photographers needed brighter light or longer exposures to capture the same image quality.
- Quantum Efficiency
- The percentage of incoming photons that a sensor successfully converts into measurable electrons. Higher percentages mean more light becomes usable image data.
- Photodiode
- The light-sensitive silicon element in each pixel that absorbs photons and releases electrons. It’s the actual conversion point where light becomes electrical signal.
- Electron Conversion
- The process of photons knocking electrons loose from silicon atoms in the photodiode, creating the electrical charge that represents brightness in your image.
- Spectral Response
- How efficiently a sensor converts different wavelengths of light. Most sensors handle green light better than blue or red.
Why does this percentage matter when you’re actually shooting? Three big reasons. First, low-light performance improves dramatically with higher quantum efficiency. A sensor that captures 60% of available photons needs less ISO amplification than one capturing 40%, which means cleaner images in dim conditions. You’re starting with more signal before any electronic gain gets applied.
Second, dynamic range benefits directly. When your sensor captures more photons efficiently, it builds a stronger separation between the dimmest shadows and the brightest highlights. That translates to richer tonal gradations and more editing flexibility in post-processing.
Third, battery life gets a boost. Sensors with better quantum efficiency don’t need to work as hard amplifying weak signals, which reduces power consumption and heat generation. For video shooters or anyone doing all-day photo sessions, that efficiency compounds into measurably longer runtime between charges.
How Quantum Efficiency Works in CMOS Sensors

The Photon Capture Process
When a photon enters your camera, it first encounters a microlens, a tiny curved element sitting atop each pixel. These microscopic lenses funnel incoming light toward the active photodiode below, compensating for the fact that not every part of a pixel’s surface can capture light. Think of them as concentrators that redirect scattered photons toward the sensor’s sweet spot.
Next comes the color filter array, typically arranged in a Bayer pattern. Each filter allows only specific wavelengths through, red, green, or blue, while blocking others. This filtering is necessary for color photography, but it immediately costs you photons. A red filter stops green and blue light completely, so those photons never contribute to the signal. This is why even the best sensors can’t achieve 100% quantum efficiency.
The surviving photons then pass through metal interconnects and insulating layers before reaching the photodiode, the actual light-sensitive silicon layer buried beneath. Here’s where the conversion happens: when a photon with sufficient energy strikes the silicon, it kicks an electron free from the atomic structure, creating an electron-hole pair. These freed electrons get collected in a potential well, creating a measurable charge.
The depth and quality of this silicon layer matter enormously. Thicker photodiodes capture more photons, especially red light which penetrates deeper, but they’re harder to manufacture and read out quickly. Modern backside-illuminated sensors flip this entire stack upside down, placing the photodiode layer first to minimize the distance photons must travel.
Why Not All Photons Become Usable Signal
Even with excellent sensor design, a significant portion of incoming photons never becomes part of your final image. Understanding these losses explains why the best consumer camera sensors top out around 60% quantum efficiency rather than approaching 100%.
Reflections at the sensor surface account for the first major loss. When light hits the protective glass covering the sensor, then passes through microlenses and color filter arrays, some photons bounce back rather than penetrating to the photodiode layer. Anti-reflective coatings minimize this, but they can’t eliminate it entirely, especially for light arriving at steep angles toward the frame edges.
Absorption by non-active layers creates another bottleneck. Before reaching the light-sensitive silicon, photons must pass through metal wiring, insulation layers, and transistor structures that handle the electrical signals. These materials absorb some photons without generating useful electrons. Backside-illuminated sensors improve this situation by flipping the architecture so light hits the photodiode first, but no design completely removes these obstructions.
Spectral mismatches between incoming light and silicon’s sensitivity create wavelength-specific losses. Silicon responds best to green and red light but struggles with blue wavelengths, which don’t penetrate as deeply into the material. Infrared light passes straight through without interaction. This is why sensors show different QE values across the spectrum, a sensor might achieve 65% efficiency for green light but only 40% for blue.
Read noise introduces the final inefficiency. Even when photons successfully generate electrons, thermal noise and electrical interference during the readout process can obscure weak signals from single photons. Low-light scenes suffer most from this effect, which is why quantum efficiency measurements become less meaningful at extremely dim illumination levels where noise dominates the signal.
These combined losses make perfect photon capture physically impossible with current silicon-based technology.
Different Types of Quantum Efficiency in Sensor Design
Not all CMOS sensors handle photons the same way. The architecture you choose, how the sensor is built and where its components sit, directly affects quantum efficiency and, by extension, how well your camera performs in challenging light.
The biggest difference lies in backside-illuminated (BSI) sensors versus traditional front-side illuminated designs. In a standard front-side sensor, light hits the photodiode after passing through the wiring and circuitry that sits on top of each pixel. Those metal layers block and reflect incoming photons, reducing QE to roughly 40-50% in typical implementations. BSI sensors flip this arrangement. The photodiode layer faces the light directly, with all the circuitry moved to the back. This seemingly simple change boosts QE to 60-70% because photons reach the active silicon without navigating a maze of obstructions. That’s why BSI sensors dominate in modern mirrorless cameras and smartphones, they capture more light from every scene, improving low-light images and reducing the amplification needed for clean files.
Stacked sensors take BSI further by separating the pixel array from the processing circuitry onto different silicon layers, connected vertically. This architecture doesn’t necessarily increase peak QE beyond what BSI achieves, but it allows for faster readout speeds and more advanced on-chip processing without sacrificing light-gathering efficiency. You’ll find stacked sensors in high-end cameras built for speed, think Sony’s flagship bodies, where the combination of high QE and rapid data handling enables features like silent shooting at 30 frames per second.
Quantum efficiency also varies significantly with wavelength. Most CMOS sensors peak in the green spectrum around 550nm, often reaching 65-70% QE there, because that’s where silicon’s photon absorption is naturally strongest and where modern camera lenses deliver the sharpest light. Blue photons (450nm) typically see QE drop to 40-50% because shorter wavelengths are absorbed closer to the sensor surface, where defects and contamination interfere more. Red photons (650nm) penetrate deeper into the silicon, often achieving 50-60% QE, but they’re more prone to crosstalk between adjacent pixels. This spectral variation is why sensors need careful color filter design, you’re optimizing for an efficiency curve, not a flat response.
The practical takeaway: BSI sensors consistently outperform front-side designs across all wavelengths, stacked architectures add speed without losing that advantage, and understanding wavelength-specific QE explains why some cameras handle certain colors better than others.
Where Quantum Efficiency Matters in Photography
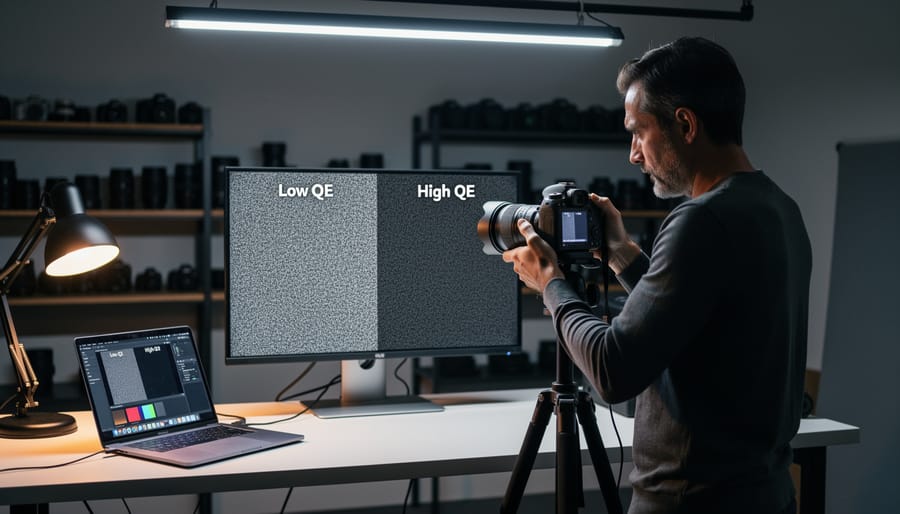
Understanding quantum efficiency becomes most valuable when you see how it affects actual photography. A sensor with 60% QE versus one at 40% QE doesn’t just offer a theoretical improvement, it changes what you can shoot and how efficiently your camera operates.
Low-light and astrophotography benefit dramatically from higher quantum efficiency. When you’re photographing the Milky Way at ISO 6400, a high-QE sensor captures more of the sparse incoming light without needing as much amplification. This means cleaner stars with less color noise and better detail in the dark sky regions. The difference between a 45% QE sensor and a 60% QE sensor can be the equivalent of a full stop of light, essentially giving you ISO 3200 noise at ISO 6400. Event photographers working in dim reception halls see the same advantage: they can maintain faster shutter speeds without pushing ISO into the grainy territory.
Video recording pushes sensors harder than still photography, making QE efficiency critical. When your sensor reads out data 24, 30, or 60 times per second, heat becomes a limiting factor. Higher quantum efficiency means less wasted energy converted to heat, which translates to longer recording times before overheating warnings. Some 2026 mirrorless cameras with BSI sensors can record 8K for 45 minutes continuously, while older front-illuminated designs overheat in 15 minutes under identical conditions, the QE gap is a major contributor.
Wildlife and sports photographers benefit from the faster processing that efficient sensors enable. Because high-QE sensors generate stronger initial signals, the camera’s processor doesn’t work as hard to amplify weak data. This reduces one of the significant battery power drains during continuous shooting. You’ll get more frames per charge when shooting birds in flight or tracking athletes across a field.
High QE delivers tangible benefits across multiple scenarios:
- Low-light events where you need clean images at ISO 3200-12800
- Long-exposure landscape work where you want maximum detail from limited photons during blue hour
- All-day wedding coverage where battery life determines whether you swap batteries twice or five times
- Wildlife photography in challenging light like forest interiors or overcast conditions
The cumulative effect matters too. Shoot a three-day wildlife workshop with a high-QE camera, and you might use 40% less battery power overall compared to an older sensor design, not from any single dramatic change, but from thousands of exposures each requiring slightly less amplification and processing. For working professionals, that efficiency compounds into real operational advantages.
Quantum Efficiency and Energy-Efficient Camera Design
Higher quantum efficiency translates directly into less work for your camera’s electronics. When a sensor captures 60% of incoming photons instead of 40%, it needs far less amplification to produce a usable image. That reduction in amplification becomes a chain reaction of efficiency gains throughout the camera body.
Think of it like fuel economy. A more efficient engine extracts more power from each drop of gasoline, reducing how hard it needs to work. Similarly, a high-QE sensor extracts more signal from the available light, which means the camera’s processing pipeline can operate at lower power levels. This connection between sensor efficiency and overall energy-efficient photography equipment becomes measurable in real-world use.
The benefits cascade in practical ways. Lower amplification generates less heat and power draw, which extends battery life by 15-20% in cameras with modern BSI sensors compared to older front-illuminated designs. Manufacturers can specify smaller batteries without sacrificing shooting time, making bodies lighter and more compact. Heat management improves too, allowing longer 4K or 8K video recording before thermal cutoffs kick in.
High-efficiency sensors also enable faster burst rates. The readout circuitry draws less power per frame, so the camera can sustain 20 or 30 fps sequences without overheating or draining the battery in minutes. Professional sports and wildlife photographers notice this immediately during extended shooting sessions.
Sensor manufacturers are pushing toward 70% or higher quantum efficiency in next-generation designs, a threshold that would further reduce power requirements and open possibilities for future camera tech like all-day computational photography modes or AI-driven processing without battery anxiety.
Common Questions About Quantum Efficiency
Manufacturers rarely advertise quantum efficiency as prominently as megapixels or ISO range, which frustrates photographers trying to make informed decisions. You won’t find QE percentages printed on camera boxes or featured in marketing materials. Instead, look for sensor architecture details in technical specifications, terms like “backside-illuminated CMOS” or “stacked sensor” signal higher QE designs. Review sites that conduct lab tests occasionally publish QE measurements, particularly for flagship models, though you’ll need to dig into the technical appendices rather than the main review.
Is quantum efficiency more important than megapixel count?
Higher QE improves the quality of each pixel you have, while more megapixels just give you more pixels, potentially noisier ones if QE is poor. A 24MP sensor with 60% QE will outperform a 40MP sensor with 45% QE in low light and dynamic range, though you’ll have less resolution for cropping.
Do sensors with higher quantum efficiency always produce better images?
Not automatically. QE is one factor in image quality alongside read noise, dynamic range, color science, and lens quality. A sensor with 55% QE but poor electronics can still produce noisier images than a 50% QE sensor with excellent noise management.
Does quantum efficiency vary across different colors?
Yes, significantly. Most CMOS sensors peak around 55-60% QE for green light but drop to 40-45% for blue and red wavelengths due to how silicon absorbs different photon energies. This is why sensors use more green pixels in their Bayer arrays.
Should I prioritize quantum efficiency when buying a camera?
If you shoot frequently in low light, do astrophotography, or need long battery life for video work, yes, seek out BSI or stacked sensors. For daytime outdoor photography where light is abundant, the practical difference between 50% and 60% QE becomes less noticeable.
When comparing cameras, cross-reference the sensor generation with independent measurements if available. A camera released in 2024 or later with a BSI sensor likely has QE above 55%, while older front-illuminated designs typically sit around 40-50%. Pay attention to real-world performance metrics that reflect QE indirectly: native ISO performance, shadow recovery capability in RAW files, and heat management during extended video recording. These practical indicators often tell you more about effective quantum efficiency than hunting for exact percentages that manufacturers don’t publish.
Quantum efficiency deserves more attention than it typically gets in camera spec sheets and reviews. While manufacturers trumpet megapixel counts and maximum ISO values, QE quietly determines how well your camera actually uses the light it receives, affecting everything from noise levels in shadows to how long your battery lasts during a full day of shooting.
A sensor with 60% QE captures dramatically more information from the same scene than one at 40%, translating to cleaner images at high ISOs, better dynamic range, and less amplification noise. This matters whether you’re shooting wildlife at dawn, capturing video interviews, or photographing the Milky Way.
When you’re comparing cameras, ask about sensor architecture. Look for backside-illuminated or stacked designs, which typically deliver higher quantum efficiency. Read reviews that mention low-light performance and heat management, both practical indicators of good QE.
Understanding quantum efficiency won’t replace hands-on testing, but it gives you a technical foundation for evaluating what marketing materials leave out. You’ll make choices based on how efficiently a camera converts light into images, not just how many pixels it crams onto the sensor or how high the ISO numbers climb.


 By
By