By
By 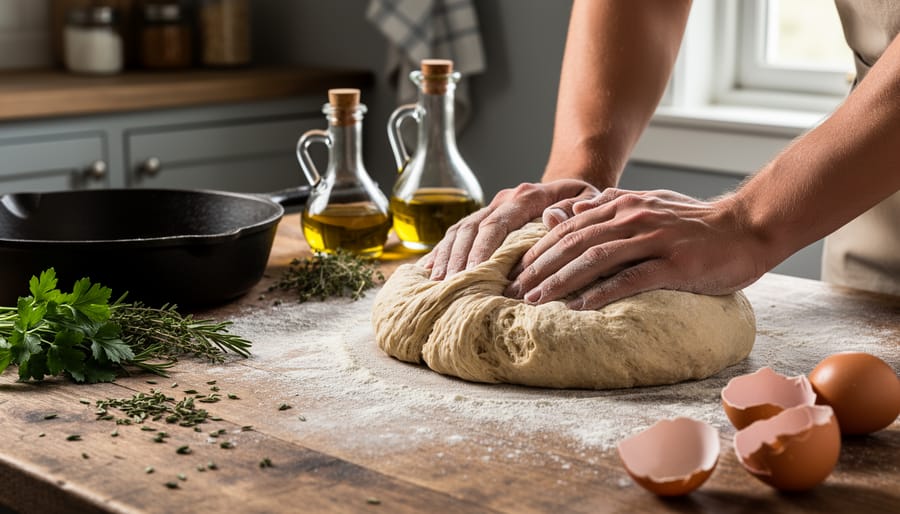
Editorial food photography transforms ingredients and dishes into compelling visual stories designed for magazines, cookbooks, and feature articles. Unlike commercial or advertising work that prioritizes product perfection, editorial images capture authentic moments, celebrate imperfections, and build a narrative around food culture, cooking processes, and the people behind the meals.
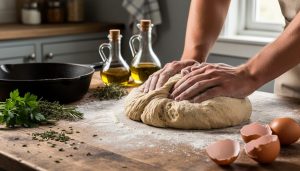
At its core, this style requires a different mindset from standard food photography. You’re not simply documenting a finished dish under perfect conditions. Instead, you’re creating images that accompany written content, convey mood and atmosphere, and invite readers into a scene. Think of those stunning spreads in Bon Appétit or Saveur that show flour-dusted hands kneading dough, or a rustic kitchen table scattered with half-prepped ingredients. That’s editorial photography at work.
The challenge lies in balancing technical precision with creative spontaneity. You need solid fundamentals in composition, lighting, and styling, but you also need the ability to recognize and capture authentic moments that support a broader story. A perfectly plated dessert shot with clinical precision might work for a restaurant menu, but editorial work demands context, texture, and emotional resonance.
What sets successful editorial food photographers apart is their understanding of visual storytelling. Every element in the frame serves a purpose, whether it’s showing the cooking process, highlighting seasonal ingredients, or establishing a sense of place. The goal isn’t perfection; it’s creating images that feel honest, lived-in, and worth lingering over while readers digest the accompanying article. This guide will walk you through the complete workflow, from developing concepts that align with editorial briefs to executing shots that bring food stories to life.
What Makes Editorial Food Photography Different
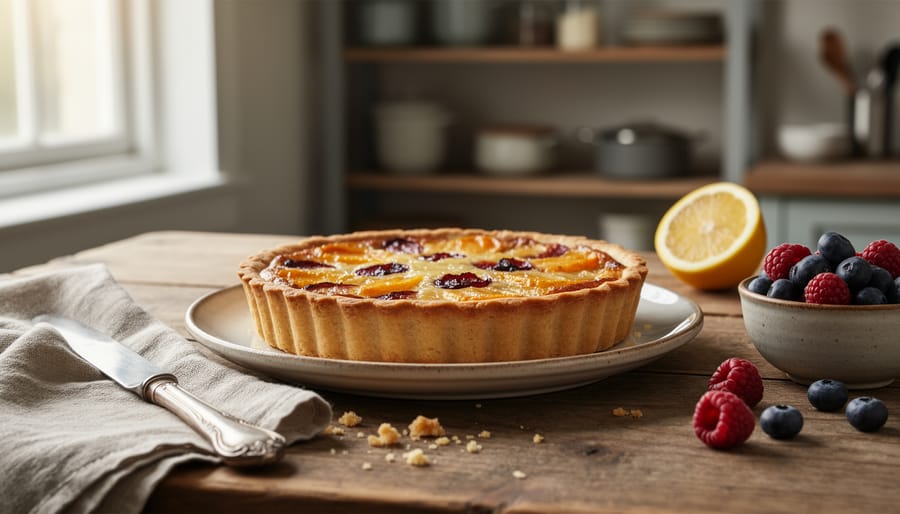
Editorial food photography lives in the pages of Bon Appétit, Kinfolk, and Saveur, publications where food becomes part of a larger visual narrative rather than a product to sell. Unlike commercial food photography, which prioritizes making a dish look as appealing and marketable as possible for restaurant menus or advertising campaigns, editorial work focuses on telling a story, evoking a mood, and creating an atmosphere that connects the food to a lifestyle, a place, or an emotion.
The primary distinction is intent. Commercial photography answers the question “How can we make this look delicious enough to buy?” Editorial photography asks “What story does this meal tell, and how does it fit into a bigger picture?” When you photograph a rustic loaf of bread for a bakery’s website, you’re highlighting the product’s texture, crust, and appeal. When you shoot that same loaf for a travel magazine feature on Tuscan farmhouse cooking, you’re building a scene, flour-dusted hands, worn wooden cutting boards, morning light streaming through a window, perhaps a glimpse of rolling hills in the soft-focus background.
This creative freedom is perhaps the most liberating aspect of editorial work. You’re not constrained by brand guidelines, color palettes, or the need to make every element of the dish visible and appetizing. You can shoot dark and moody if that serves the story. You can let parts of the frame fall into shadow. You can include half-eaten plates, crumbs, and the remnants of a meal if they contribute to the narrative authenticity.
Real-world editorial platforms demonstrate this approach consistently. A Kinfolk feature on seasonal cooking might show ingredients in their natural state, unwashed carrots with soil still clinging, herbs in bunches with stems intact, alongside the finished dish in a tableau that feels lived-in rather than staged for perfection. Food52’s editorial content often incorporates the cook’s hands, the process of preparation, and the kitchen environment as integral elements of the composition. These choices ground the food in a real moment and place, making viewers feel they’re witnessing an authentic experience rather than viewing a sales pitch.
Essential Gear and Materials for Editorial Food Shoots
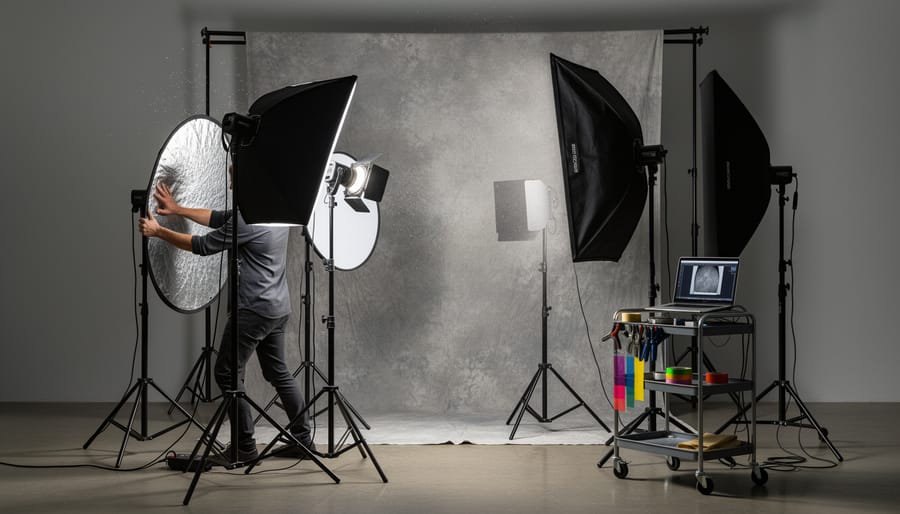
You’ll need gear that helps you shape light, control your composition, and support your narrative vision, but you don’t need everything on day one. Editorial food photography lives or dies on storytelling, and the right equipment should fade into the background, serving the mood you’re building rather than dictating it.
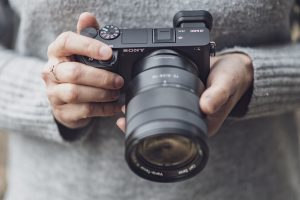
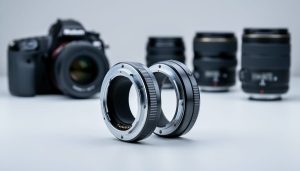
Start with a camera that handles manual exposure and shoots RAW files. Full-frame sensors offer shallower depth of field and better low-light performance, but crop sensors work perfectly well for editorial work. What matters more is your lens selection. A 50mm prime (f/1.8 or faster) gives you a natural field of view and beautiful background separation. A 100mm macro lens captures intricate macro details like sugar crystals on pastries or condensation on a glass, while a 35mm works well for wider environmental shots that show context, a table setting, a kitchen counter, the hands preparing food.
Your lighting kit doesn’t require strobes to start. Natural window light remains the backbone of most editorial food shoots. A large white reflector (foam board works) and a black flag (dark cloth or cardboard) let you bounce or subtract light to sculpt shadows and highlights. Add a translucent diffuser, white shower curtains or ripstop nylon stretched over a frame, to soften harsh sunlight. If you’re shooting away from windows, a continuous LED panel or speedlight with a softbox gives you portable, controllable light.
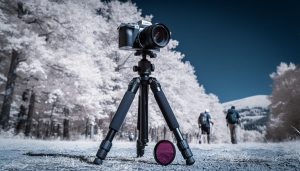
A sturdy tripod matters more than most beginners realize. It locks your composition, lets you shoot at slower shutter speeds in dim light, and frees your hands to adjust props and tweak plating. Look for one that extends high enough for overhead shots and can position the center column horizontally.
- Must-have: Camera with manual controls, 50mm prime lens, tripod, white reflector, black flag
- Recommended: 100mm macro lens, diffuser, basic continuous light or speedlight with modifier
- Nice-to-have: 35mm lens for environmental shots, C-stands for holding reflectors, tethering cable for live view on laptop
For surfaces and backdrops, collect weathered wood boards, marble slabs, linen fabrics, and painted plywood in neutral tones. These become your stages. Props, vintage silverware, ceramic bowls, cloth napkins, cutting boards, add layers to your story. Thrift stores and flea markets are goldmines. When working on dessert photography textured linens and rustic surfaces often enhance the handmade, intimate feel that editorial images need.
Build your collection gradually, prioritizing pieces that work across multiple moods. A matte black backdrop serves moody, dramatic narratives; white shiplap or marble works for bright, airy stories. Let each shoot teach you what’s missing, then add thoughtfully rather than hoarding gear that doesn’t serve your vision.
Important Considerations Before You Shoot
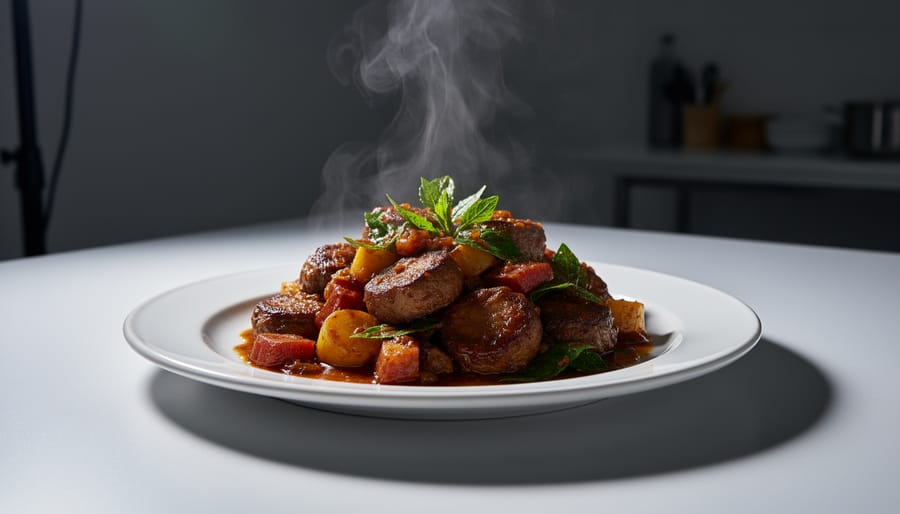
Before you press the shutter, understand the practical constraints that shape every editorial food shoot. Food is a living subject with a short shelf life, and ignoring these realities costs time, money, and quality.
Start with food safety and handling. Perishables at room temperature begin losing quality and safety after two hours, especially dairy, meat, seafood, and anything with mayonnaise or cream. Keep backup portions refrigerated and swap them in as needed. Work with your food stylist or chef to prep ingredients in stages rather than plating everything at once.
Lighting generates heat, and heat accelerates spoilage. Continuous LED panels and especially tungsten lights will melt butter, wilt herbs, and turn ice cream into soup. If you’re shooting something temperature-sensitive, use short bursts of light or work quickly under cooler sources. Keep a spray bottle of water and tweezers nearby to refresh garnishes between frames.
When shooting for clients or publications, clarify usage rights and editorial guidelines upfront. Some magazines require exclusive first publication rights. If your shoot includes recognizable people, hands holding a fork, someone serving a dish, you need signed model releases required for commercial licensing, even if the person is a friend or assistant. Editorial use is sometimes exempt, but always confirm with your client.
Build your shoot timeline around food readiness, not just lighting setup. Schedule the most perishable or time-sensitive dishes last, and communicate realistic timelines to everyone involved. A delayed setup means you’re racing against wilting lettuce and congealing sauce instead of focusing on composition.
How to Plan and Execute an Editorial Food Photography Shoot
Step 1: Develop Your Story and Mood Board
Every compelling editorial food photograph starts with a clear narrative. Before you touch your camera, ask yourself what story you want to tell. Are you capturing a cozy Sunday morning breakfast? A summer garden harvest? An elegant dinner party? The narrative guides every decision that follows.
Start gathering visual references on Pinterest, Instagram, or magazine tear sheets. Look for images that capture the mood you’re after. Rustic stories lean on warm tones, weathered wood, and natural textures. Bright and airy setups use soft whites, pastel linens, and abundant negative space. Moody and dramatic scenes rely on deep shadows, rich colors, and selective lighting that creates contrast.
Create a mood board with 8-12 images that share a common thread, not just food photos, but paintings, interiors, and textures that evoke your intended feeling. This becomes your visual reference throughout the shoot.
When working with clients or collaborators, share your mood board early. It prevents miscommunication and ensures everyone sees the same vision. A food stylist preparing a rustic Italian spread needs different props than one creating a minimalist Japanese breakfast.
Step 2: Select Props, Surfaces, and Styling Elements
Props and surfaces shape the narrative around your food, so choose elements that reinforce your mood board rather than compete with the dish. If you’re shooting a rustic farm-to-table story, reach for wooden boards, linen napkins with texture, and matte ceramic plates in earthy tones. A bright, modern editorial calls for clean white plates, marble surfaces, and minimal metal utensils with simple lines.
Start small: thrift stores, flea markets, and discount home goods shops offer inexpensive plates, bowls, and vintage flatware you can mix and match. Buy neutral foundations first, white, cream, grey, and natural wood work across multiple stories, then add a few statement pieces like colored glassware or patterned textiles for variety. Keep photo backdrops like painted boards, fabric, or textured papers in your kit for surfaces that don’t distract.
Test each prop by placing it in the frame and asking whether it adds context or just fills space. Less is often more: one well-chosen linen and a single spoon can tell a stronger story than a cluttered table. Rotate props between shoots to keep your portfolio from looking repetitive.
Step 3: Set Up Your Lighting
Lighting shapes the entire mood of your editorial image, so position your source before you start styling. Natural window light remains the gold standard for editorial food work, find a large window with soft, indirect light (north-facing works well in the northern hemisphere) and place your shooting surface two to four feet away. Position your food perpendicular to the window so light rakes across from the side, creating shadows that reveal texture in sauces, grains, and garnishes. Avoid shooting with the window directly behind or in front of your subject, which flattens depth.
If window light isn’t available or consistent, a one-light setup with a continuous LED panel or strobe in a large softbox mimics that directional quality. Position it at a 45-degree angle to your scene, elevated slightly above food level. Diffusion is critical, harsh direct light kills the story. Use a translucent scrim, shoot-through umbrella, or white shower curtain between the light and food to soften shadows. Add a white foam board or reflector opposite your light source to bounce fill into the shadow side, controlling contrast without eliminating mood. Flags or black cards placed strategically can deepen shadows where you want drama.
Step 4: Compose Your Shot and Build the Scene
Start by placing your main dish slightly off-center using the rule of thirds, position it where the gridlines intersect in your viewfinder. This creates natural visual interest rather than a static, centered composition.
Build depth by layering elements at different distances from the camera. Set a small bowl or ingredient in the foreground, slightly out of focus, to draw viewers into the frame. Add complementary items in the background, a cutting board, scattered herbs, or a partially visible second dish, to suggest context without competing for attention.
Use negative space deliberately. Leave empty areas in your frame to give the eye somewhere to rest and to emphasize the food’s importance. A linen napkin draped to one side or an expanse of textured table creates breathing room.
Choose your shooting angle based on the dish’s best features. Overhead works brilliantly for flat lays, pizza, or arrangements with multiple components you want visible. A 45-degree angle mimics how we naturally see food at a table and showcases both the top and side of the dish, ideal for burgers, cakes, or layered foods. Straight-on angles highlight height in stacked pancakes or the cross-section of a sandwich.
Position props and utensils to create implied movement or leading lines that guide the viewer’s eye toward the hero dish.
Step 5: Style the Food and Shoot
With your scene composed and lighting dialed in, it’s time to style the food and capture the shot. Work quickly but deliberately, most dishes start losing visual appeal within minutes.
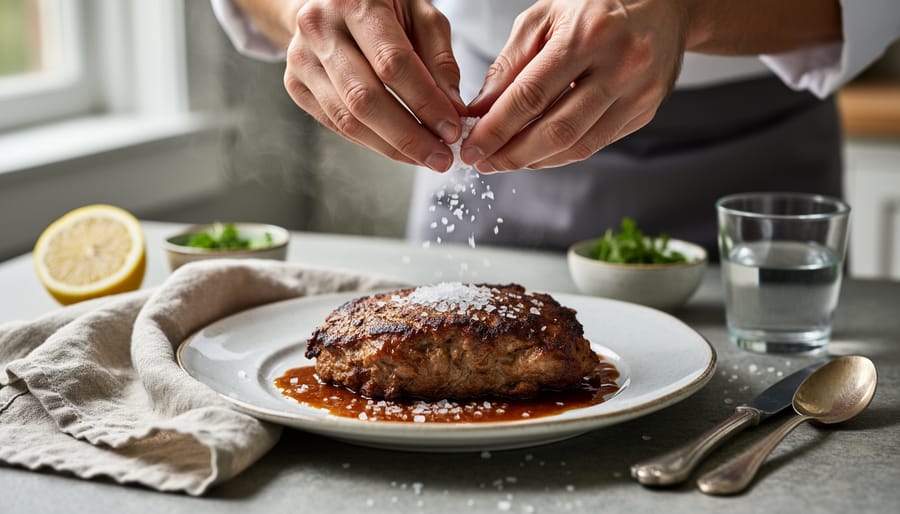
Start with your hero element. Use tweezers to position small garnishes precisely where they catch the light. A small brush or paper towel removes stray crumbs or sauce drips. For dry dishes, a light mist of water adds freshness. For warm foods, a thin brush of neutral oil creates appetizing sheen without looking greasy. Don’t overdo these finishing touches; one well-placed herb sprig beats a cluttered plate.
Set your camera to aperture priority or manual mode. For editorial work, f/2.8 to f/5.6 creates that shallow depth of field that draws attention to your focal point while softly blurring the background. Start at ISO 100 or 200 to minimize noise. Your shutter speed should be fast enough to avoid camera shake, typically 1/125s or faster if handholding, though a tripod gives you more flexibility.
Shooting tethered to a laptop lets you evaluate focus, exposure, and composition immediately on a large screen. It’s invaluable for catching issues before the food wilts.
Before pressing the shutter, run through this quick checklist:
- Confirm your focus point is sharp on the most important element
- Check exposure using the histogram, not just the LCD preview
- Review composition for distracting elements at frame edges
- Verify the food still looks fresh and appetizing
- Plan to shoot from at least three different angles
Take multiple variations: shift your angle slightly, adjust a prop, change the crop. Shoot more than you think you need. That overhead shot might look good, but a 45-degree angle could tell the story better. Bracket your exposures by half a stop in each direction. This gives you options when editing and accounts for the creative flexibility editorial work demands.
How to Verify Your Results and Refine Your Work
After you’ve captured your shots, zoom in on your camera’s LCD to at least 100% magnification. Check the focal point, usually the hero element or garnish, for crisp detail. If it’s soft, reshoot immediately while the scene is still intact and the food fresh.
Review your histogram next. Blown highlights on reflective surfaces or crushed shadows in dark backgrounds mean lost detail you can’t recover in post. Adjust exposure compensation and reshoot if needed. Don’t assume you’ll “fix it later.”
Step back and evaluate composition. Does the frame feel balanced? Are there distracting elements pulling attention away from the food? Most importantly, ask yourself: does this image convey the story and mood you planned? If your concept was cozy and intimate but the shot feels clinical and sparse, something’s off. Trust your gut here, if it doesn’t feel right, it probably isn’t.
Once you’re confident in your captures, move to your editing software. Start with white balance correction to ensure accurate colors. Your rustic bread shouldn’t look cold and blue. Adjust exposure and contrast to add depth if the food looks flat lifting shadows slightly to retain texture in darker areas.
Apply subtle color grading to reinforce mood, warmer tones for inviting comfort food, cooler tones for fresh salads. Sharpen strategically, targeting the focal plane without creating halos. Use the healing brush sparingly to remove stray crumbs or distracting specks, but avoid over-retouching. Editorial work should feel real and authentic, not airbrushed into sterility.
If the story isn’t there after editing, consider reshooting. No amount of post-processing rescues a fundamentally flawed concept or composition.
Common Questions About Editorial Food Photography
Should I use natural light or artificial light for editorial food photography?
Natural window light is ideal for beginners and smaller budgets because it creates soft, flattering shadows and feels authentic. Position your subject near a large window with sheer curtains or white fabric to diffuse harsh midday sun. Artificial lighting, continuous LED panels or strobes with modifiers, gives you consistent control regardless of time of day or weather, which matters when you’re shooting on a deadline or need repeatable results across multiple dishes. Most professional editorial shoots use artificial light for reliability, but many compelling editorial images still come from window setups.
Do I need to hire a food stylist for editorial work?
It depends on the project scope and your own styling skills. For magazine features, cookbooks, or client assignments, a professional food stylist ensures the dish looks polished and appetizing while you focus on composition and lighting. For personal portfolio work or blog content, you can style the food yourself as you develop those skills.
How do I build a portfolio when I’m just starting out?
Create personal projects where you’re both the photographer and art director. Pick a theme, like seasonal ingredients or a specific cuisine, and shoot a cohesive series of 8-12 images that demonstrate your storytelling ability. Share the work on Instagram, your website, or platforms like Behance to attract editorial clients.
What should I charge for editorial food photography?
Rates vary widely based on usage, your experience, and the client’s budget. Small independent publications might pay $200-500 per image, while established magazines or brands often pay $1,000-3,000+ per day plus licensing fees. Research industry standards through photographer associations and adjust based on your market and the rights being licensed.
How do I transition from commercial to editorial photography?
Start by shooting personal editorial-style projects that prioritize narrative and mood over product-focused perfection. Study editorial publications you admire, analyze their visual language, and build a portfolio section that showcases that style. Reach out to smaller food magazines, online publications, or cookbook authors to build tearsheets before approaching larger clients.
Can I retouch editorial food images the same way I would commercial shots? Editorial work allows more creative latitude, but the food should still look real and appetizing. You can adjust exposure, color grade for mood, and remove minor distractions, but avoid heavy manipulation that makes ingredients look artificial or unrecognizable. The goal is enhancing the story and atmosphere, not creating a hyper-polished product shot.
Editorial food photography thrives when you prioritize story over spectacle. The most compelling images aren’t necessarily the most technically perfect, they’re the ones that transport viewers into a moment, evoke a memory, or spark an emotional connection with the food and its context.
Start simple. You don’t need a fully stocked prop closet or professional lighting to begin crafting narratives. A single dish, natural window light, and a few thoughtfully chosen elements can tell a powerful story. As you shoot, ask yourself what feeling you want to convey and whether each element in your frame supports that vision. Technical mastery will develop with practice, but your unique perspective and storytelling instinct are what will set your work apart.
Keep experimenting with different moods, angles, and styling choices. Study editorial food photography in magazines like Saveur, Bon Appétit, and Kinfolk to see how professionals use composition, light, and context to build narrative. Then take those lessons into your own kitchen and shoot personal projects without the pressure of client expectations.
Your editorial voice will emerge through this process of exploration and repetition. Trust the story, refine your craft, and let your images speak with intention.

 By
By