By
By 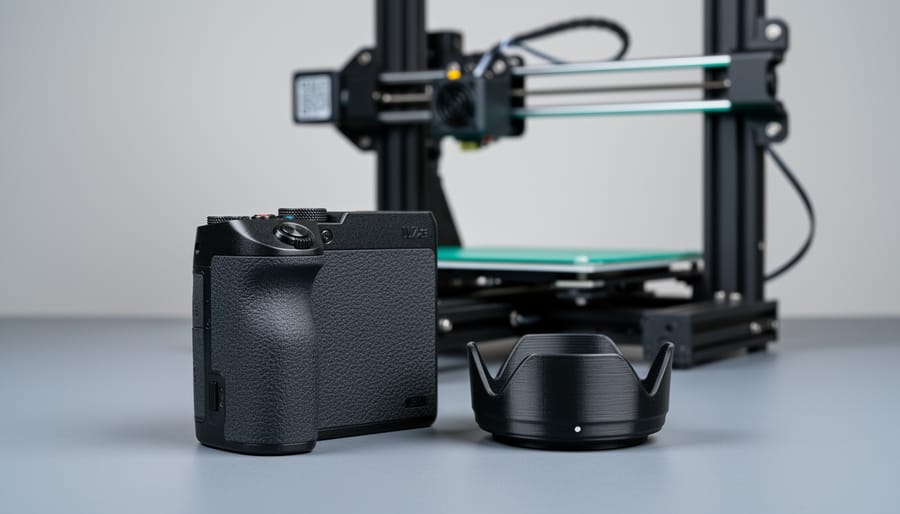
3D printing is an additive manufacturing process that builds three-dimensional objects layer by layer from digital designs, typically using plastics, resins, or metal materials. Instead of cutting away material like traditional manufacturing, a 3D printer deposits thin layers of material on top of each other until the complete object takes shape.
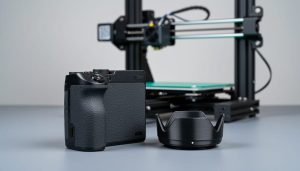
For photographers, this technology has quietly transformed how camera accessories and equipment reach your hands. Major manufacturers now use 3D printing to prototype new camera bodies in weeks rather than months, test lens mount designs before committing to expensive tooling, and produce specialty parts that would be cost-prohibitive with conventional methods. You’ve likely already used 3D-printed components without realizing it, whether it’s the housing on a mirrorless camera, a custom grip for your DSLR, or that innovative lens hood you picked up last year.
But understanding how this technology actually works matters beyond satisfying curiosity. The rise of 3D-printed camera gear raises practical questions: Is that third-party battery grip as durable as a machined metal version? Why can small companies suddenly offer specialized macro focusing rails at half the price of established brands? How do photographers use desktop 3D printers to solve problems the big manufacturers ignore?
This article breaks down the fundamental technology behind 3D printing, from the software that slices your design into printable layers to the machines that bring those layers to life. We’ll explore the different printing methods relevant to photography equipment, examine real camera parts being manufactured this way in 2026, and help you understand what 3D printing means for the quality, customization, and cost of the gear you depend on. Whether you’re considering buying 3D-printed accessories or thinking about printing your own solutions, you’ll finish with a clear picture of both the capabilities and limitations of this manufacturing revolution.
What 3D Printing Really Means
3D printing is a manufacturing process that builds physical objects by adding material one thin layer at a time, following instructions from a digital 3D model. Instead of cutting away material from a solid block, the way you’d carve wood or mill metal, a 3D printer deposits material exactly where it’s needed, building up the final shape gradually from bottom to top.
Think of it like building with thousands of ultra-thin sheets of paper stacked on top of each other, except the “paper” is molten plastic, liquid resin, or even metal powder that hardens into a solid object. The printer reads a digital file that describes the object as hundreds or thousands of horizontal slices, then recreates each slice in the real world until the complete part emerges.
This process goes by the formal name “additive manufacturing” because it adds material rather than removes it. For camera hardware, this distinction matters more than you might think. Traditional camera parts start as larger pieces of aluminum or plastic that get machined down, wasting material and requiring expensive tooling. With 3D printing, a camera manufacturer can produce a prototype lens mount or custom grip using only the exact amount of material needed, with no costly molds or cutting equipment.
- Additive Manufacturing
- The technical term for 3D printing, building objects by adding material layer by layer rather than cutting it away. This approach enables complex internal structures in camera parts that would be impossible to machine traditionally.
- CAD File
- Computer-Aided Design file containing the digital blueprint for a camera component. The 3D printer translates this file into physical layers, determining every dimension from a lens hood’s thickness to a tripod mount’s threading.
- Layer Resolution
- How thin each printed layer is, typically measured in microns. Finer resolution (thinner layers) produces smoother camera parts with better detail but takes longer to print, crucial for precision components like viewfinder attachments.
- Build Volume
- The maximum size object a 3D printer can create in one piece, defined by its printable width, depth, and height. This limitation determines whether a camera accessory needs to be printed as a single part or assembled from multiple pieces.
The layer-by-layer approach gives camera engineers remarkable freedom. They can create lightweight parts with internal honeycomb structures for strength, test five different grip designs in a week instead of waiting months for molded samples, or produce a limited run of specialty accessories without committing to expensive production tooling. That’s why 3D printing has moved from a prototyping curiosity to an actual manufacturing method for camera gear you can buy today.
How the 3D Printing Process Works
From Design to Digital File
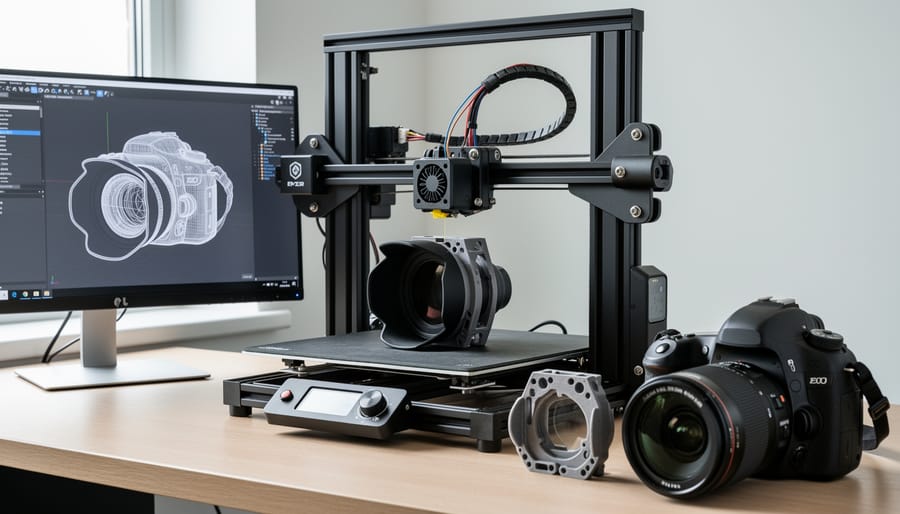
Every 3D-printed camera part begins as a digital design, not a physical sketch. Engineers use CAD (Computer-Aided Design) software, programs like Fusion 360, SolidWorks, or Blender, to create precise three-dimensional models of the component they want to build. For a custom lens hood, a designer measures the exact diameter of the lens barrel, determines the optimal depth to block stray light without causing vignetting, and models the internal ridges that reduce reflections. They can test different shapes virtually, adjusting the flare angle or adding petal cutouts for wide-angle coverage, all before anything physical exists.
Once the design looks right, it gets optimized for 3D printing. This means adding support structures where overhangs exist, adjusting wall thickness for strength without wasting material, and ensuring the part can be printed in a practical orientation. A camera grip needs enough internal honeycomb structure to stay rigid under pressure but not so much that it becomes unnecessarily heavy. This optimization stage is crucial, poorly prepared files result in failed prints, weak points, or surfaces that need extensive sanding.
The final step converts the CAD model into a format the 3D printer understands. Software slices the digital object into hundreds of horizontal layers and generates G-code instructions telling the printer exactly where to move, how much material to deposit, and at what temperature. This slicing process is where print quality gets determined, layer height affects surface smoothness, infill density controls strength, and print speed impacts precision. The same lens hood design can look dramatically different depending on these slicer settings, which is why advanced camera lenses themselves require such exacting tolerances during both traditional and additive manufacturing.
The Layer-by-Layer Build Process
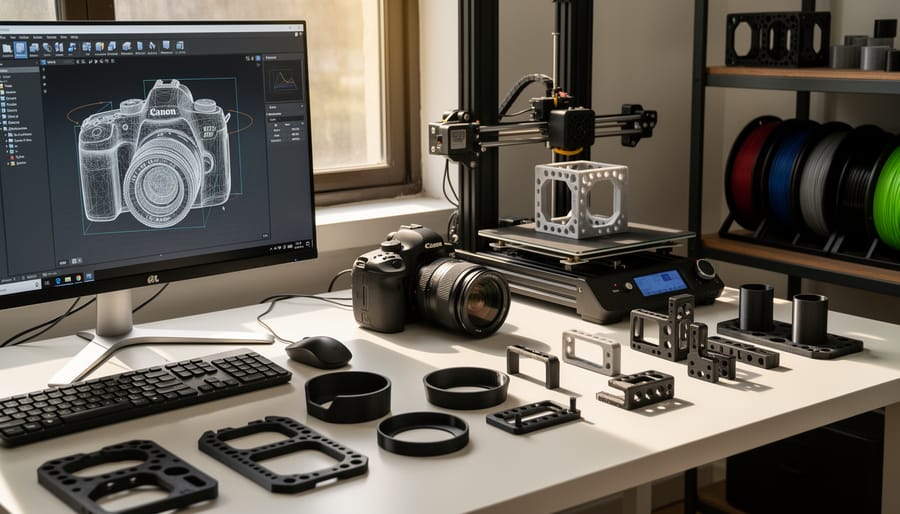
Once the printer receives your digital file, the actual magic begins, though it’s more methodical than magical. The printer starts at the bottom of your camera part and works its way up, one impossibly thin layer at a time.
Picture printing a lens hood. The printer’s nozzle (in FDM) or laser (in resin printers) traces the first cross-section of your design onto the build platform. For FDM printers, melted plastic filament gets squeezed out like toothpaste from a tube, following the exact path your design specifies. The material hits the platform still warm and immediately starts cooling and hardening. Resin printers work differently, a laser or UV light selectively hardens liquid resin in precise spots, solidifying only where that first layer should exist.
Here’s what makes it work: each layer bonds to the one below it while the material is still in that sweet spot between liquid and solid. In FDM, the hot new layer partially melts into the previous layer. With resin, uncured liquid gets trapped between layers and hardens when the next layer forms, creating a chemical bond.
After completing each layer, typically 0.1 to 0.2 millimeters thick, thinner than a sheet of paper, the build platform drops down slightly. Then the printer draws the next slice of your lens hood. Layer 247 might be the main cylinder. Layer 248 adds a fraction more height. Layer 249 starts building the mounting threads.
This continues for hours. A small camera grip might take three hours and 800 layers. A complex prototype camera housing could run overnight, building 2,000+ layers while you sleep. The printer doesn’t get bored, doesn’t rush, just methodically stacks one layer atop another until your camera part emerges.
Post-Processing and Finishing
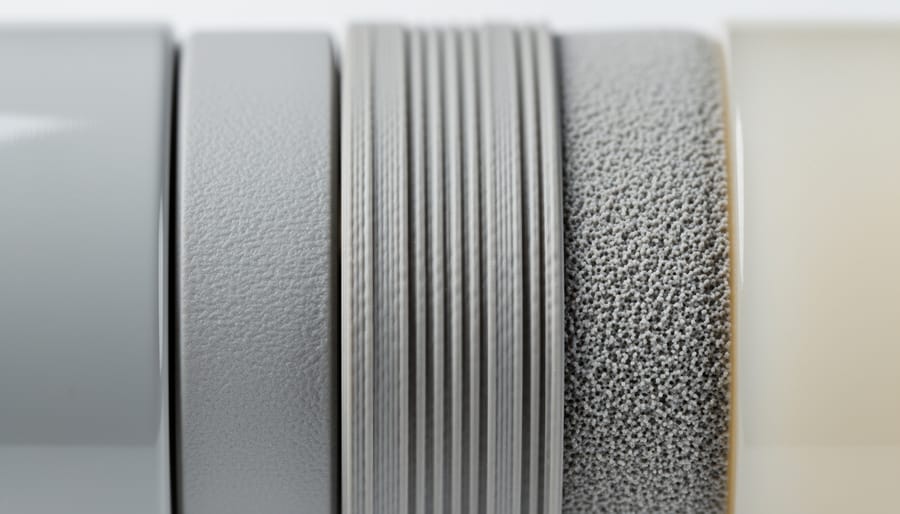
When a camera part emerges from the printer, it’s rarely ready to use. Most prints have support structures, sacrificial scaffolding that keeps overhanging features from collapsing during the build. These supports snap off easily on simple parts like lens cap holders, but require careful cutting and sanding on precision components like camera mounts where you can’t afford to damage mounting surfaces.
The visible layer lines are the next challenge. A freshly printed camera grip feels like fine sandpaper. Manufacturers sand these surfaces smooth, starting with coarse grit and working progressively finer. Critical mating surfaces, where a tripod plate meets a camera body, for instance, get extra attention because even tiny imperfections affect stability.
Then comes finishing. Many camera accessories receive primer and paint to match professional gear aesthetics and protect the raw plastic from UV degradation. Black camera parts often start as white or gray prints. Some manufacturers apply rubberized coatings to grips for better handling.
Quality control checks dimensions against the CAD file, tests thread engagement on mounting screws, and verifies that moving parts operate smoothly. A camera L-bracket that’s off by half a millimeter becomes unusable. This final inspection catches warping, weak layer adhesion, or dimensional drift that would compromise function.
Different 3D Printing Technologies Used in Camera Manufacturing
FDM (Fused Deposition Modeling)
FDM is the 3D printing method you’ve probably seen in action, it works like a super-precise hot glue gun that builds objects layer by layer. A spool of plastic filament (typically PLA or ABS) feeds into a heated nozzle that melts the material to about 200°C. The printer head moves across a build platform, depositing thin lines of melted plastic that cool and solidify almost instantly. Then the platform drops a fraction of a millimeter, and the next layer goes on top.
This is how most camera accessory manufacturers prototype new designs and produce small batches of gear. Those aftermarket lens cap holders clipped to your camera strap? Probably FDM-printed. Custom tripod plates, cable organizers, flash diffusers, and camera body grips often start life this way too. The layer lines are usually visible up close, which is why finished products get sanded and painted.
FDM’s big advantage is cost, the printers and materials are relatively cheap, making it perfect for testing designs or manufacturing accessories that wouldn’t justify expensive injection molding. The downside is surface finish and precision. You won’t see FDM used for optical components or anything requiring tight tolerances, but for structural parts and prototypes, it’s the workhorse of the photography accessory world.
SLA and Resin-Based Printing
SLA (stereolithography) printing works completely differently from the filament-based method. Instead of melting plastic, it uses liquid resin that hardens when exposed to ultraviolet light. A build platform sits just below the surface of a resin vat, and a precise UV laser or LCD screen traces each layer’s pattern, solidifying only those specific areas. The platform then lifts slightly, fresh resin flows underneath, and the next layer cures on top of the previous one.
This approach produces remarkably smooth surfaces and captures intricate details that FDM can’t match, we’re talking features smaller than a millimeter rendered clearly. That’s why camera manufacturers turn to SLA for precision components: custom viewfinder eyepieces with exact optical positioning, detailed prototype housings that need to fit electronics perfectly, and intricate lens mount adapters with tight tolerances.
The finished parts come out slightly tacky and need washing in isopropyl alcohol, then often a final UV cure for full strength. The resin itself is more expensive than filament, and the liquid creates messier workflows, but when you need a camera part with crisp edges and functional threading that actually works, SLA delivers where filament printing falls short.
SLS and Industrial Methods
Selective Laser Sintering (SLS) represents the workhorse of industrial 3D printing for functional camera components. Instead of melting plastic filament or curing liquid resin, SLS machines use a high-powered laser to fuse powdered material, typically nylon or other engineering plastics, layer by layer. The unfused powder surrounding each part acts as built-in support structure, meaning complex geometries print without needing additional supports.
Camera manufacturers favor SLS for parts that must withstand real stress: battery compartment doors, lens mount reinforcements, internal chassis components, and weatherproof housings for action cameras. The resulting parts are genuinely strong and heat-resistant, not brittle like some FDM prints. Surface finish comes out slightly grainy with a matte texture, which works well for grip surfaces but requires post-processing for smooth cosmetic parts.
The technology excels at short production runs, anywhere from 50 to 5,000 identical camera accessories, where traditional injection molding would require prohibitively expensive tooling. You’ll find SLS behind specialty telephoto lens foot replacements, custom battery grips for discontinued cameras, and rugged underwater housing components. The tradeoff: SLS machines cost hundreds of thousands of dollars and demand controlled environments, keeping this method firmly in professional manufacturing facilities rather than hobbyist workshops.
Metal 3D Printing
Metal 3D printing uses lasers or electron beams to fuse metal powder particles together, creating fully functional metal parts that can handle serious mechanical stress. In camera manufacturing, you’ll find this technology in high-end tripod quick-release plates, specialized lens mount adapters for cinema cameras, and prototype lens barrel components that need precise threading.
The process is expensive because it requires industrial-grade equipment, inert gas chambers to prevent oxidation, and materials like titanium, stainless steel, or aluminum alloy that cost significantly more than plastic filament. A single metal-printed camera bracket might run hundreds of dollars compared to a few dollars for plastic equivalents.
Why manufacturers choose it anyway: metal printing creates complex internal geometries impossible with traditional machining, reduces weight through lattice structures while maintaining strength, and eliminates tooling costs for small production runs. You’re most likely to encounter metal 3D-printed parts in professional cinema rigs, custom medium-format camera accessories, and specialized wildlife photography equipment where weight savings and strength both matter critically.
How Camera Manufacturers Are Actually Using 3D Printing
Prototyping and Development
Camera manufacturers rely on 3D printing to slash development timelines from months to weeks. Instead of waiting for expensive metal molds or machined prototypes, engineers print functional test parts overnight. Canon and Sony regularly print prototype camera grips, battery compartment doors, and button layouts to test ergonomics before committing to production tooling. A grip design that feels wrong in hand gets redesigned and reprinted by morning, impossible with traditional manufacturing.
This rapid iteration reveals problems early. When testing new battery housing designs, engineers can physically test whether compartment seals properly prevent hidden power drains caused by poor contact alignment. They print multiple variations simultaneously, test each under real conditions, and refine before expensive production begins.
The technology also enables testing with actual photographers. Companies like Fujifilm have given working prototypes with 3D-printed bodies to professional shooters for field testing, gathering feedback that shapes final products. What once required six months of tooling changes now takes weeks of printing iterations, letting manufacturers respond to photographer needs faster than ever.
Custom and On-Demand Parts
The real advantage of 3D printing for photographers isn’t mass production, it’s making economically viable the things that were previously impossible to manufacture. A lens adapter for an obscure vintage lens to mirrorless body combination? Traditional manufacturing would require expensive injection molds that only make sense for thousands of units. With 3D printing, a specialty shop can produce twenty adapters profitably, or you can commission a single custom piece.
This same principle applies to replacement parts that manufacturers stopped making years ago. That broken film advance lever for your grandfather’s camera, the cracked battery door for a discontinued model, the missing tripod mounting bracket, these parts now have a second life through 3D-printed reproductions. Small businesses and individual makers scan original components, design digital replacements, and produce them on demand.
Personalization takes this further. Camera grips tailored to your hand size, cable organization clips designed for your specific bag, filter holders for non-standard lens diameters. The digital file costs design time once; producing copies costs only material and printer time. No minimum order quantities, no leftover inventory.
Small-Batch Production
Small-batch production is where 3D printing truly shines for photographers. Traditional manufacturing requires expensive metal molds that cost thousands of dollars, only worthwhile when producing thousands of identical units. That’s why niche camera accessories often don’t exist: there aren’t enough buyers to justify the tooling costs.
3D printing flips this equation completely. A manufacturer can profitably produce 50 specialty cold shoe adapters or 100 unique mounting brackets without any upfront tooling investment. Each unit costs roughly the same whether you’re making ten or ten thousand.
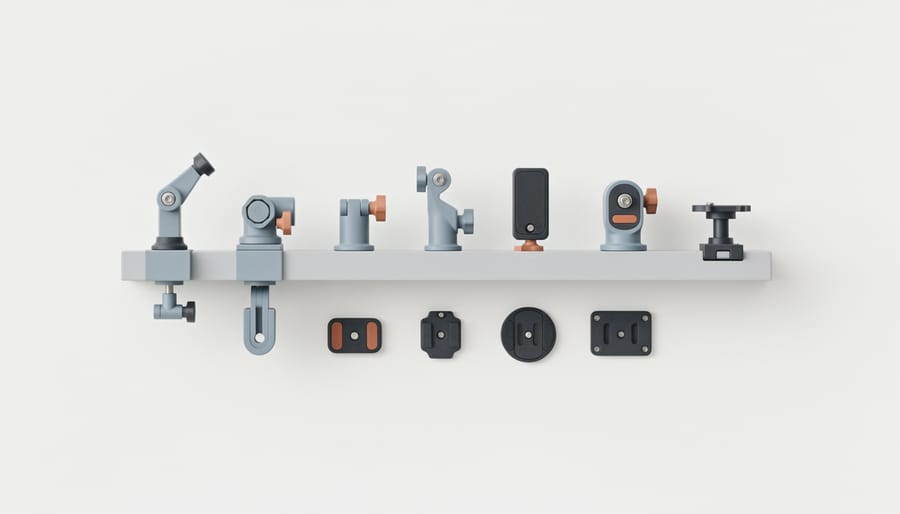
This economics shift has unleashed a wave of specialized camera accessories previously impossible to commercialize. Think ultra-specific lens hoods for vintage glass, custom battery grips for obscure camera models, or experimental rig configurations for unconventional shooting styles. Companies like SmallRig and Niceyrig now offer hundreds of specialized mounting solutions that would never have existed under traditional manufacturing constraints.
For photographers with unusual needs, this matters enormously. That weird adapter you need for mounting a spotting scope to your camera body? Someone probably makes it now, precisely because 3D printing made small production runs economically viable.
What This Technology Means for Photographers in 2026
For camera users right now, 3D printing represents a shift from waiting for manufacturers to make exactly what you need to actually getting it made. Custom lens hoods for vintage glass, specialized flash diffusers, quick-release plates for unusual mounting scenarios, accessories that would never justify traditional manufacturing can now exist. You’ll find more niche solutions available through specialized retailers and even direct-from-designer sales, with lead times measured in days rather than months.
The repair landscape has changed too. Camera manufacturers and third-party services can now produce replacement parts for discontinued bodies without maintaining massive inventories. A broken battery door latch or cracked flash shoe cover doesn’t necessarily mean scrapping a beloved camera anymore. Some repair shops already offer same-day 3D-printed replacement components for common failures.
Innovation cycles accelerate when designers can test physical prototypes in days instead of weeks. The camera of tomorrow takes shape faster because companies iterate through more designs before committing to expensive production tooling. You’re seeing more experimental accessories and creative mounting solutions emerge precisely because the barrier to bringing ideas to market has dropped.
Expect 3D-printed components to increasingly appear in premium camera gear, particularly where customization matters or production quantities stay small. Combined with earth-friendly materials additive manufacturing reduces waste compared to machining parts from solid blocks. The technology won’t replace injection molding for mass-market cameras, but it’s already changing what accessories exist and how quickly problems get solved.
3D printing has moved from novelty to serious manufacturing tool in the camera industry, and understanding how it works helps you make smarter decisions about the gear you buy and use. The layer-by-layer additive process we’ve explored, whether it’s FDM plastic, UV-cured resin, or sintered metal, isn’t replacing traditional manufacturing entirely, but it’s creating opportunities that didn’t exist before. Camera companies can now prototype faster, produce specialized accessories economically, and offer custom solutions without massive upfront costs.
Is 3D-printed camera gear as durable as traditionally manufactured parts?
It depends on the technology and material used. Industrial SLS nylon and metal-printed components can match or exceed traditional durability, while basic FDM plastic parts are better suited for light-duty accessories and prototypes.
Can I 3D print my own camera accessories at home?
Yes, if you have access to a 3D printer and can find or create digital files for things like lens cap holders, cable organizers, or tripod accessories. Complex functional parts requiring precision should be left to professional manufacturers.
Are major camera brands actually using 3D printing?
Absolutely. Most major manufacturers use it extensively for prototyping and development, and increasingly for small-batch specialty accessories and custom components that would be prohibitively expensive to traditionally manufacture.
How can I tell if a camera accessory is 3D printed?
Look for visible layer lines on surfaces, support structure marks, or a slightly rougher texture than injection-molded plastic. High-quality prints may be harder to identify, especially after post-processing and finishing.
When you encounter 3D-printed camera accessories in 2026, you’re seeing the result of a genuine manufacturing shift. Don’t dismiss them as inferior simply because they’re printed, the technology matters more than the method. A well-designed SLS component can outperform a cheap injection-molded part. What you should evaluate is the same thing you’d judge in any camera gear: does it solve your problem, is it built appropriately for its purpose, and does the price reflect the value you’re getting? The printing method is just one factor in that equation, not the whole story.

 By
By